Ecommerce Plugins
Build Integration
1. Build Integration
Steps to integrate your Arastta website with Razorpay Payment Gateway.
Follow the steps given below to integrate Razorpay Payment Gateway with your Arastta website.
-
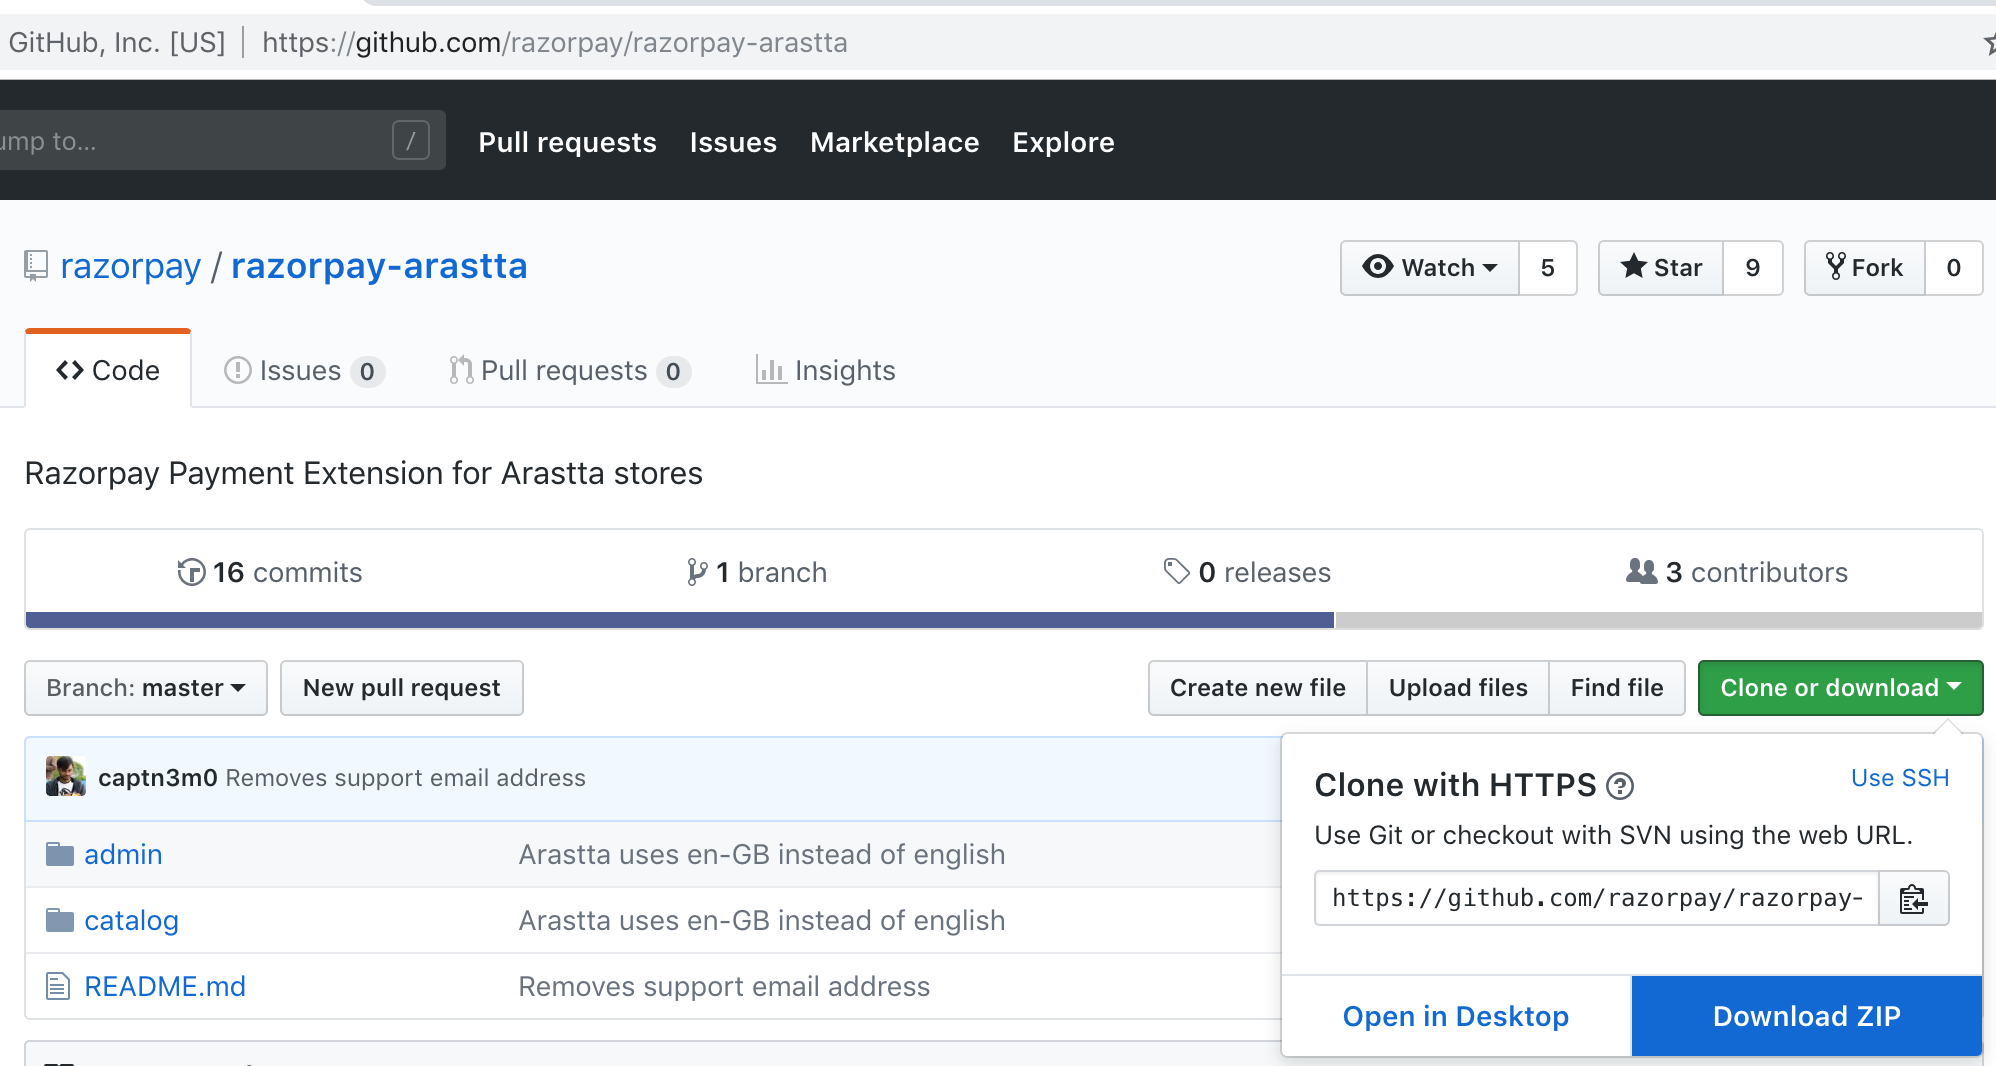
Download a ZIP of the repository. The master branch holds the plugin for the latest Arastta version.
-
Log into Arastta.
-
Navigate to the Admin Panel → Marketplace → Payments and enable the Razorpay extension.
-
Click Edit next to Razorpay and complete the following actions:
- Add your Razorpay [key_id] and [key_secret]. These can be generated from your Dashboard.
- Change plugin status to Enabled.
- Click Save to save the plugin settings.
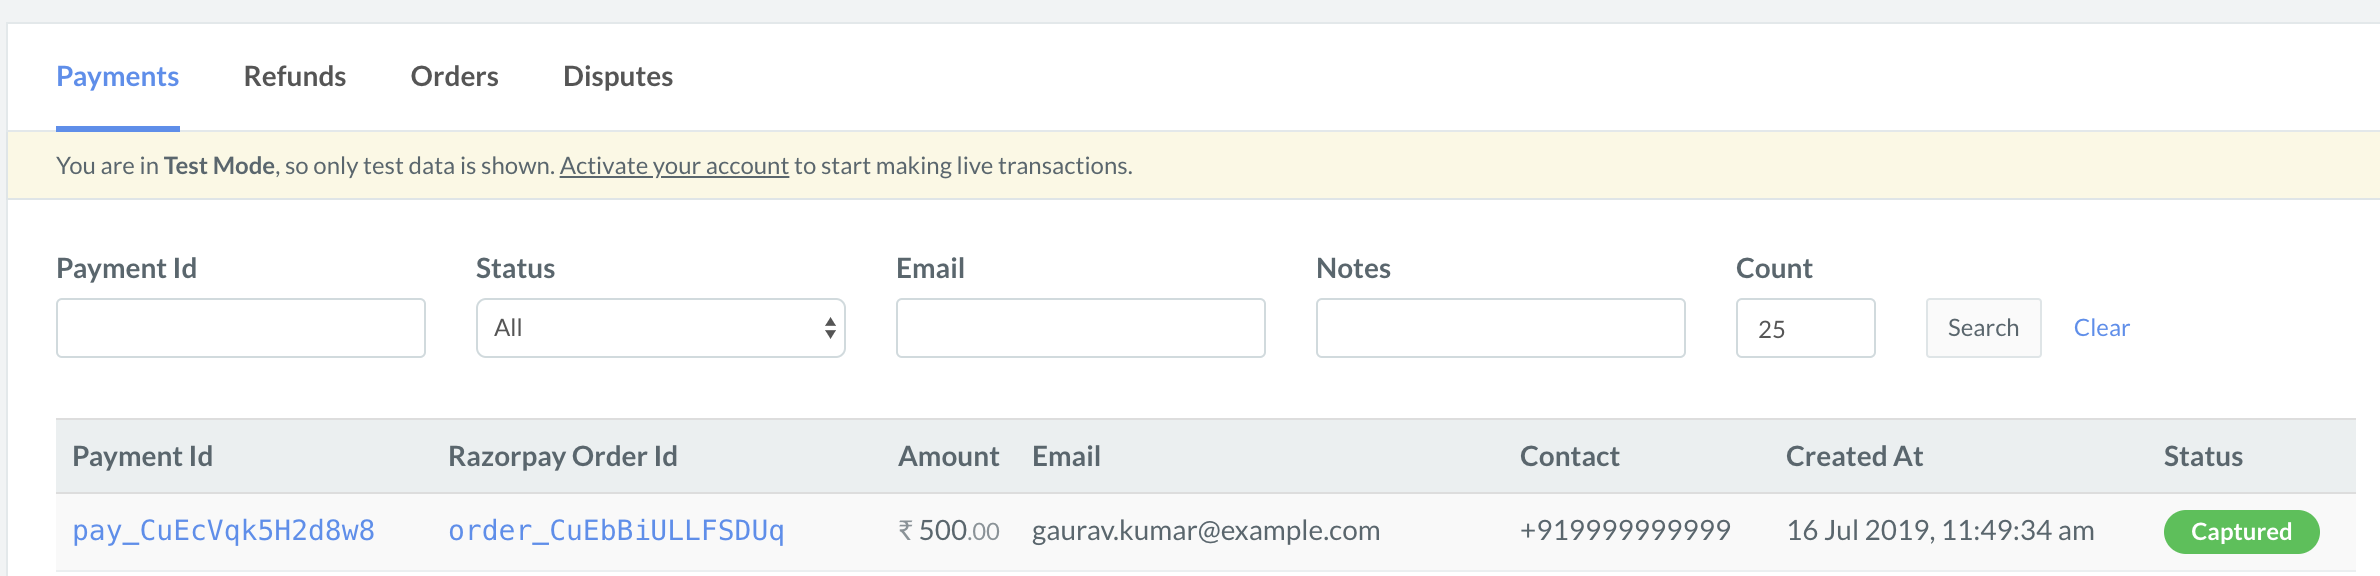
You can track the payment status from the Razorpay Dashboard, subscribe to the Webhook event or poll our APIs.
- Log into the Dashboard and navigate to Transactions → Payments.
- Check if a
payment_ID has been generated and note the status. In case of a successful payment, the status is marked as captured.
You can use Razorpay Webhooks to configure and receive notifications when a specific event occurs. When one of these events is triggered, we send an HTTP POST payload in JSON to the webhook's configured URL. Know how to set up Webhooks.
If you have subscribed to the order.paid webhook event, you will receive a notification every time a customer pays you for an order.
Step 2: Test Integration