Ecommerce Plugins
Build Integration
1. Build Integration
Steps to integrate your CS-Cart website with Razorpay Payment Gateway.
Follow the steps given below to integrate Razorpay Payment Gateway with your CS-Cart website.
- Ensure you have the latest version of CS-Cart installed.
- Download the latest Source code zip file from the releases section. Unzip the repository.
- Run the
install.razorpay.sql file, that can be found inside the unzipped package, against your CS-Cart database. To do this you can either:
- Use phpMyAdmin to import the file into your CS-Cart database.
- Copy and paste the content and run it directly in your MySQL shell.
- Upload the rest of the contents of the plugin to your CS-Cart Installation directory.
- Content of app folder goes in app folder in your CS-Cart Installation directory.
- Content of design folder goes in the design folder in your CS-Cart Installation directory.
- Log into CS-Cart as administrator.
- Navigate to Administration → Payment Methods.
- Add a new payment method.
- Select Razorpay from the list and then click Save. Select
cc_outside.tpl for the template.
- Navigate to the Configure tab.
- Enter your Razorpay [KEY_ID] and [KEY_SECRET] and click Save. These API Keys can be generated from the Dashboard.
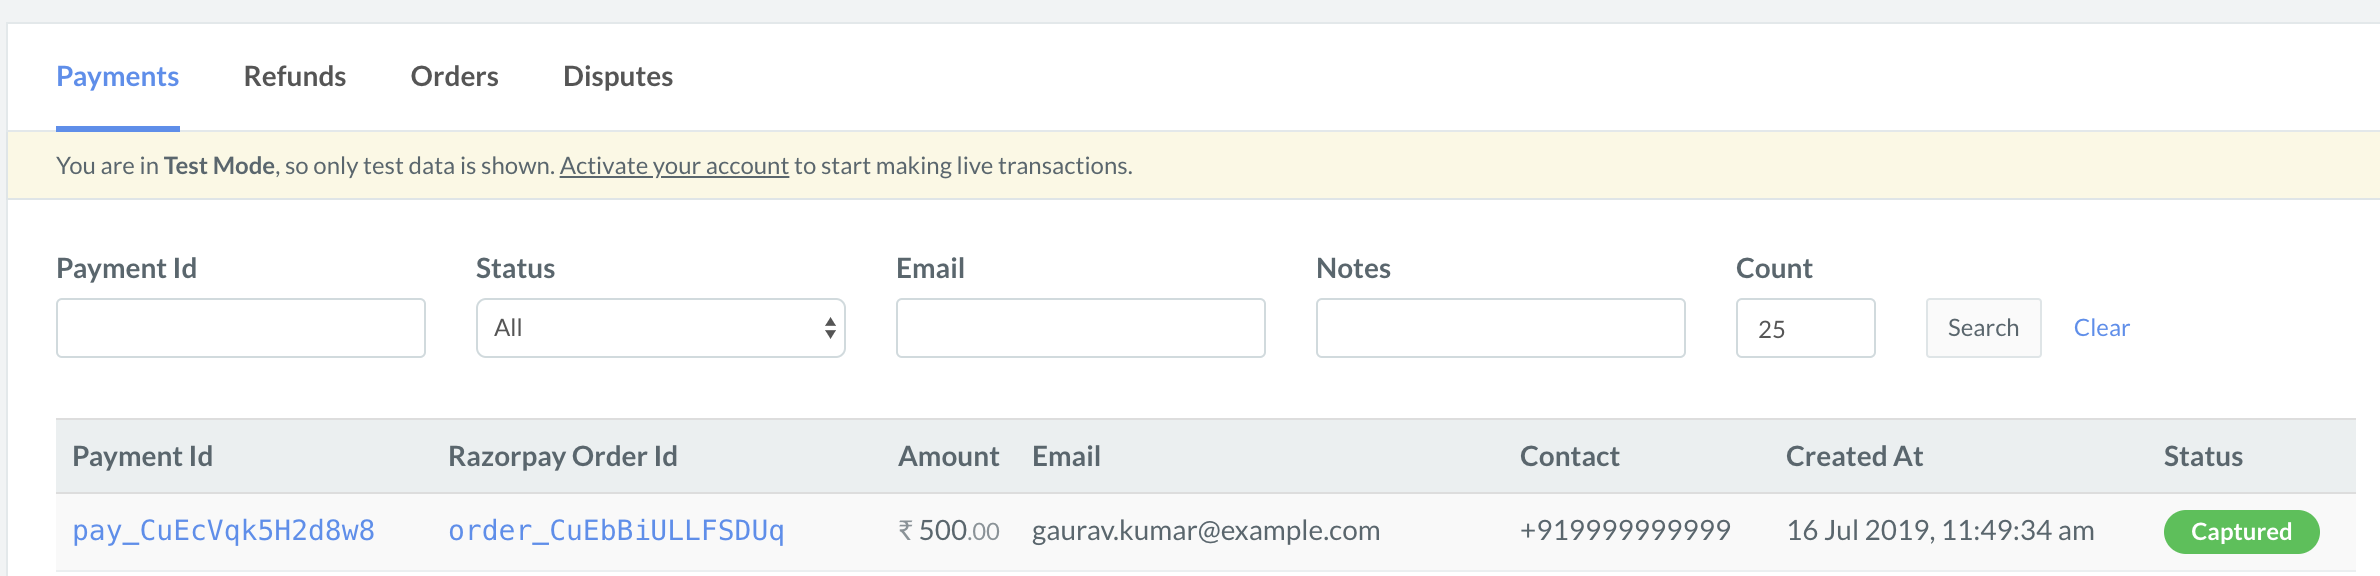
You can track the payment status from the Razorpay Dashboard, subscribe to the Webhook event or poll our APIs.
- Log into the Dashboard and navigate to Transactions → Payments.
- Check if a
payment_ID has been generated and note the status. In case of a successful payment, the status is marked as captured.
You can use Razorpay Webhooks to configure and receive notifications when a specific event occurs. When one of these events is triggered, we send an HTTP POST payload in JSON to the webhook's configured URL. Know how to set up Webhooks.
If you have subscribed to the order.paid webhook event, you will receive a notification every time a customer pays you for an order.
Step 2: Test Integration