Ecommerce Plugins
Build Integration
1. Build Integration
Integrate Razorpay with your Wix website.
Follow the steps given below to integrate Razorpay Payment Gateway with your Wix website.
1.1 Generate API Keys from Razorpay Dashboard.
1.2 Add Razorpay as a Payment Gateway.
1.3 Verify Payment Status.
To generate the API Keys:
- Log into the Razorpay Dashboard.
- Navigate to Settings and generate API keys.
Watch this video to know how to generate API Keys in Test Mode.
Handy Tips
- Using the Test keys helps simulate a sandbox environment. No actual monetary transaction happens when using the Test keys.
- Use Live keys once you have thoroughly tested the application and are ready to go live. Know how to generate Live API Keys.
-
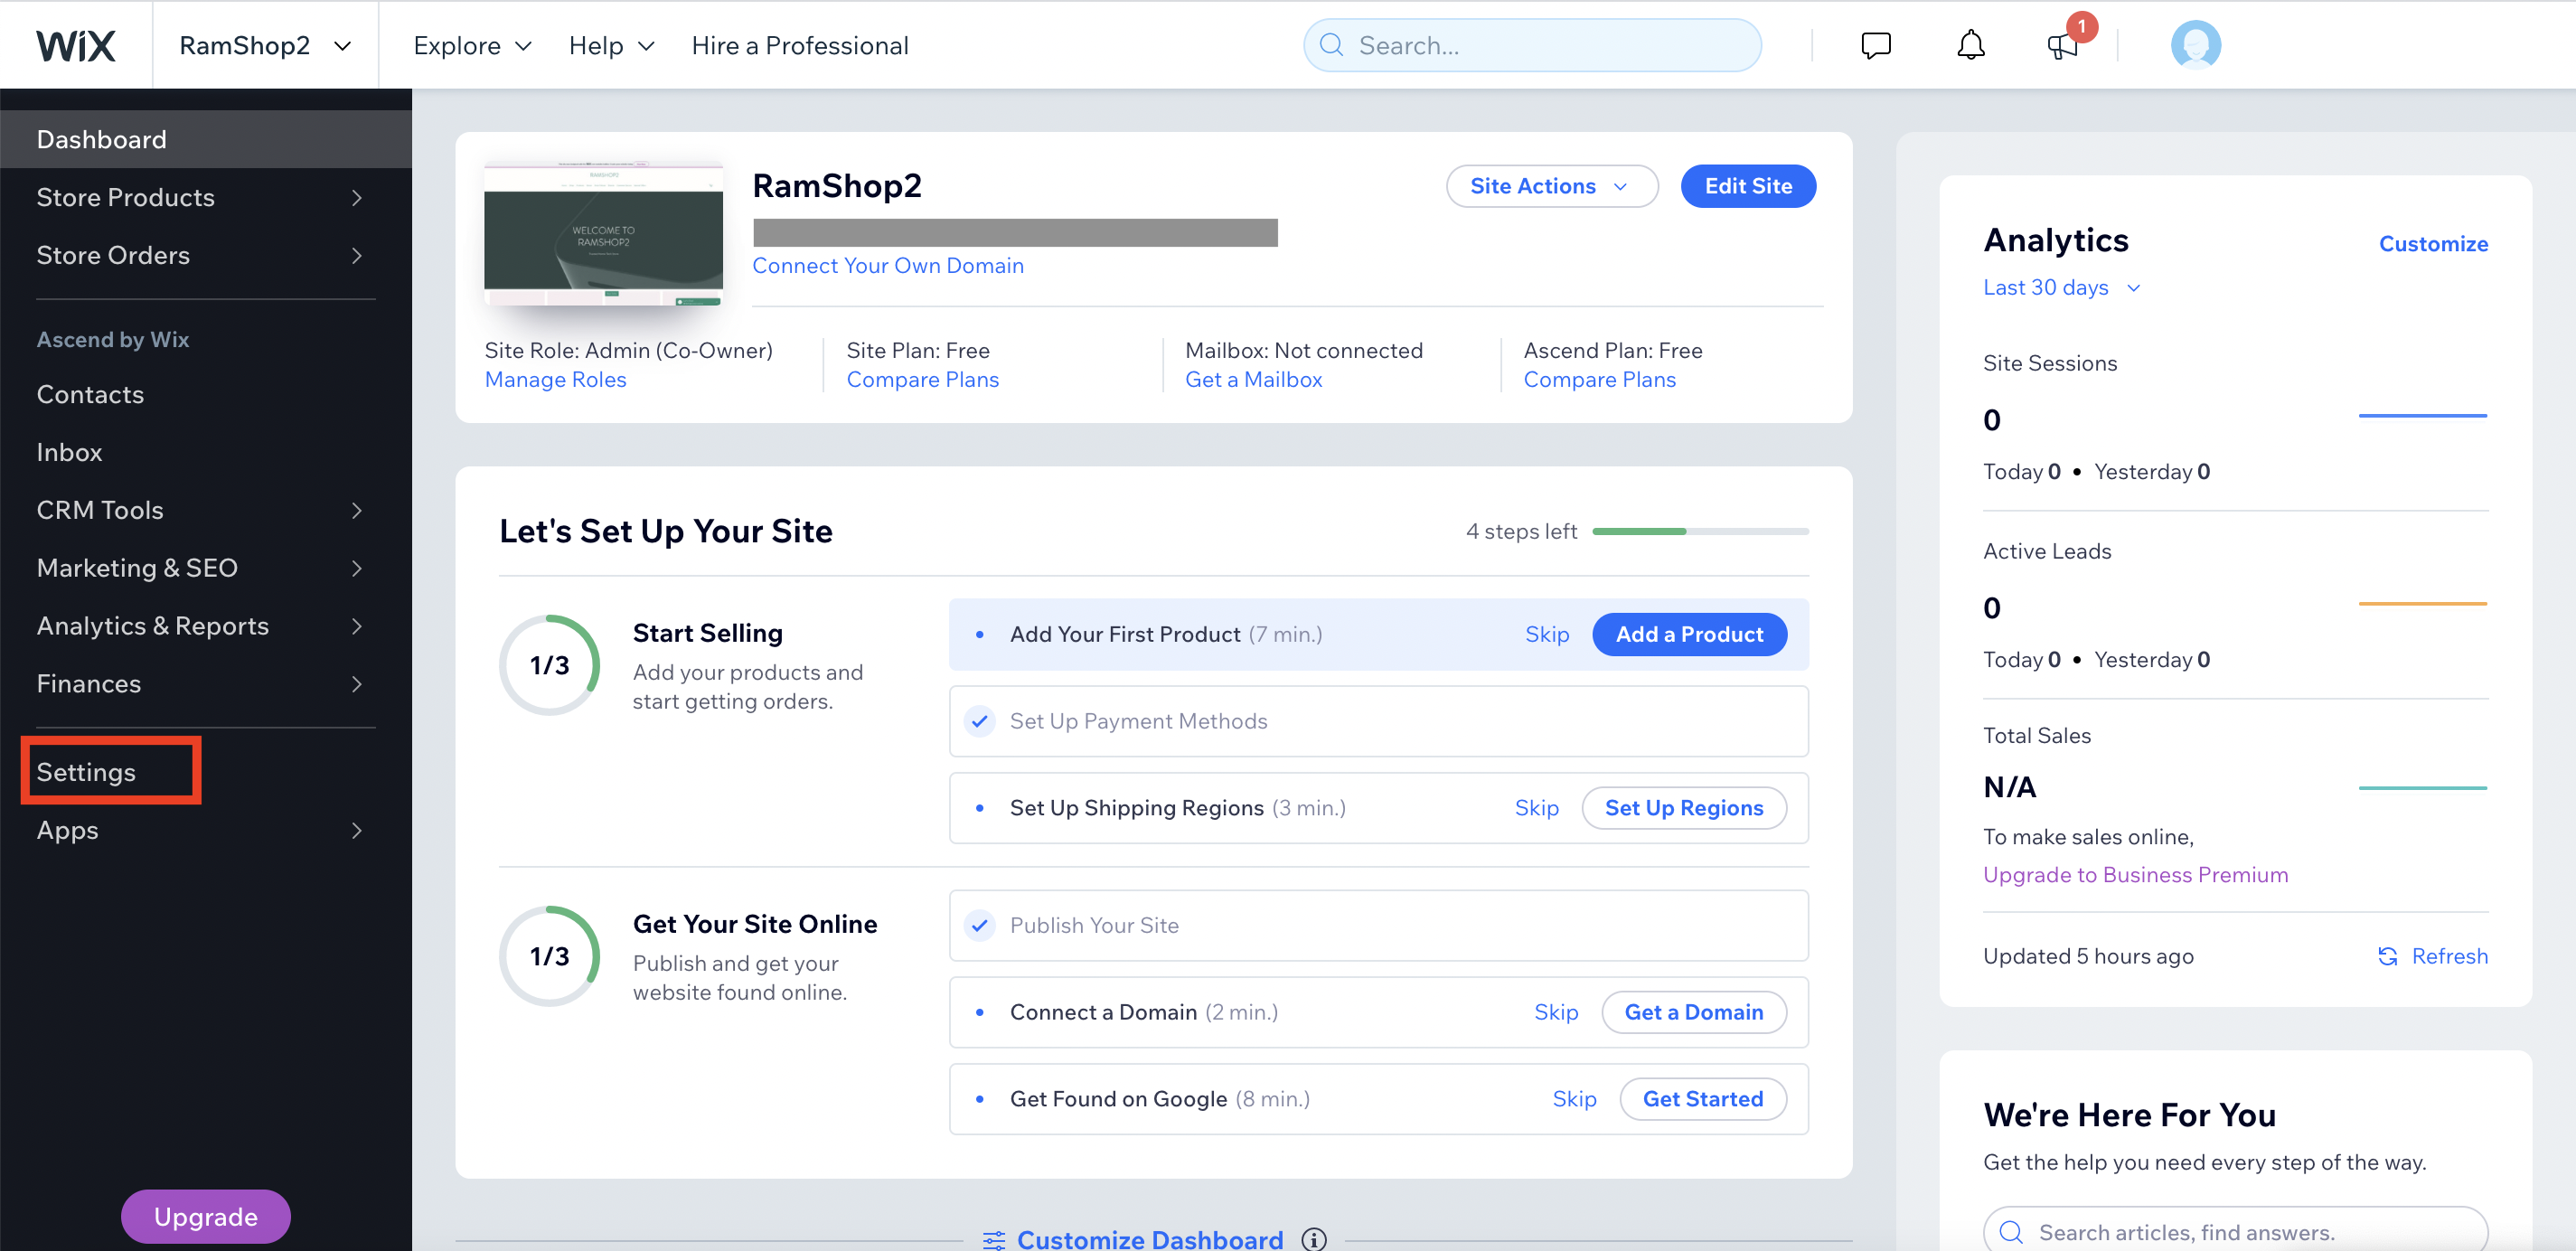
Navigate to your Wix website and switch to editor mode.
-
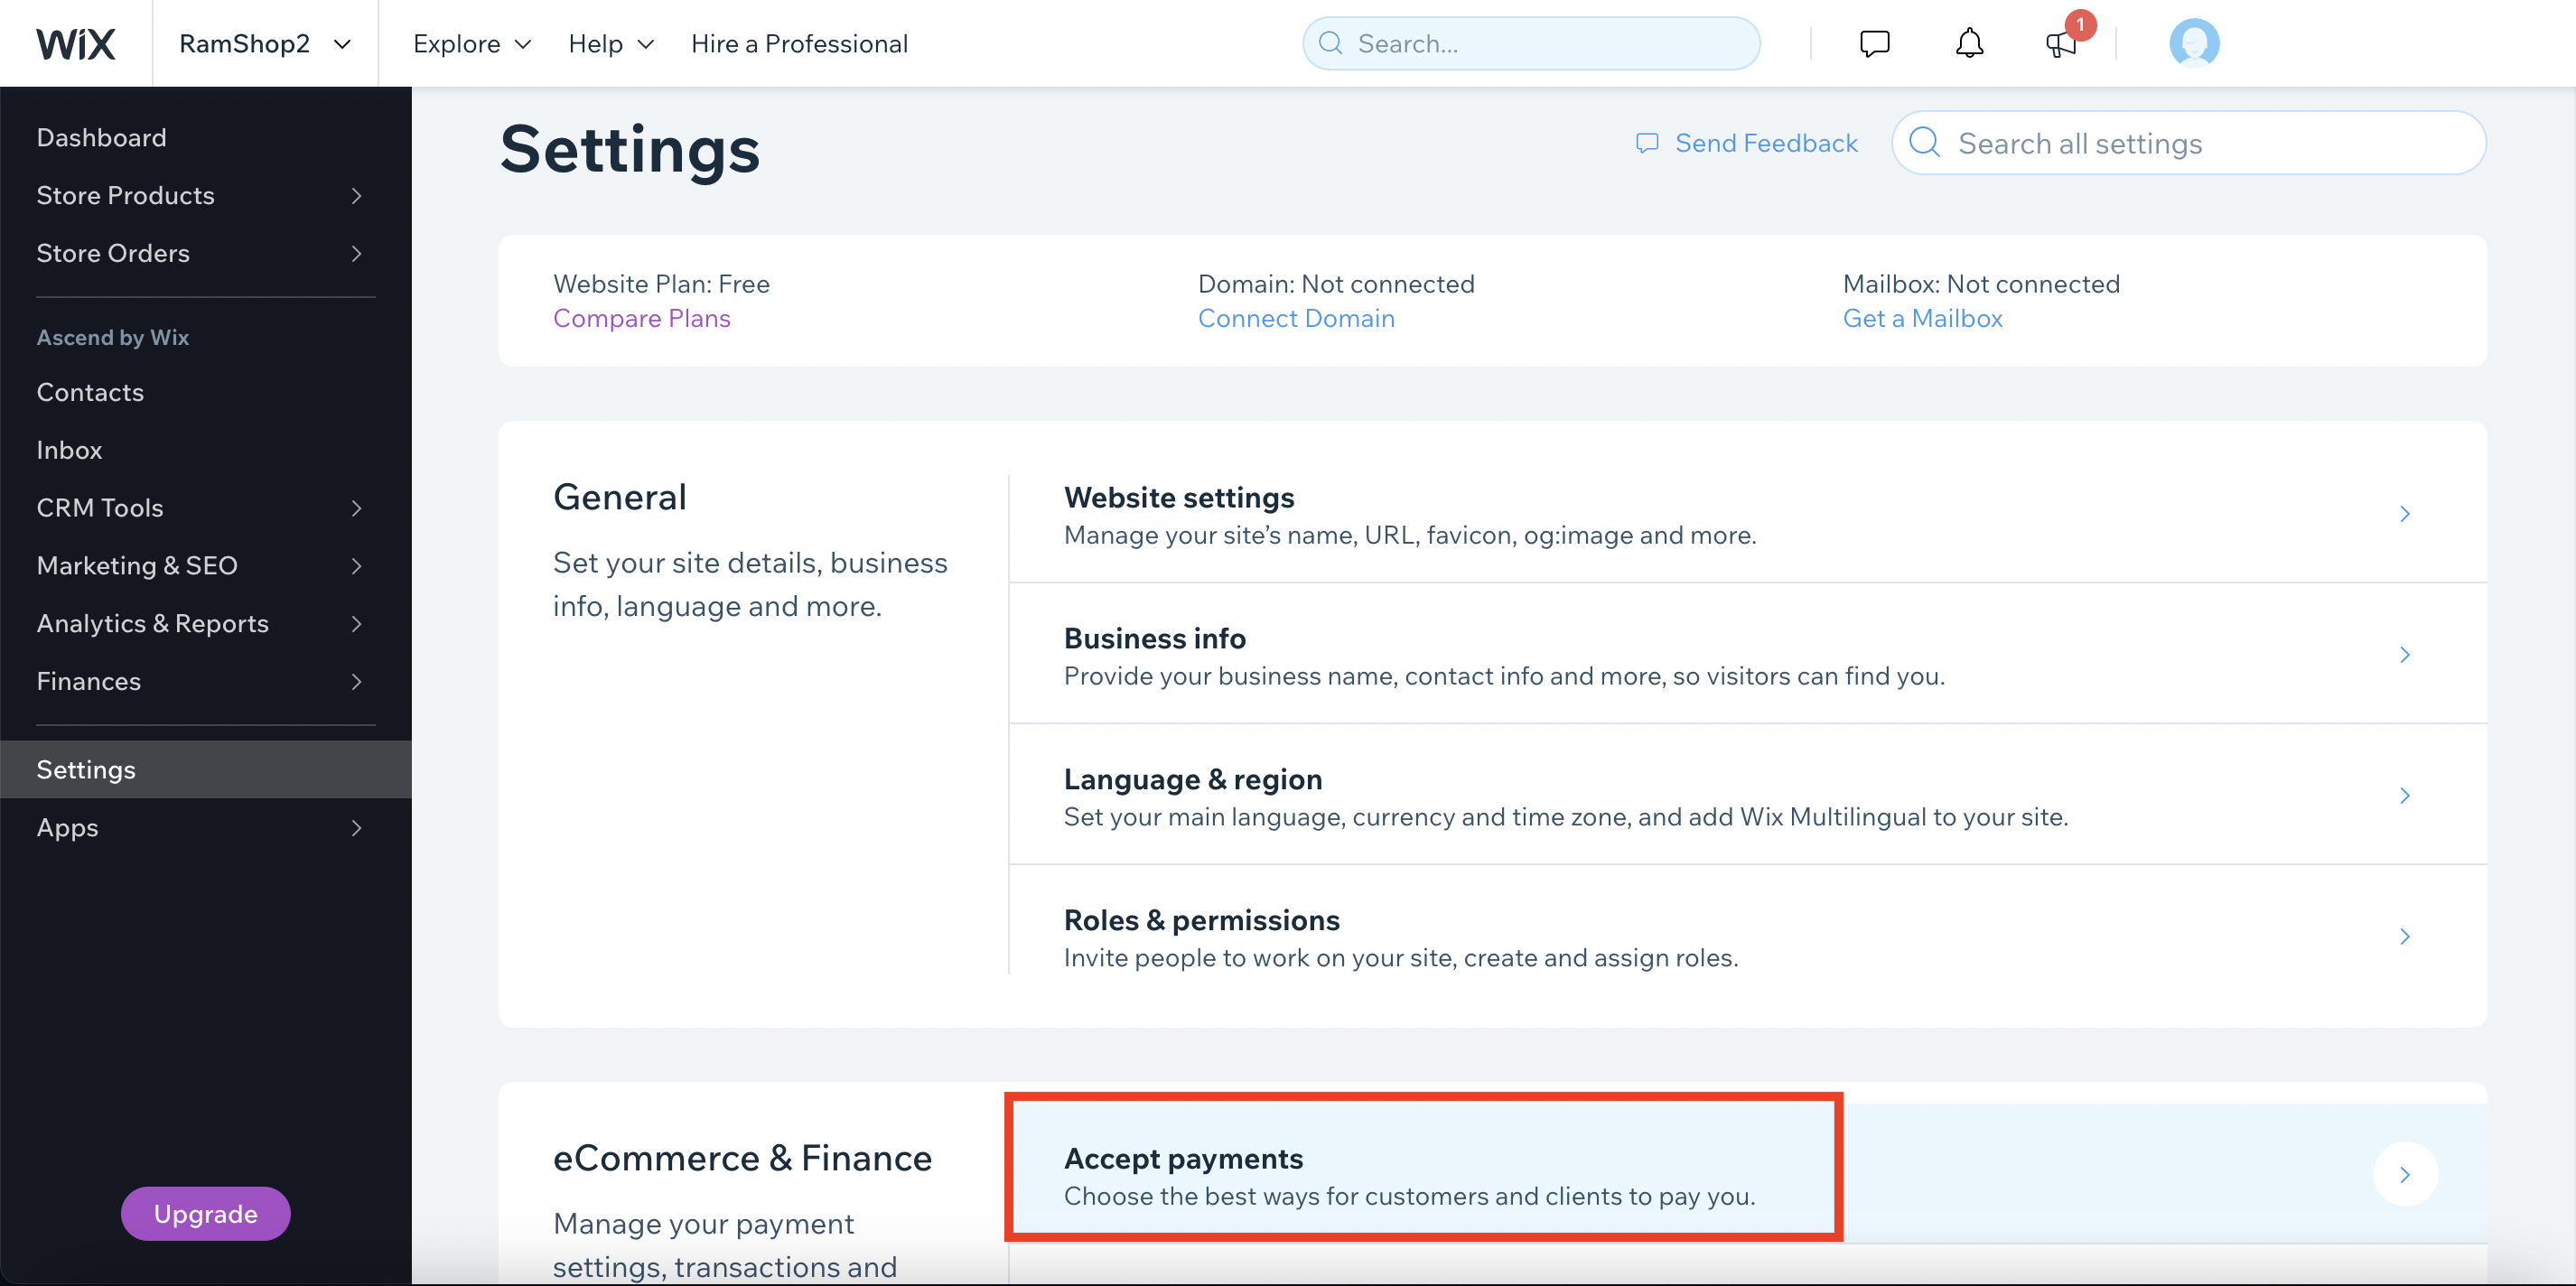
Click Settings.
-
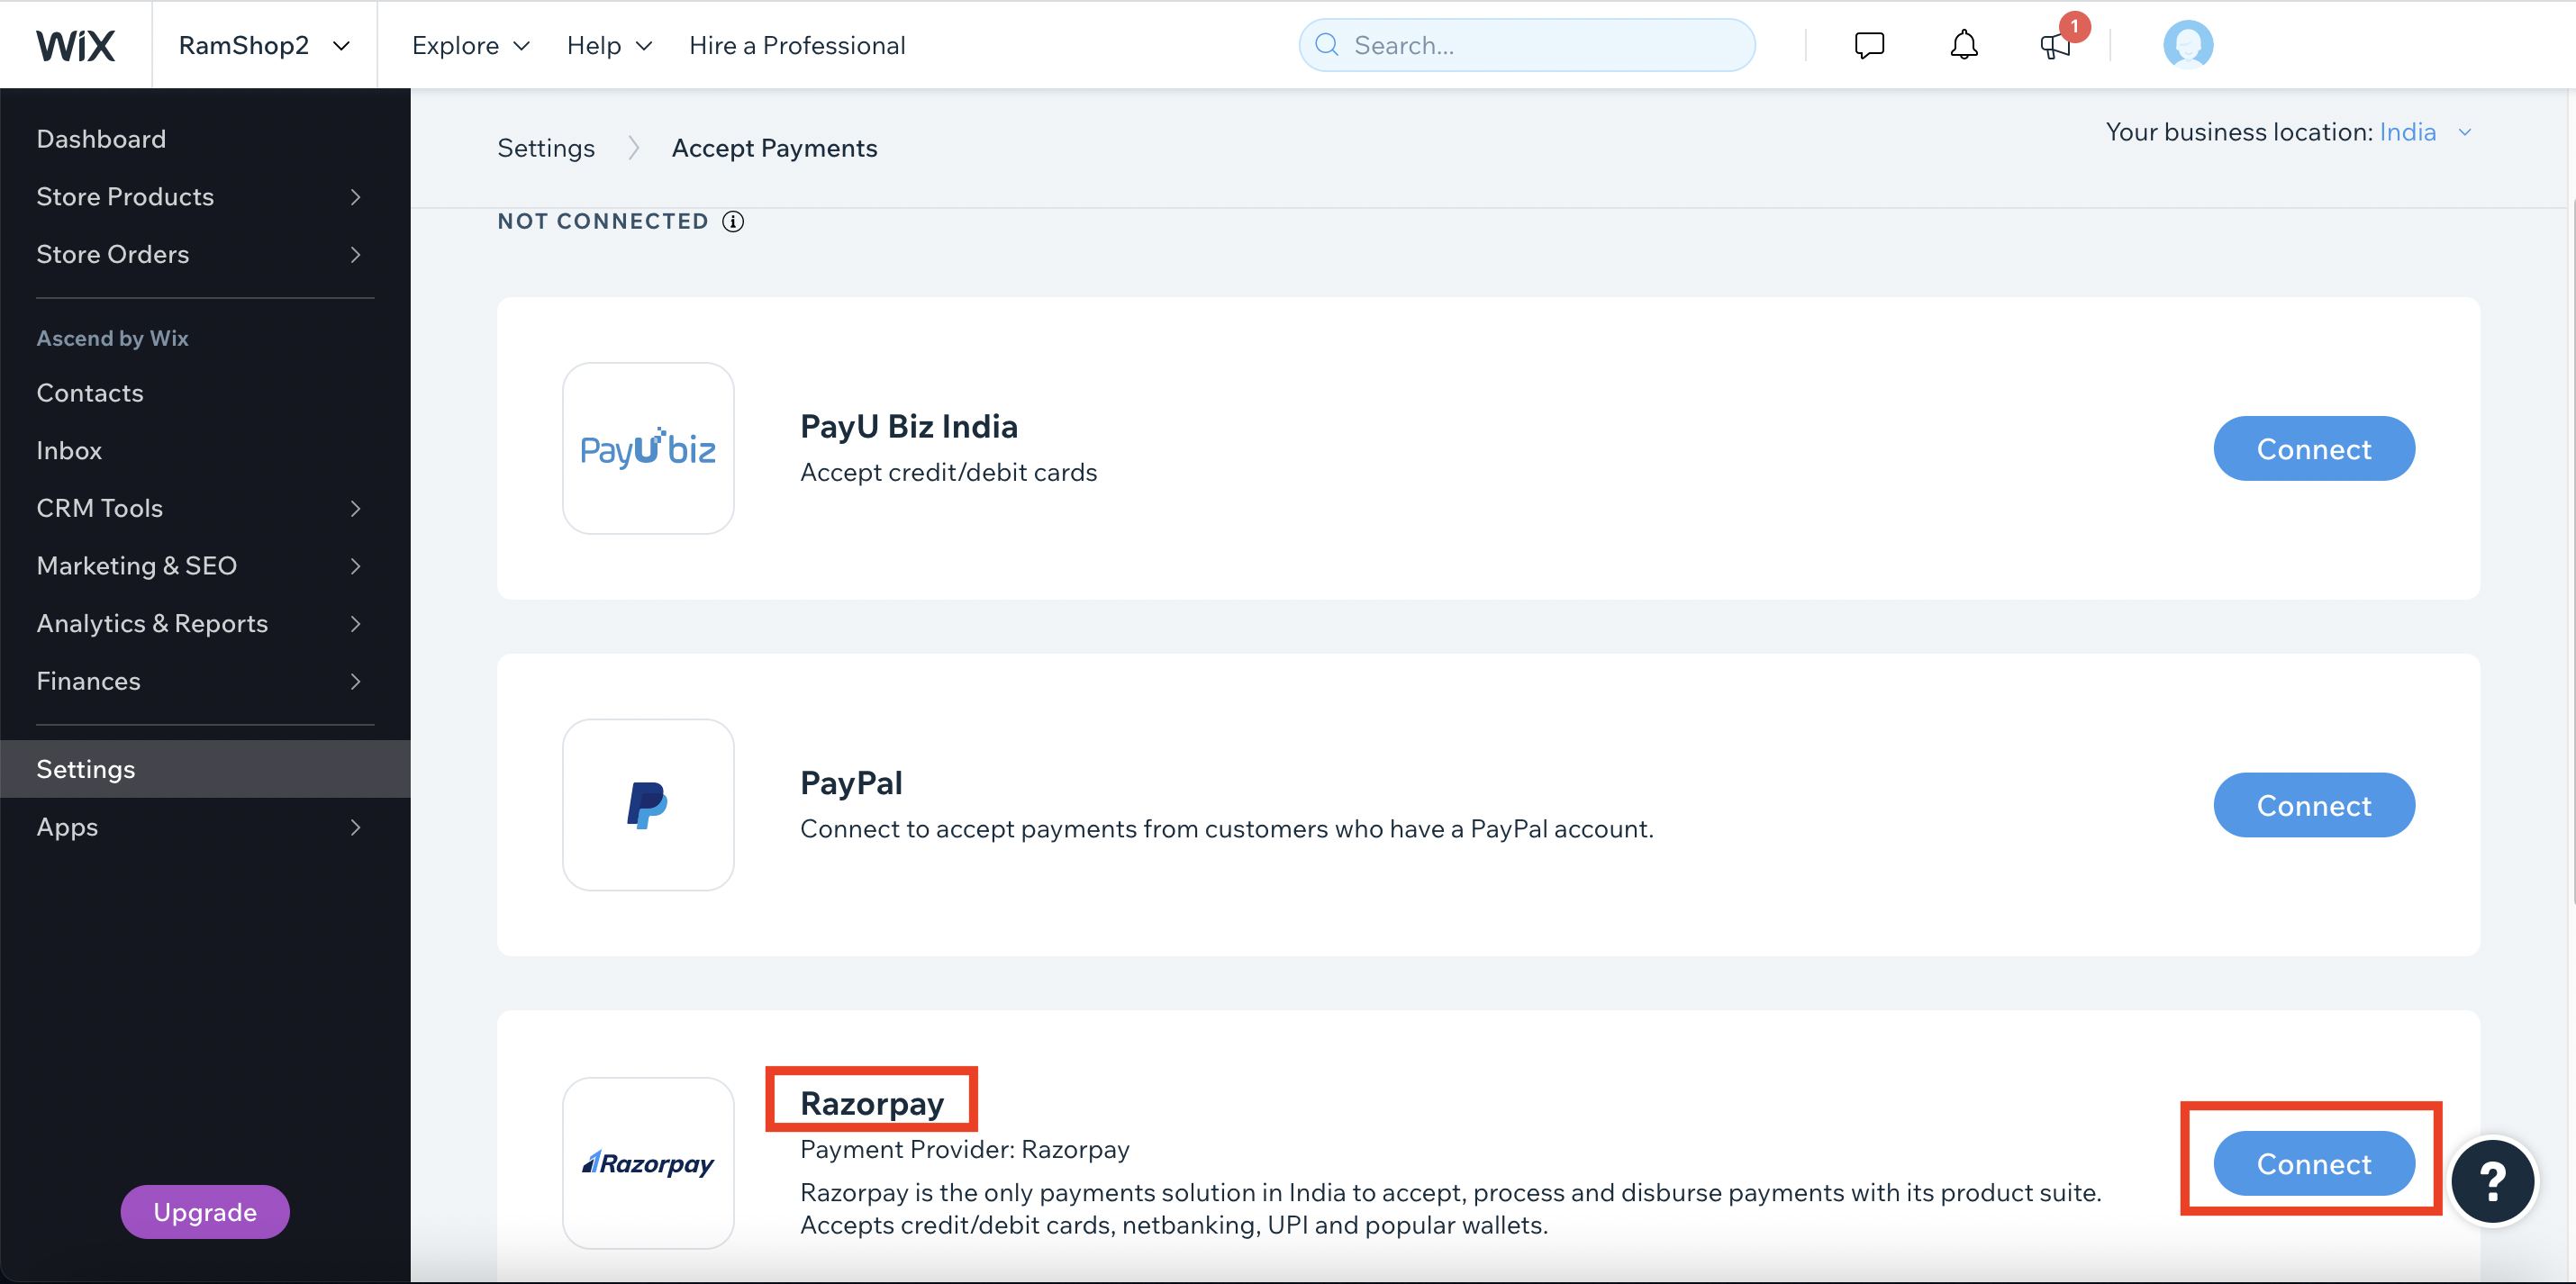
Click Accept Payments.
-
Select Razorpay and click Connect.
-
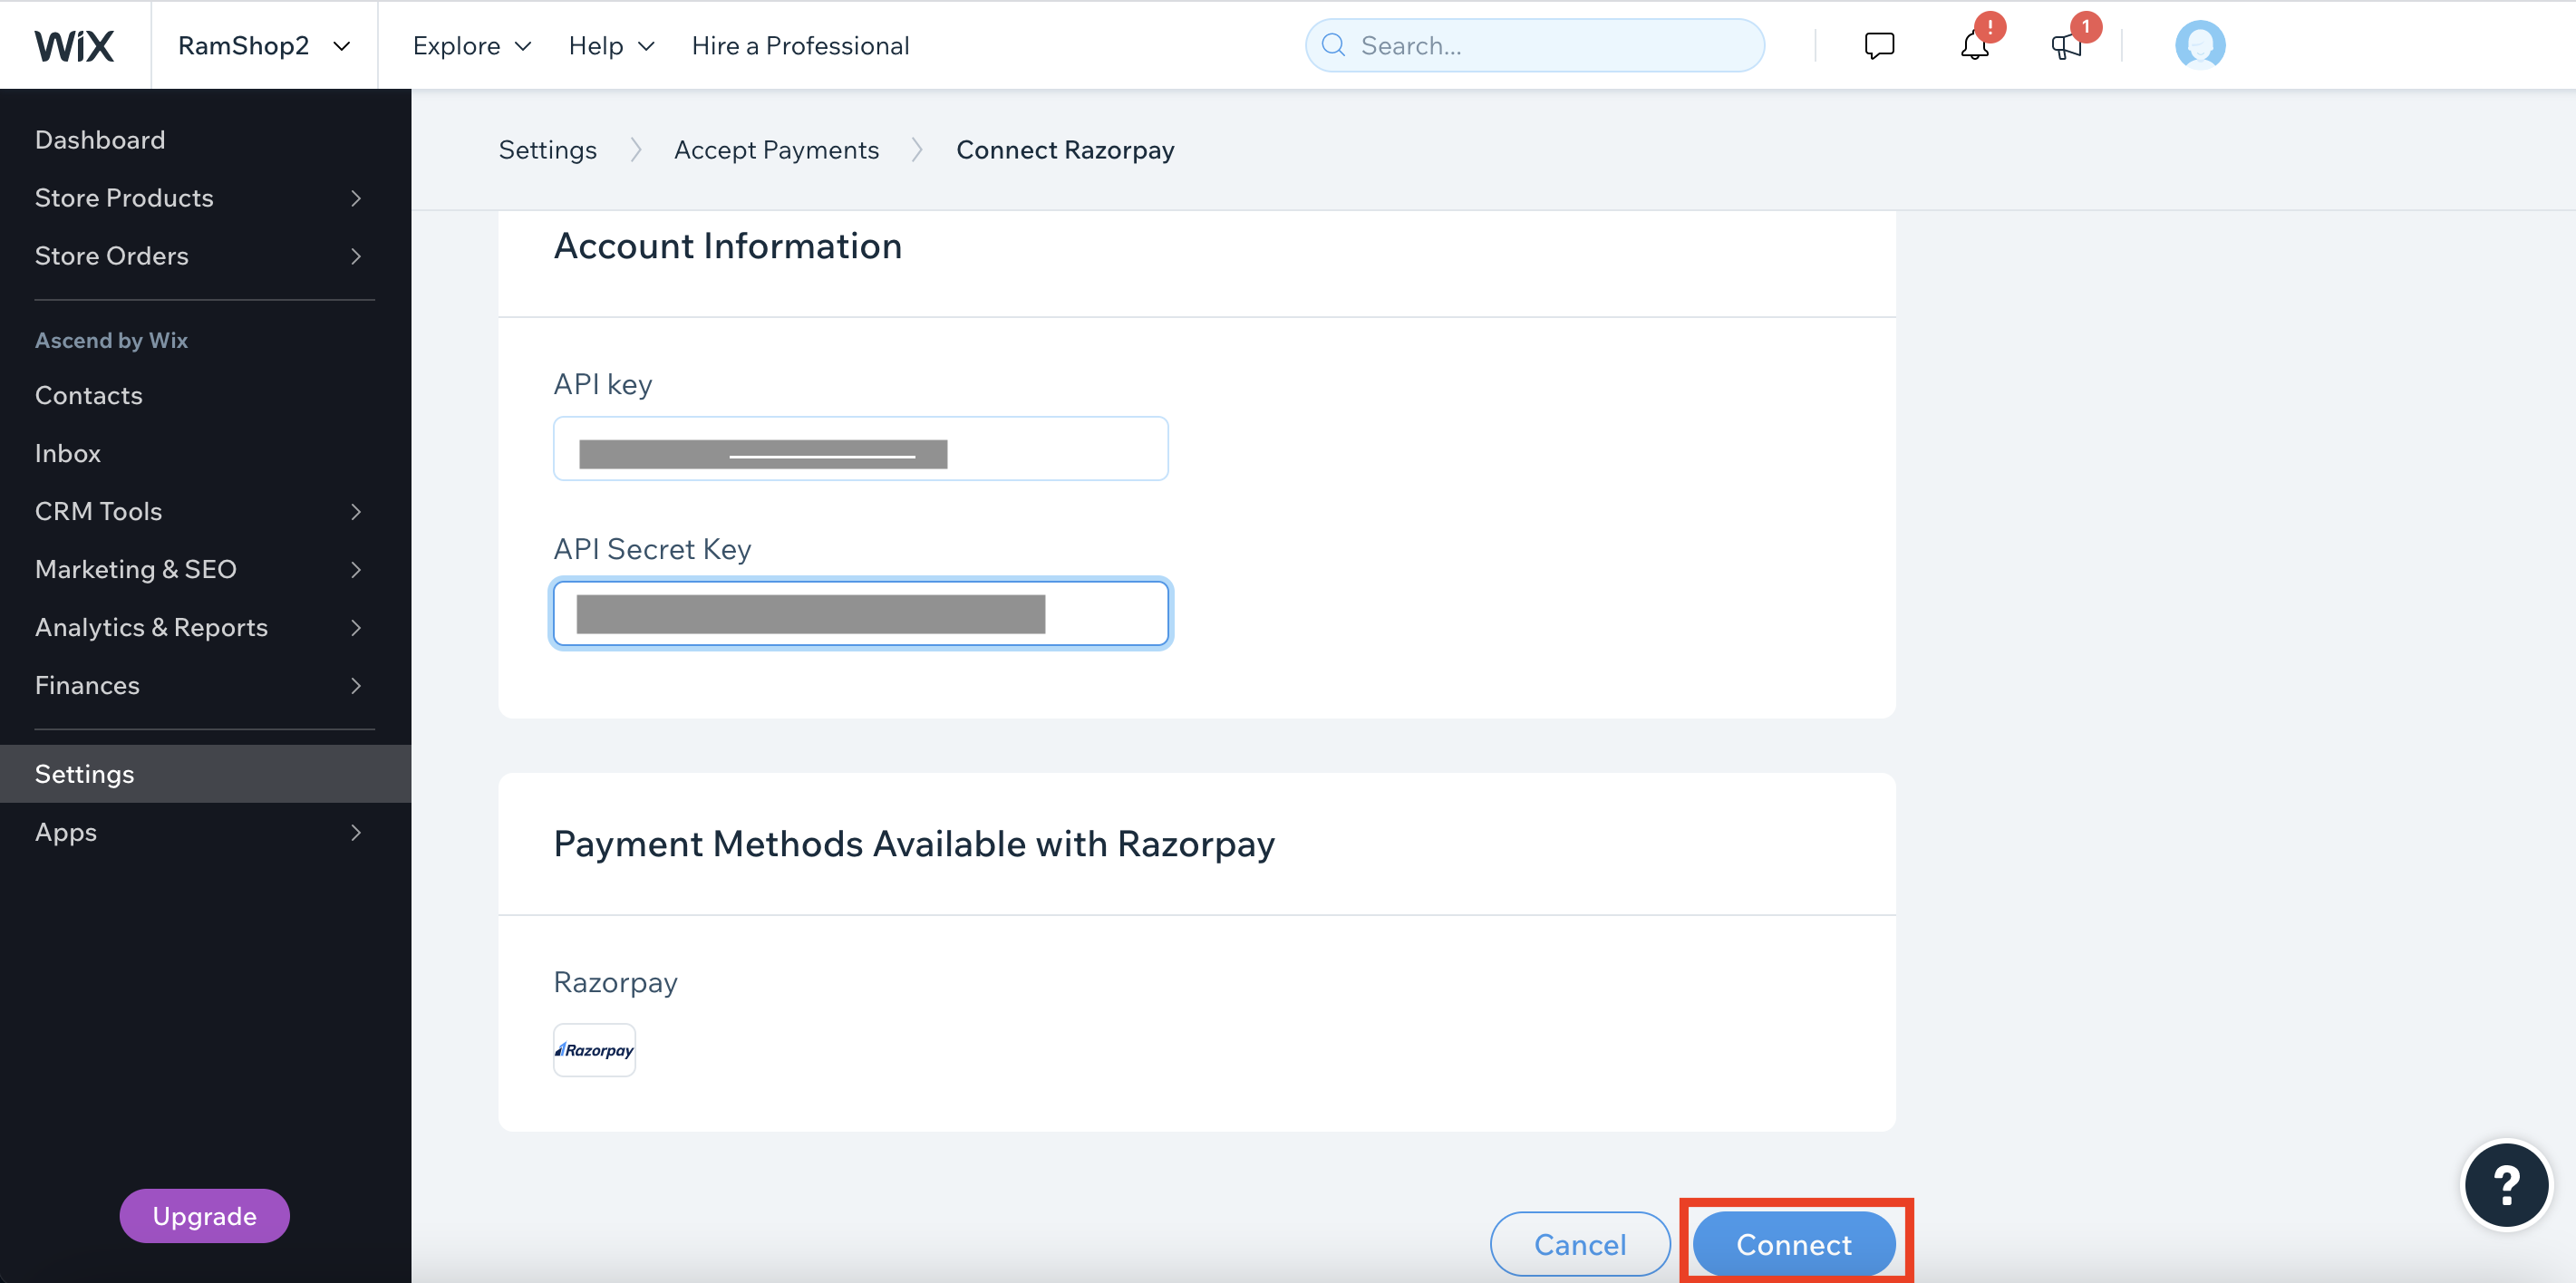
Enter your API Key and API Secret Key and click Connect.
-
Razorpay is now connected to your site successfully.

Handy Tips
Make sure that the webhook with URL https://express.razorpay.com/wix/v1/webhook-handler is added and the following events are subscribed:
order.paidrefund.processedpayment.failed
You can track the payment status from the Razorpay Dashboard, subscribe to the Webhook event or poll our APIs.
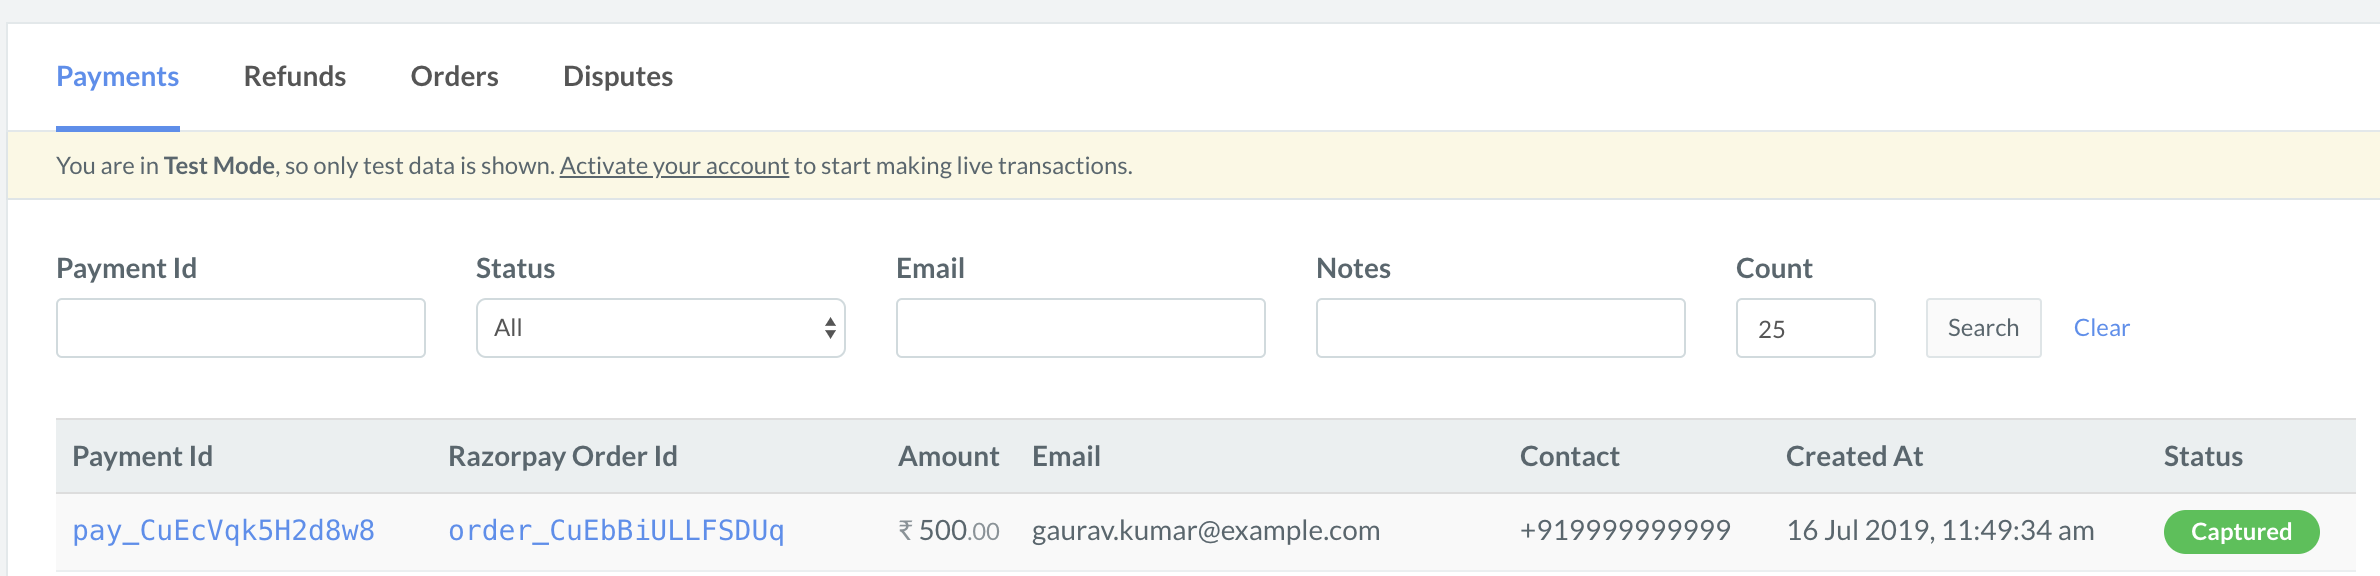
- Log into the Dashboard and navigate to Transactions → Payments.
- Check if a
payment_ID has been generated and note the status. In case of a successful payment, the status is marked as captured.
Step 2: Test Integration