Ecommerce Plugins
Build Integration
1. Build Integration
Steps to integrate your WordPress website with Razorpay Payment Gateway.
Follow the steps given below to integrate Razorpay Payment Gateway with your WordPress website.
-
Download the plugin from the WordPress Plugin Directory.
-
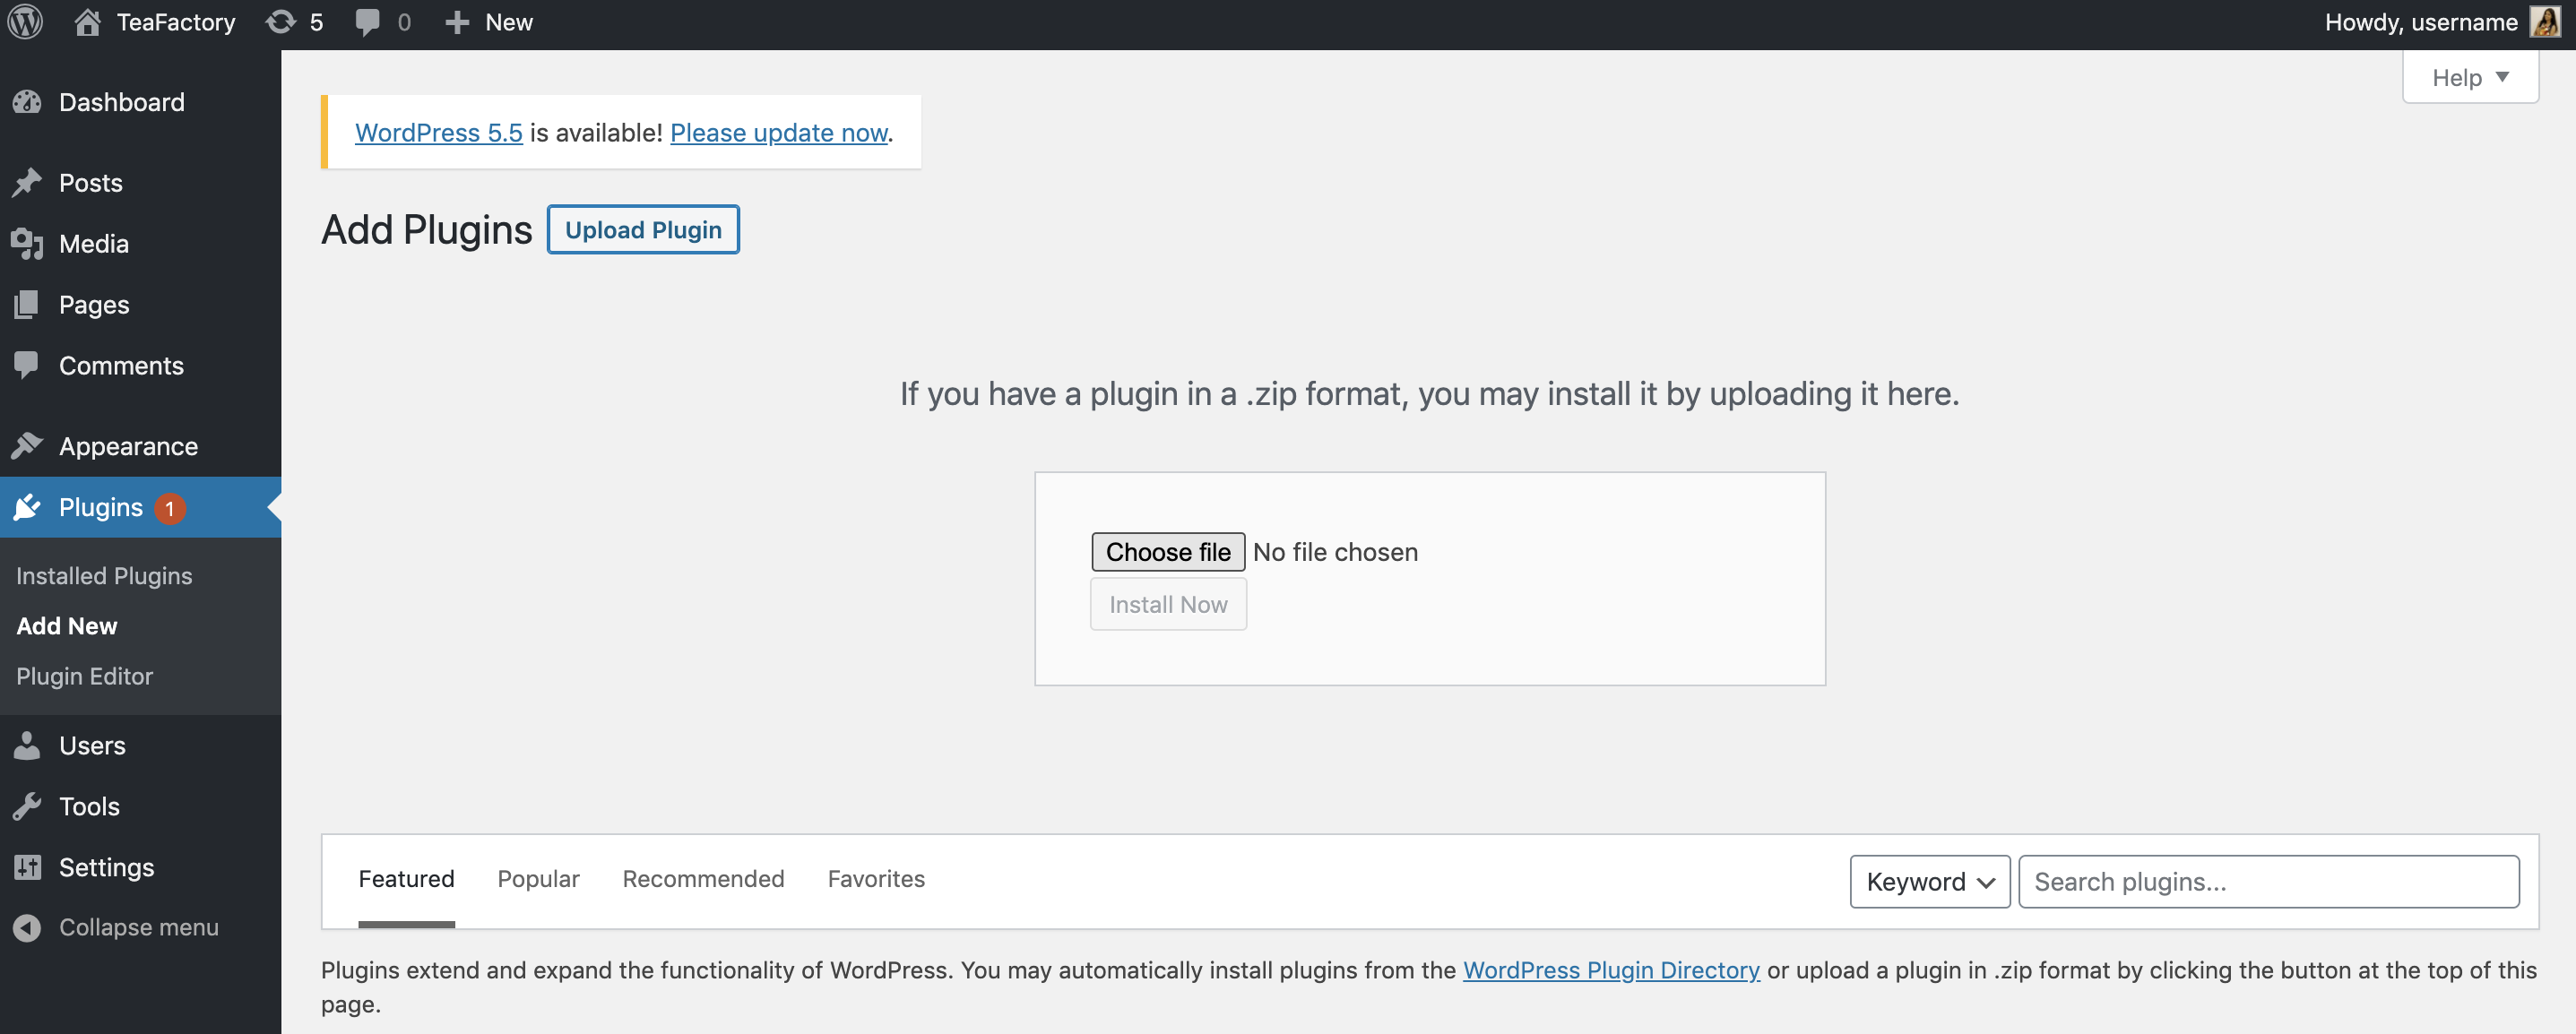
Open your WordPress site and navigate to Plugins → Add New.
-
Upload the plugin.
-
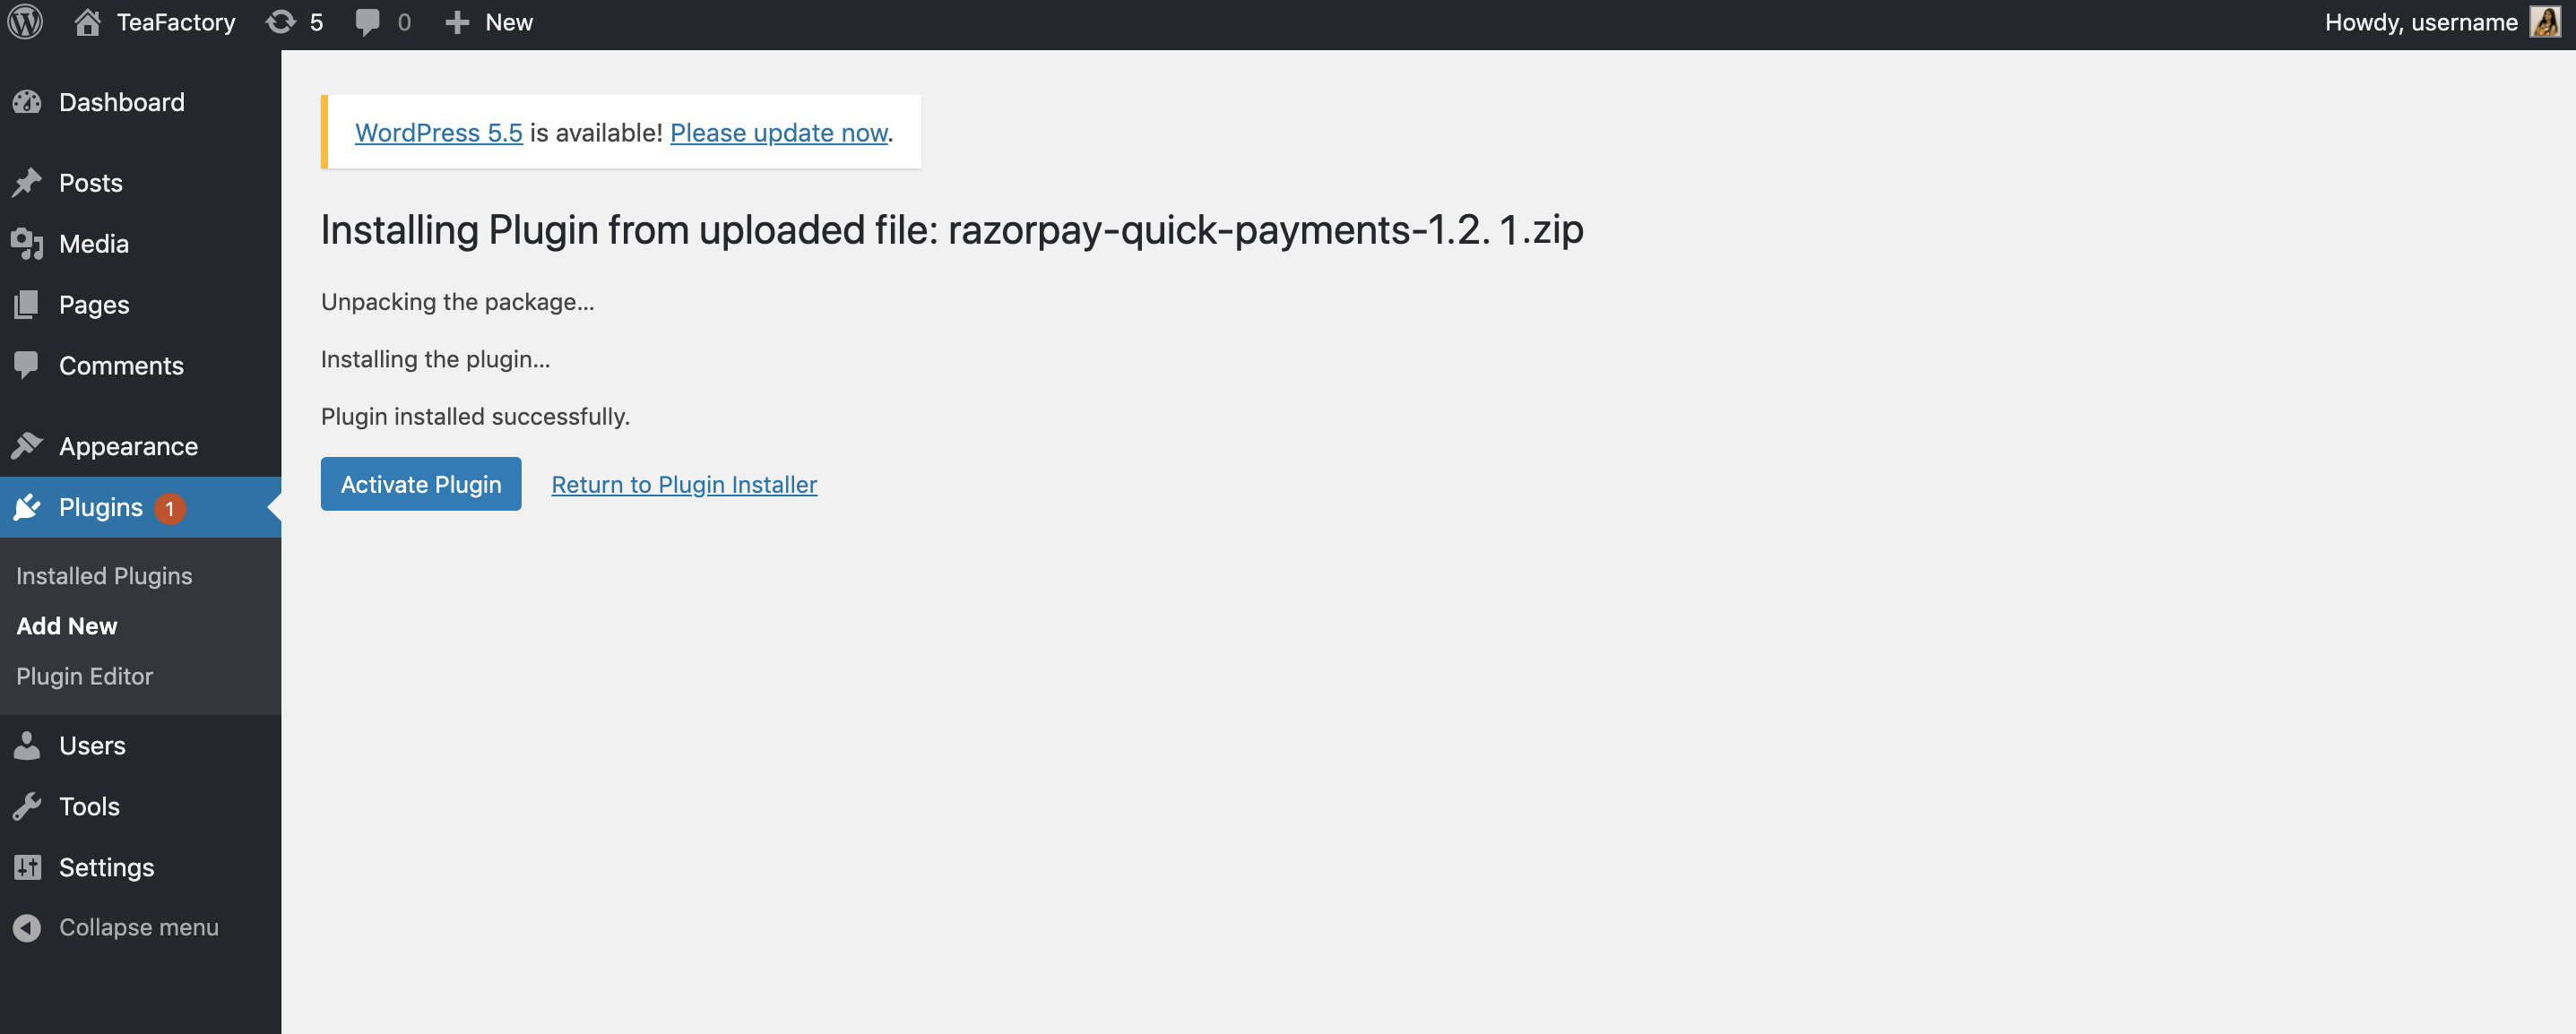
Click Activate Plugin.
-
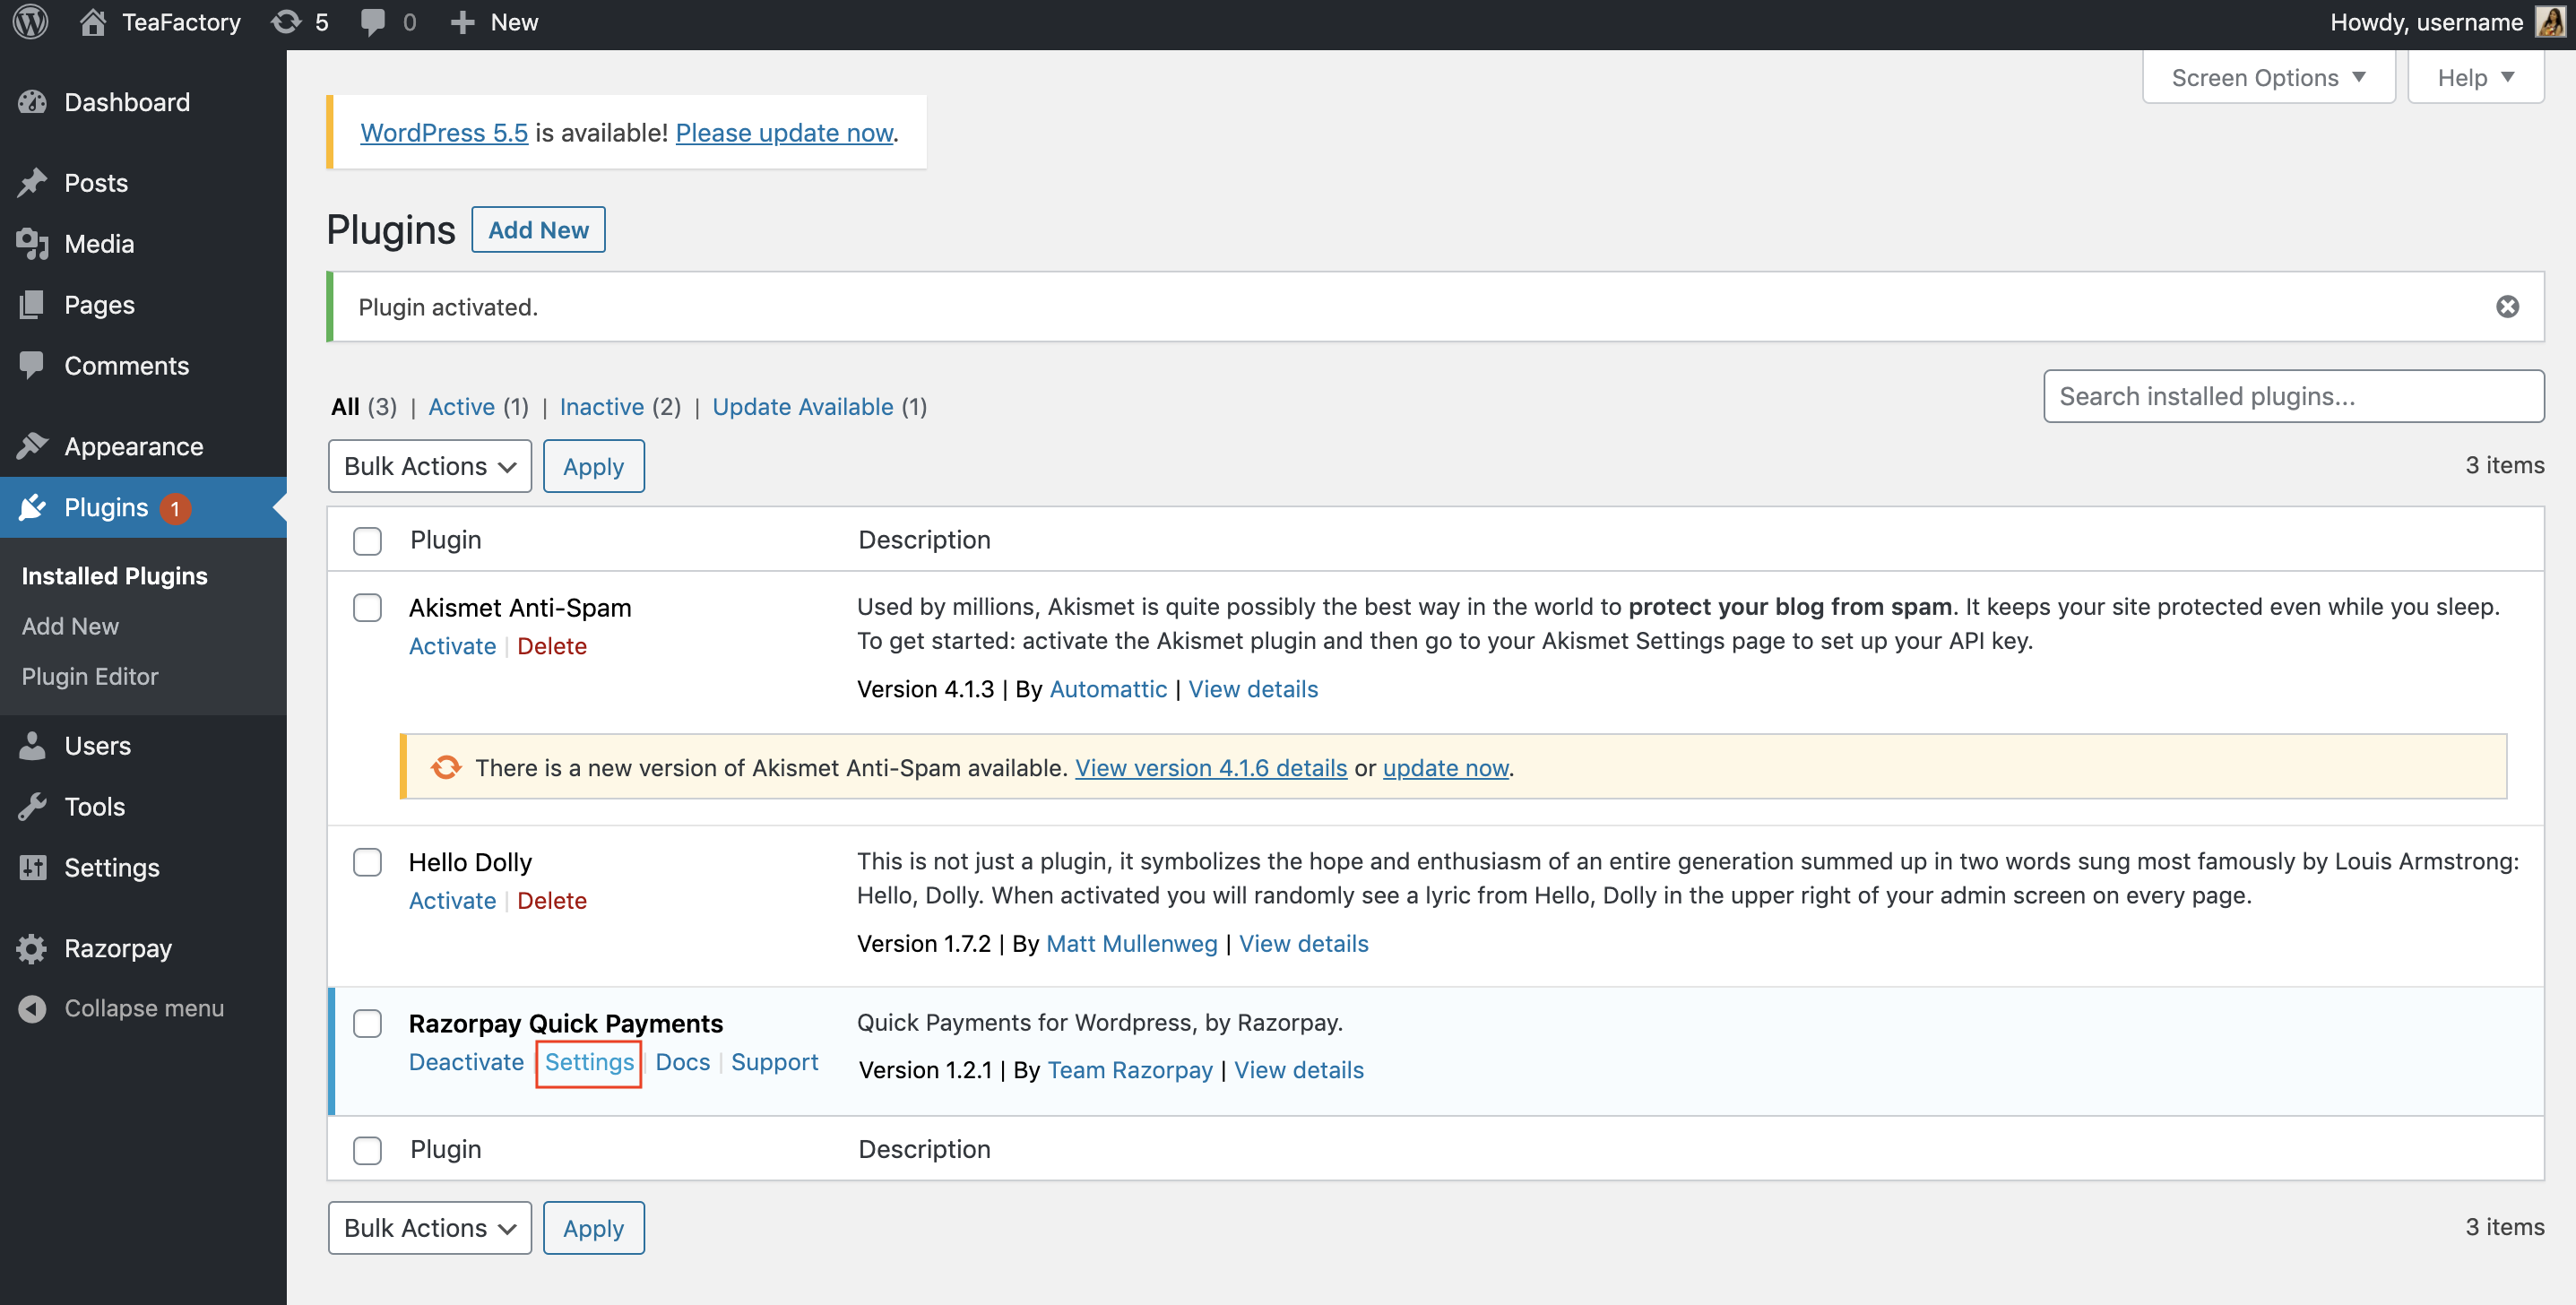
Click Settings.
-
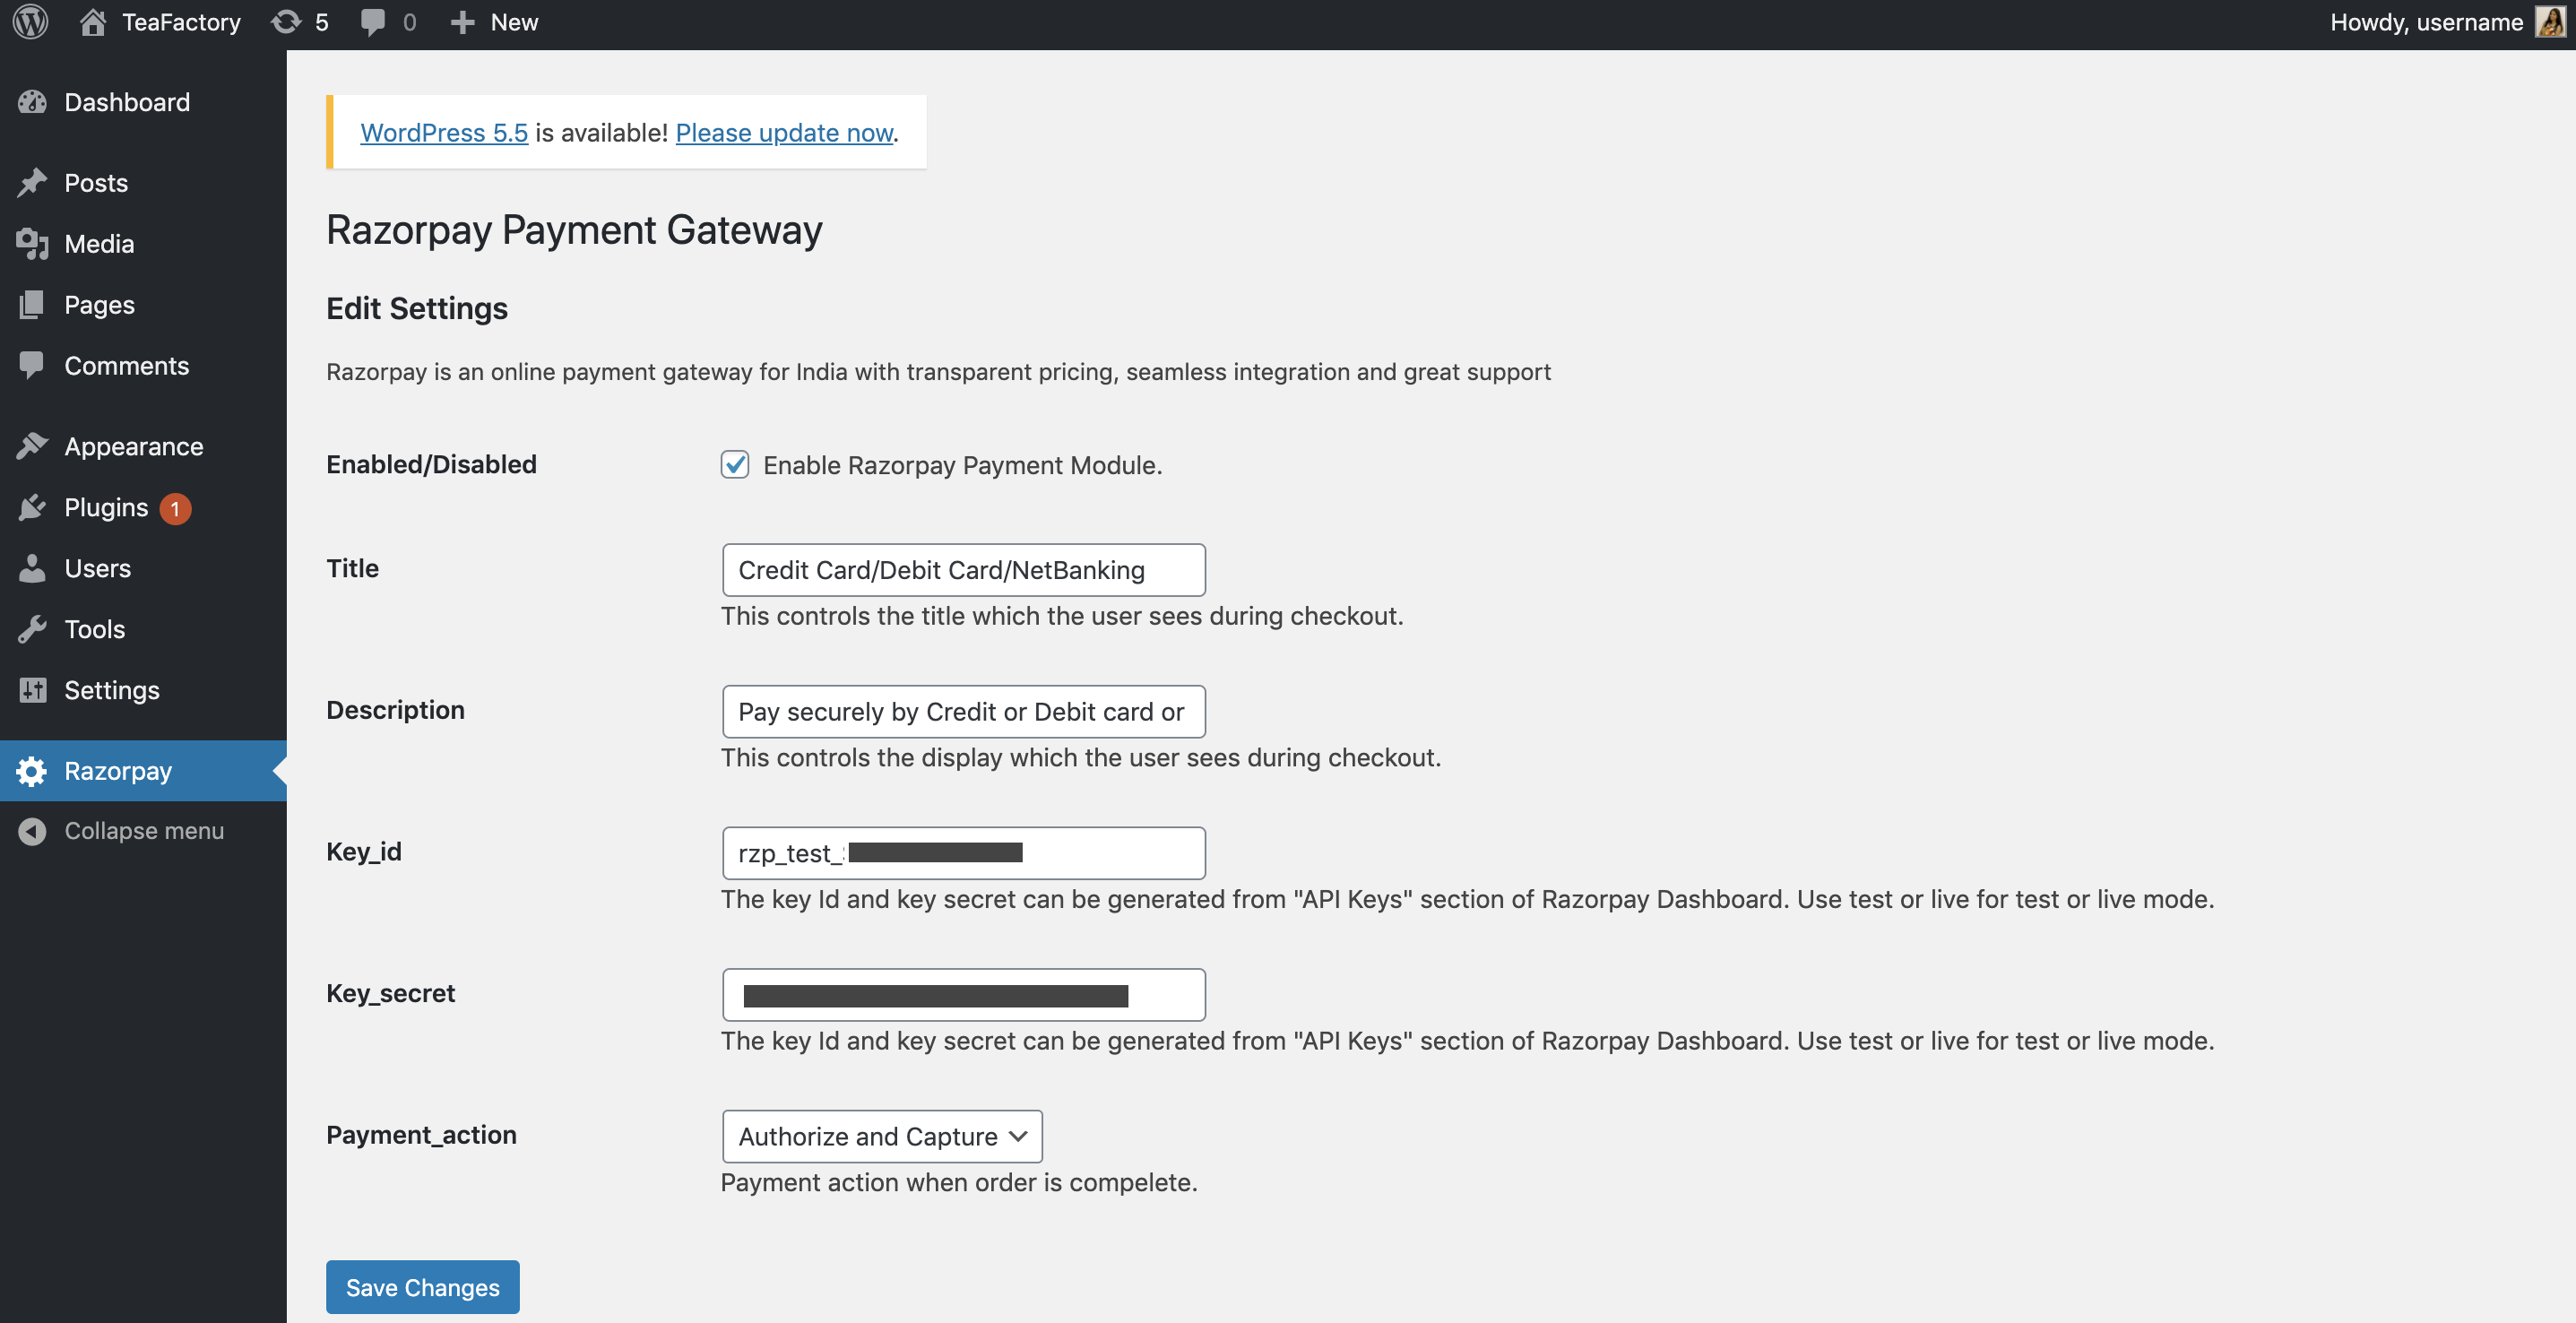
Make the following changes in the Edit Settings screen:
- Select Enable Razorpay Payment Module.
- Edit Title and Description as required.
- Add your [KEY_ID] and [KEY_SECRET]. These can be generated from your Dashboard.
- Set the Payment Action to Authorize and Capture to auto-capture payments.
- Click Save Changes.
-
In your WordPress site, open the page or blog post where you want the button to appear.
-
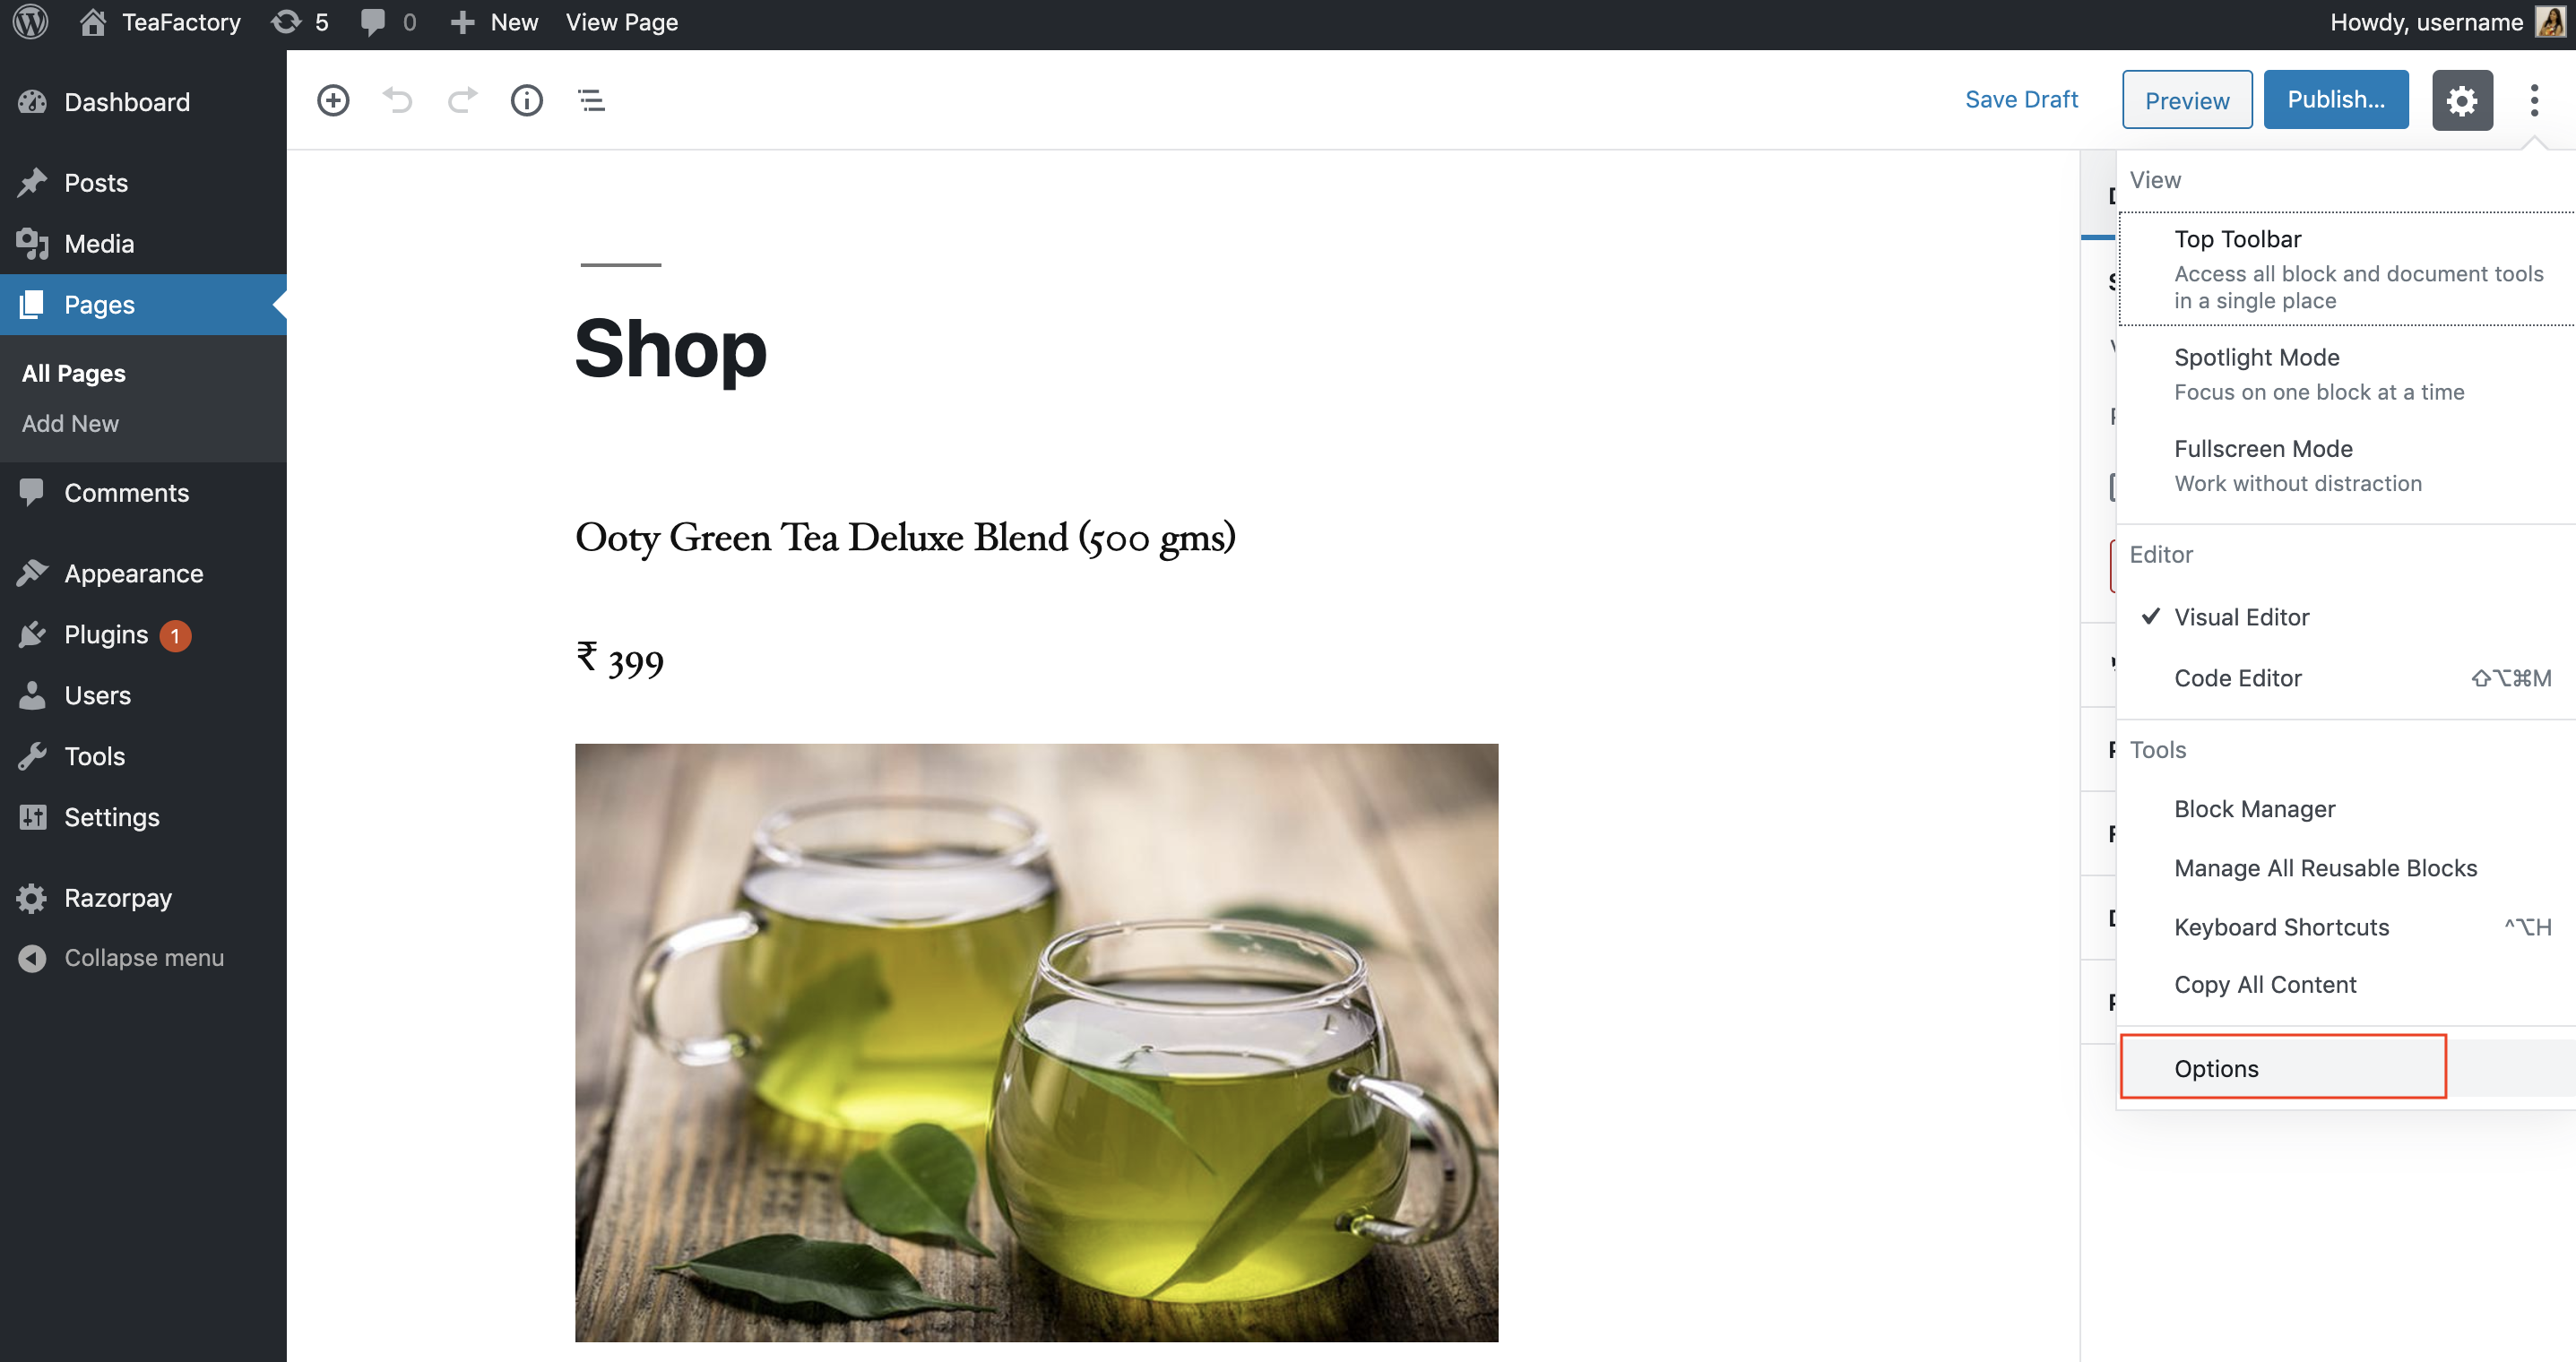
Click the more icon and select Options.
-
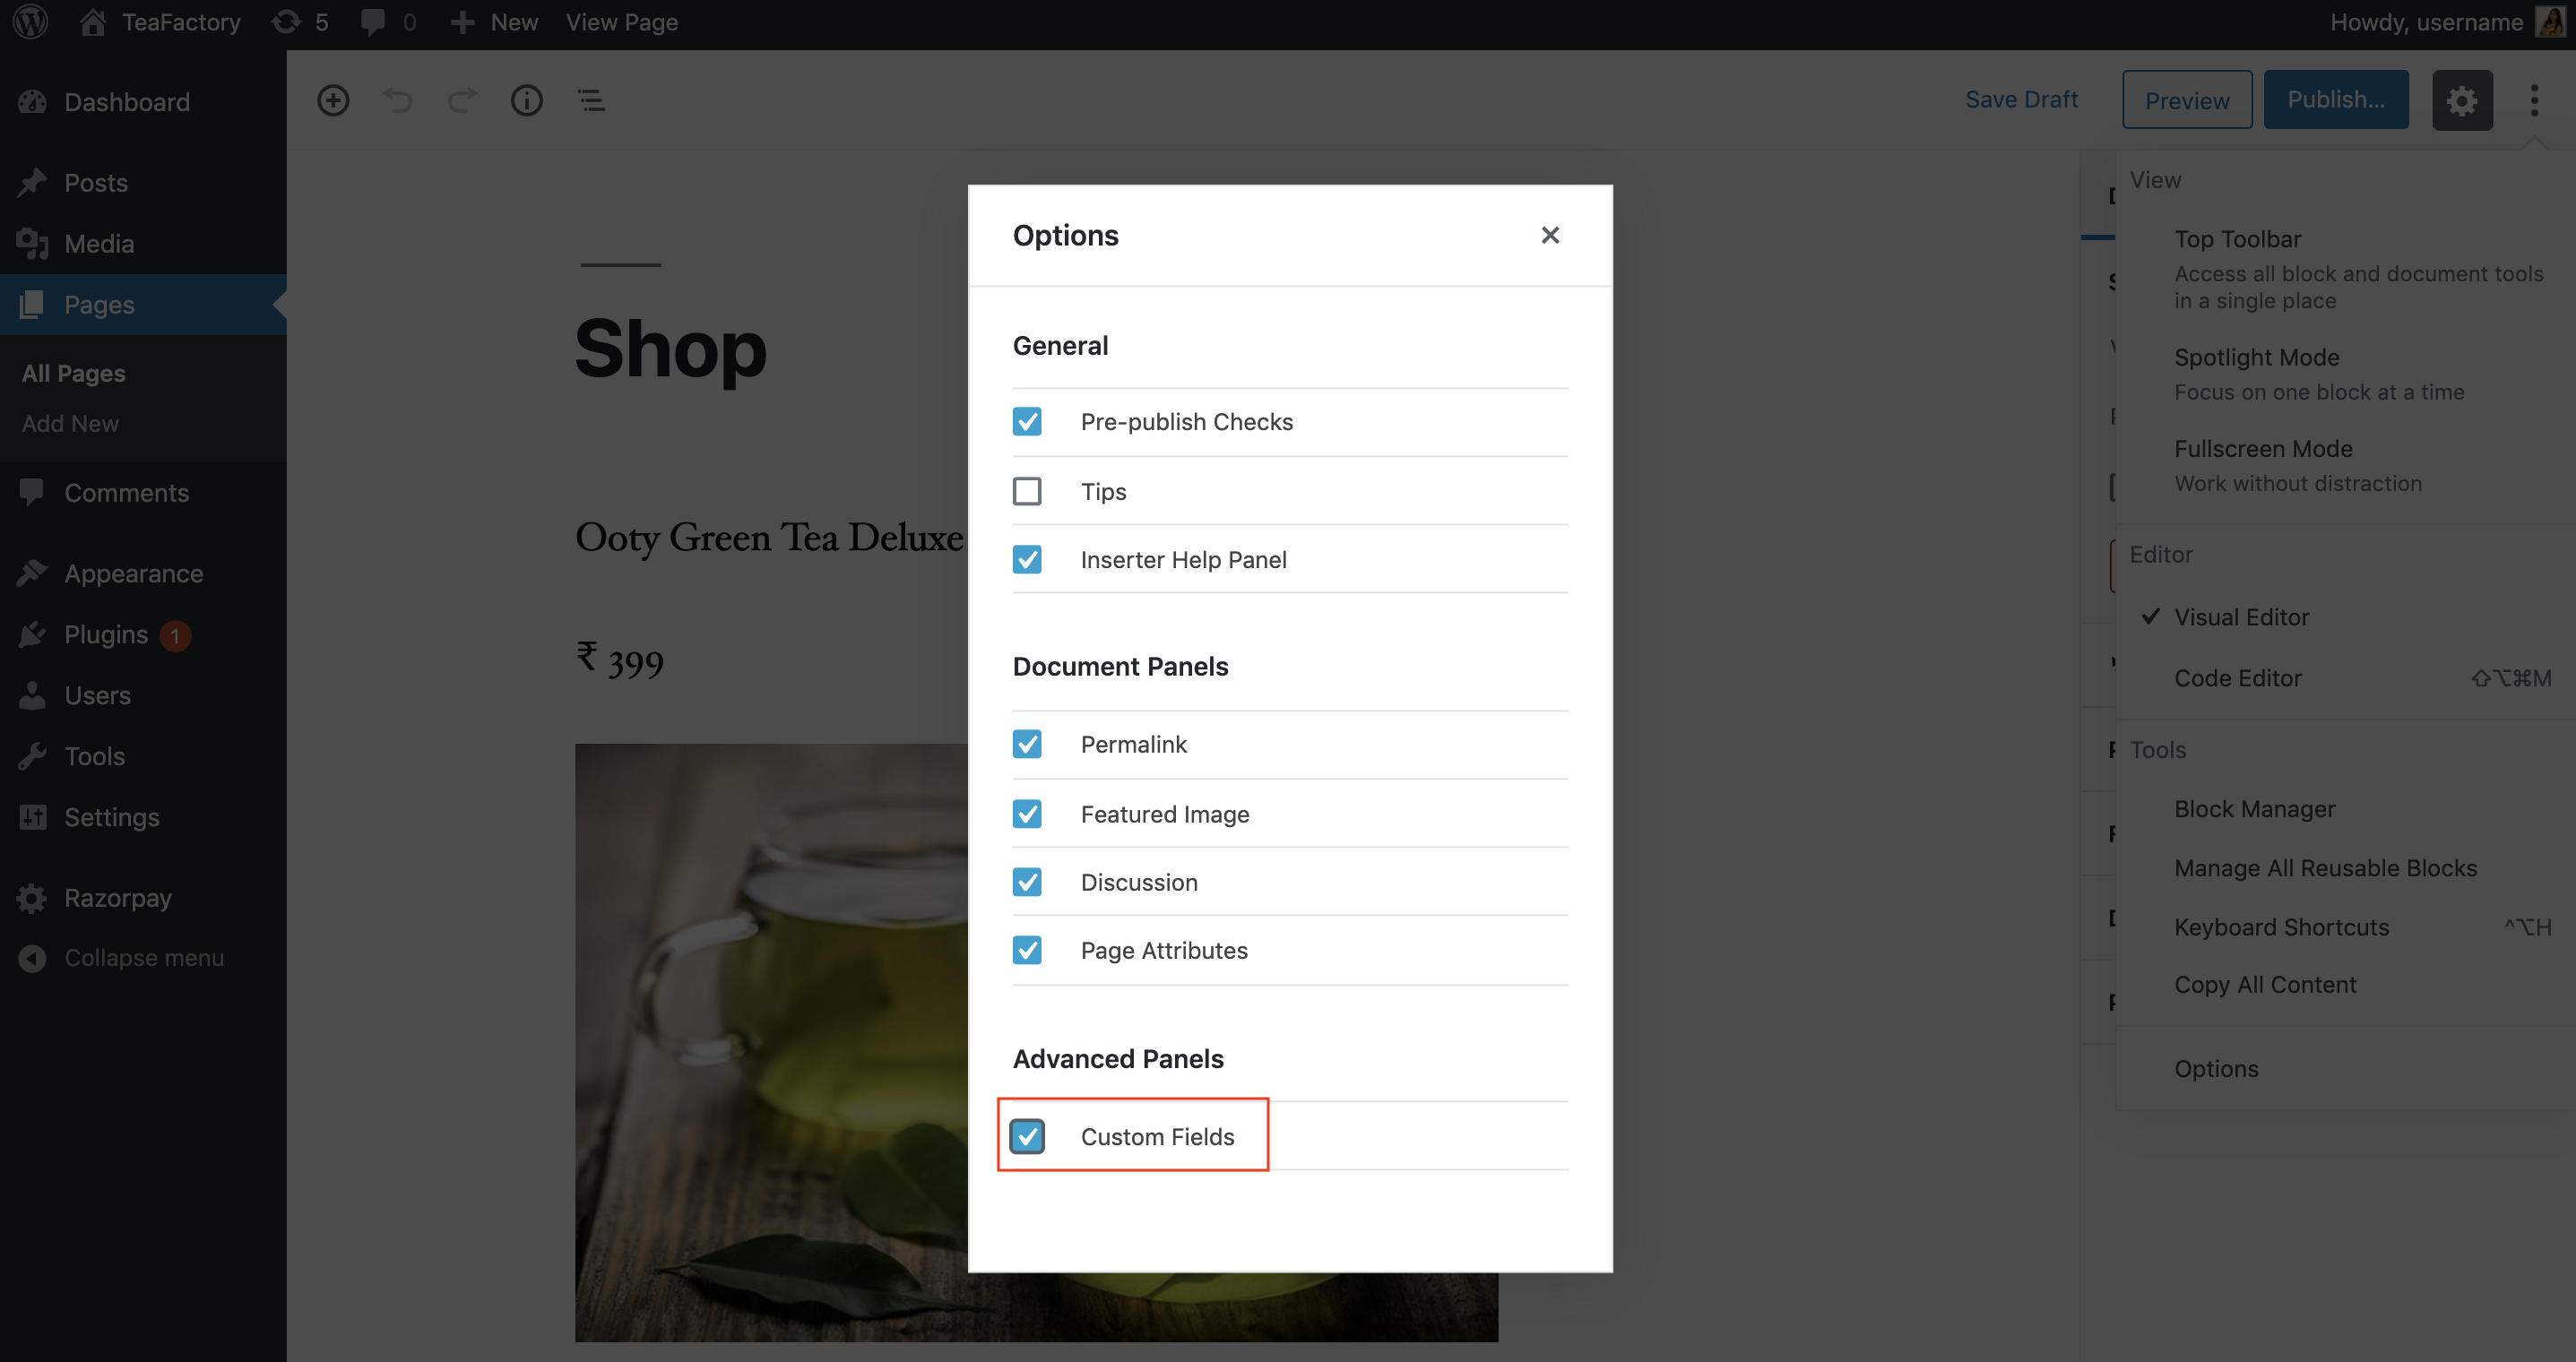
Enable the Custom Fields checkbox. Now you will have the option to add custom fields on your page/blog post.
-
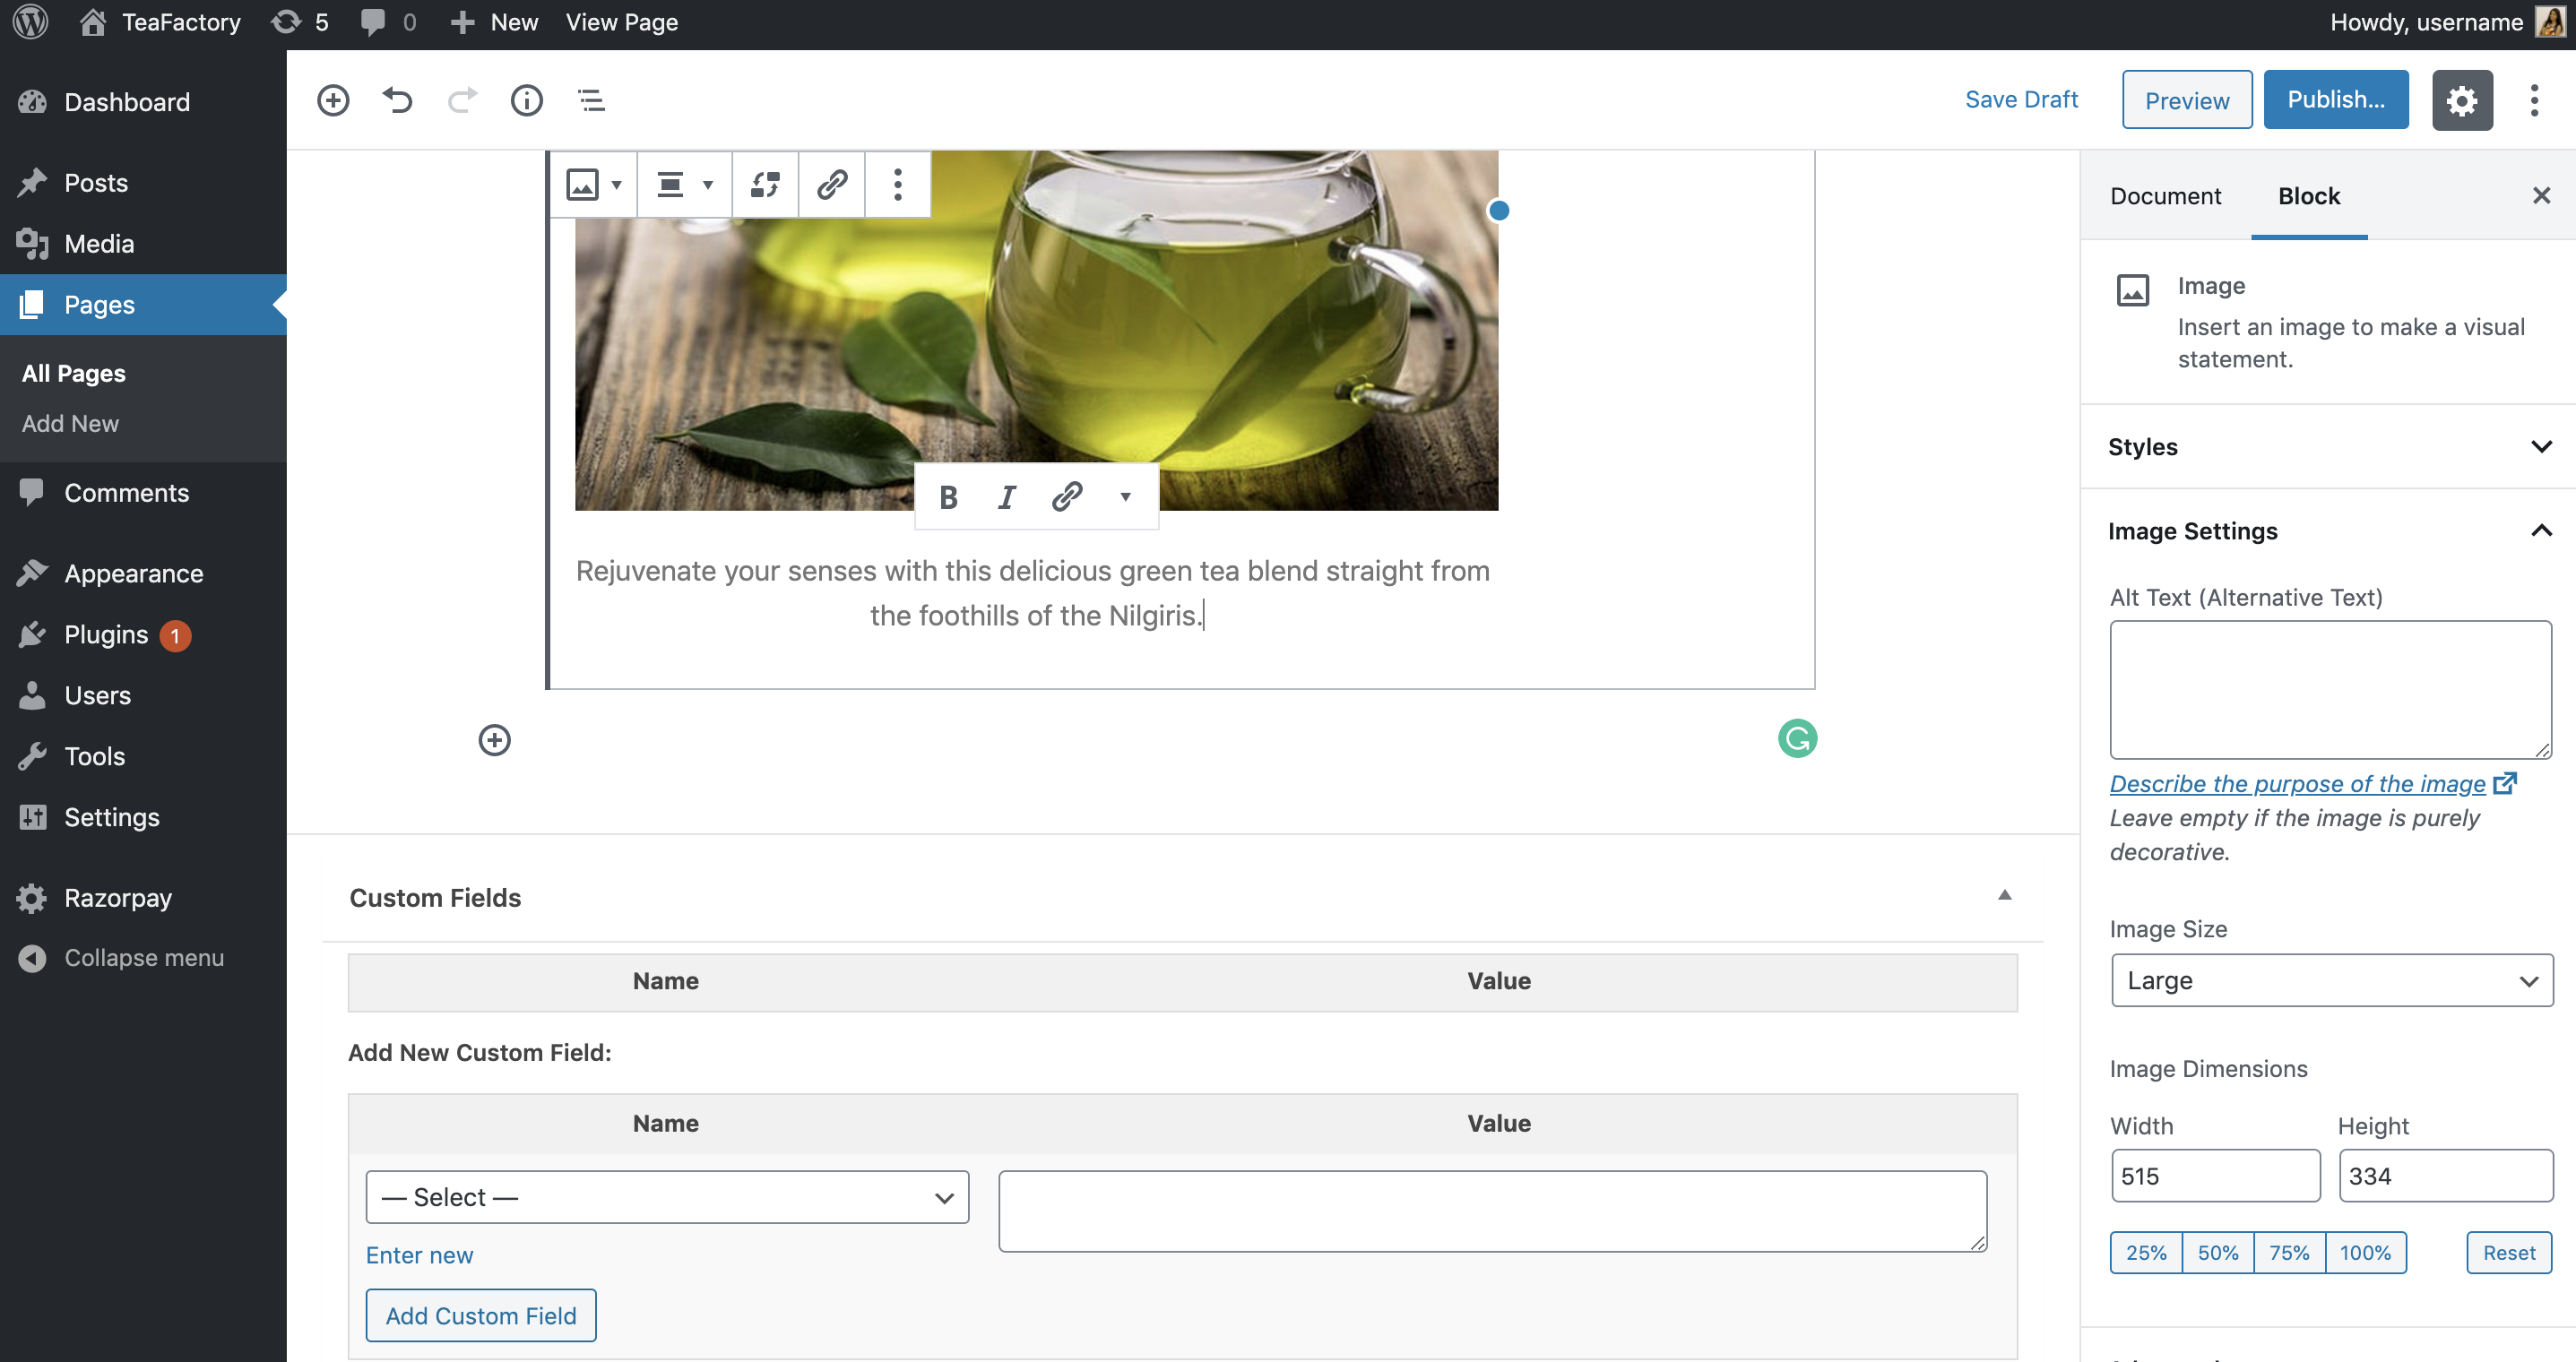
Scroll down the current page till you see the Custom fields section.
-
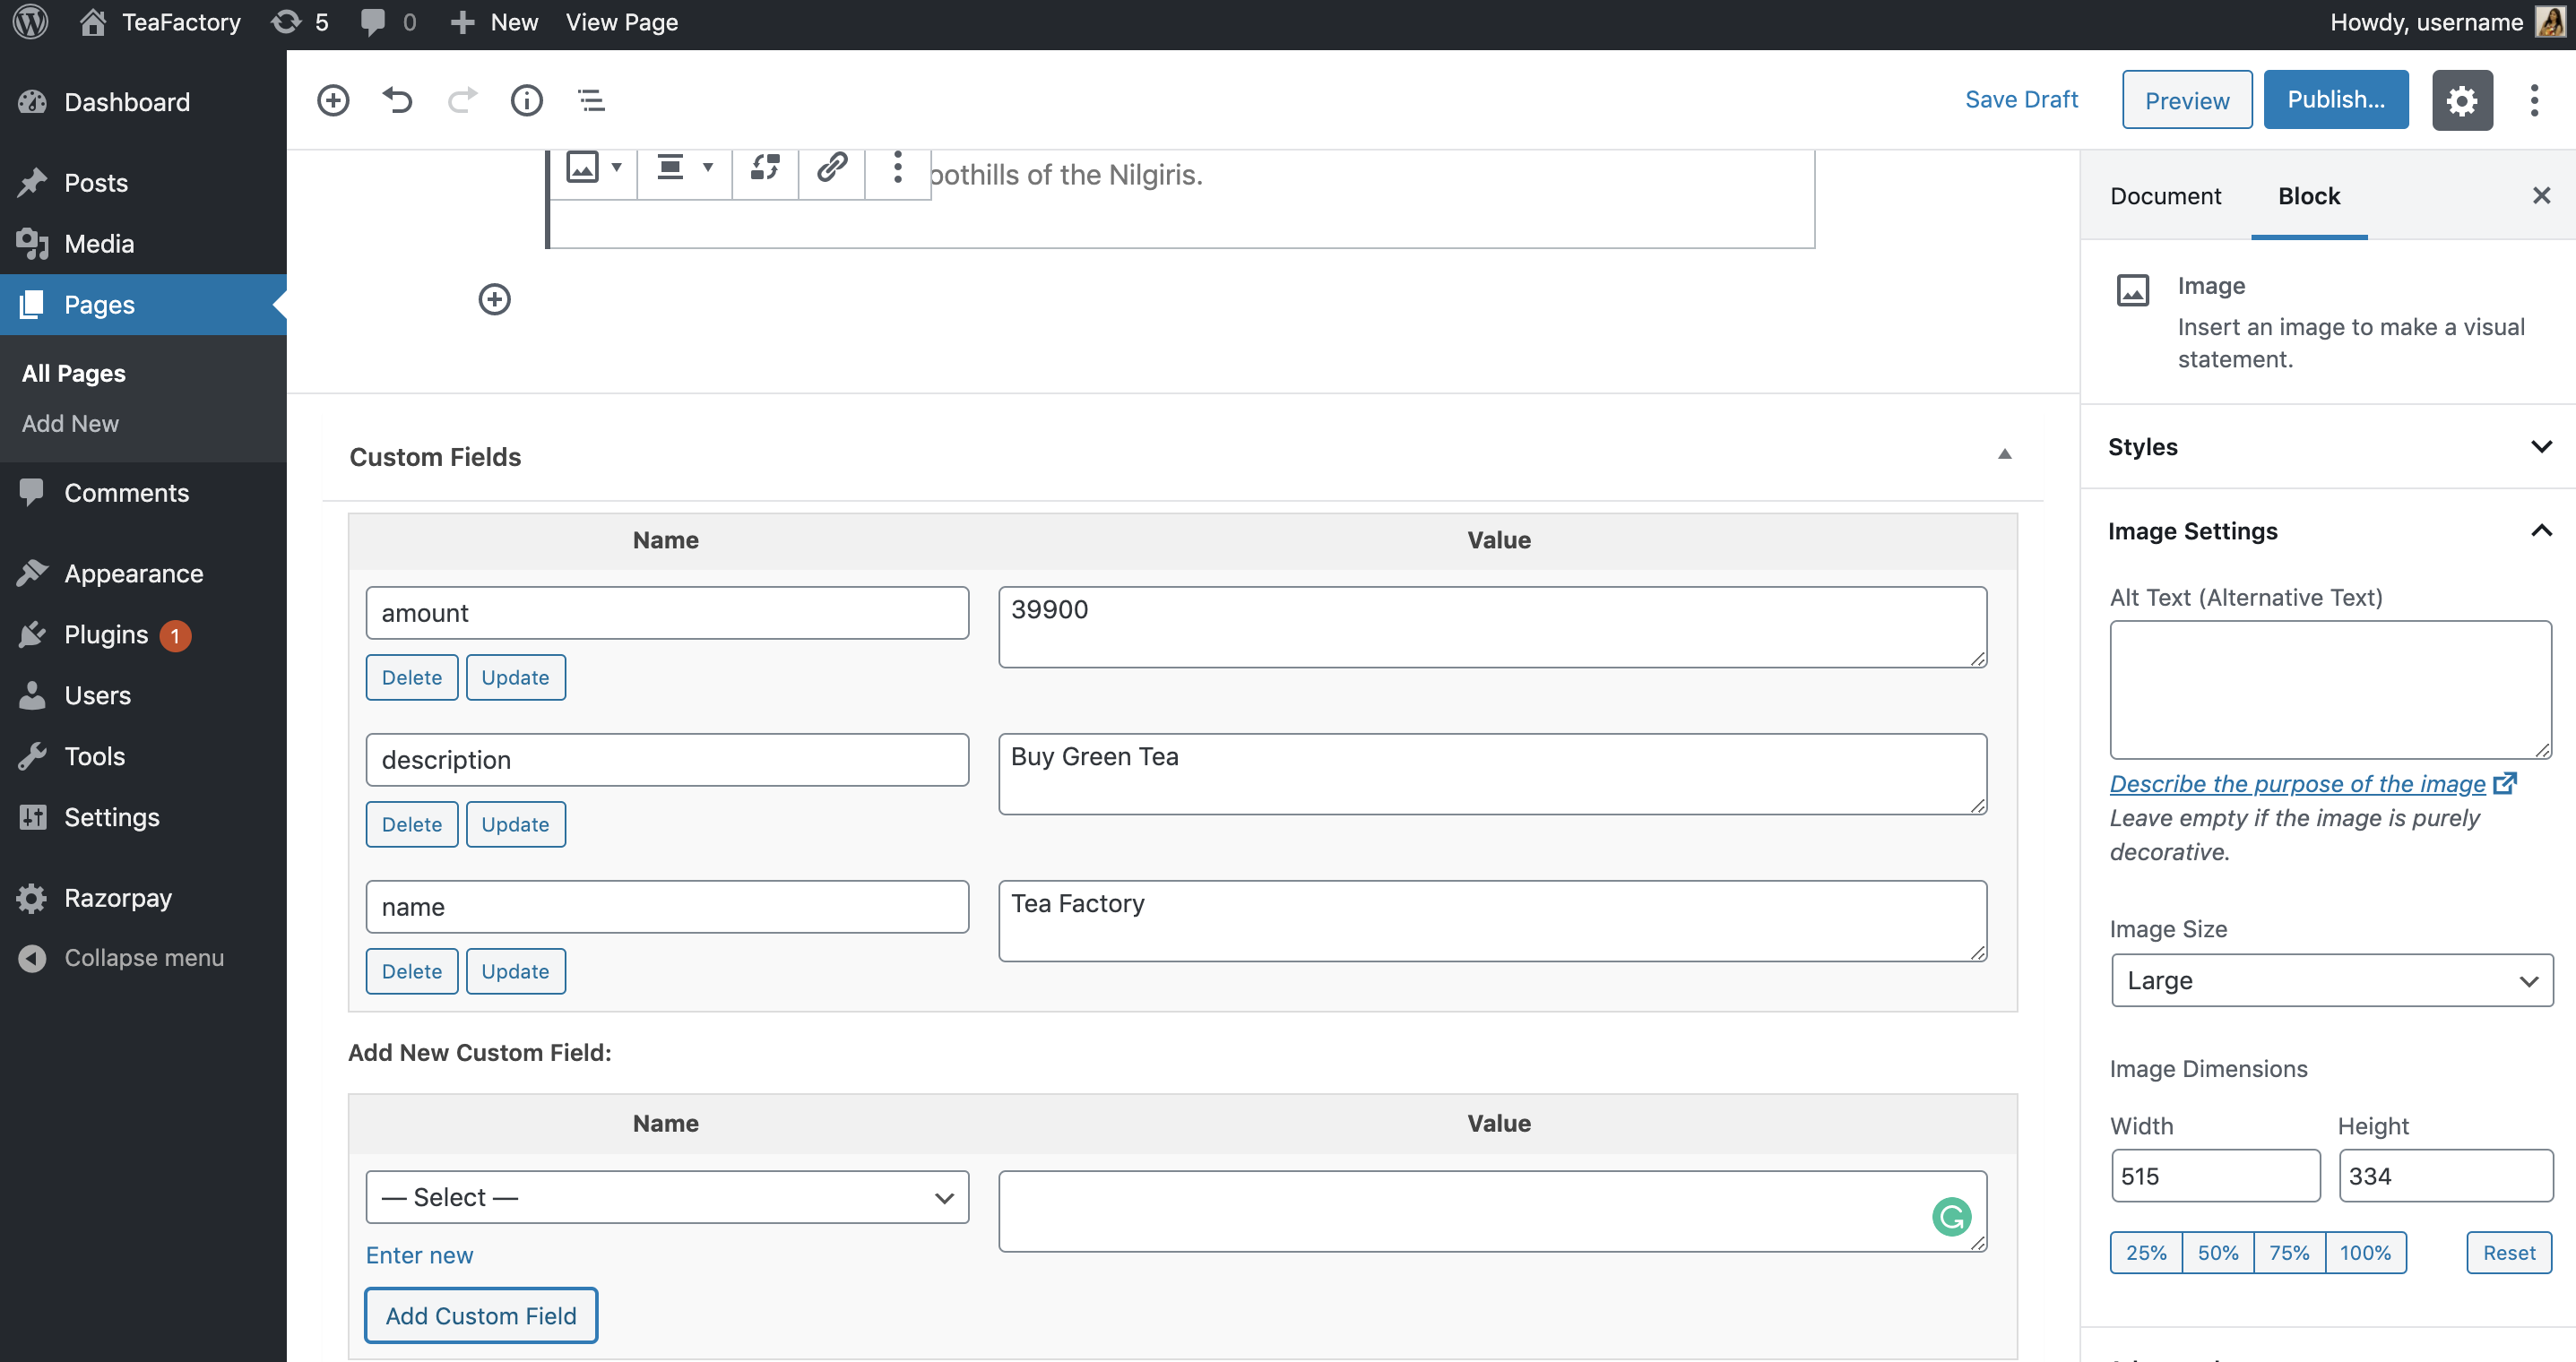
Add the following three custom fields as metadata:
- amount (in INR).
- name (name of the product).
- description (description of the product that is being sold).
Handy Tips
If you are using WordPress 4.8 or later, the custom fields can be added via Screen Option.
-
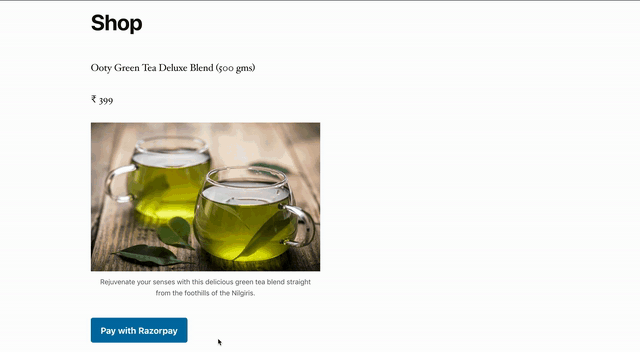
Add the [RZP](shortcode indicated by square brackets) in the content section to display the Pay with Razorpay button anywhere.

-
Publish or update the page. The page appears with the Pay with Razorpay button.
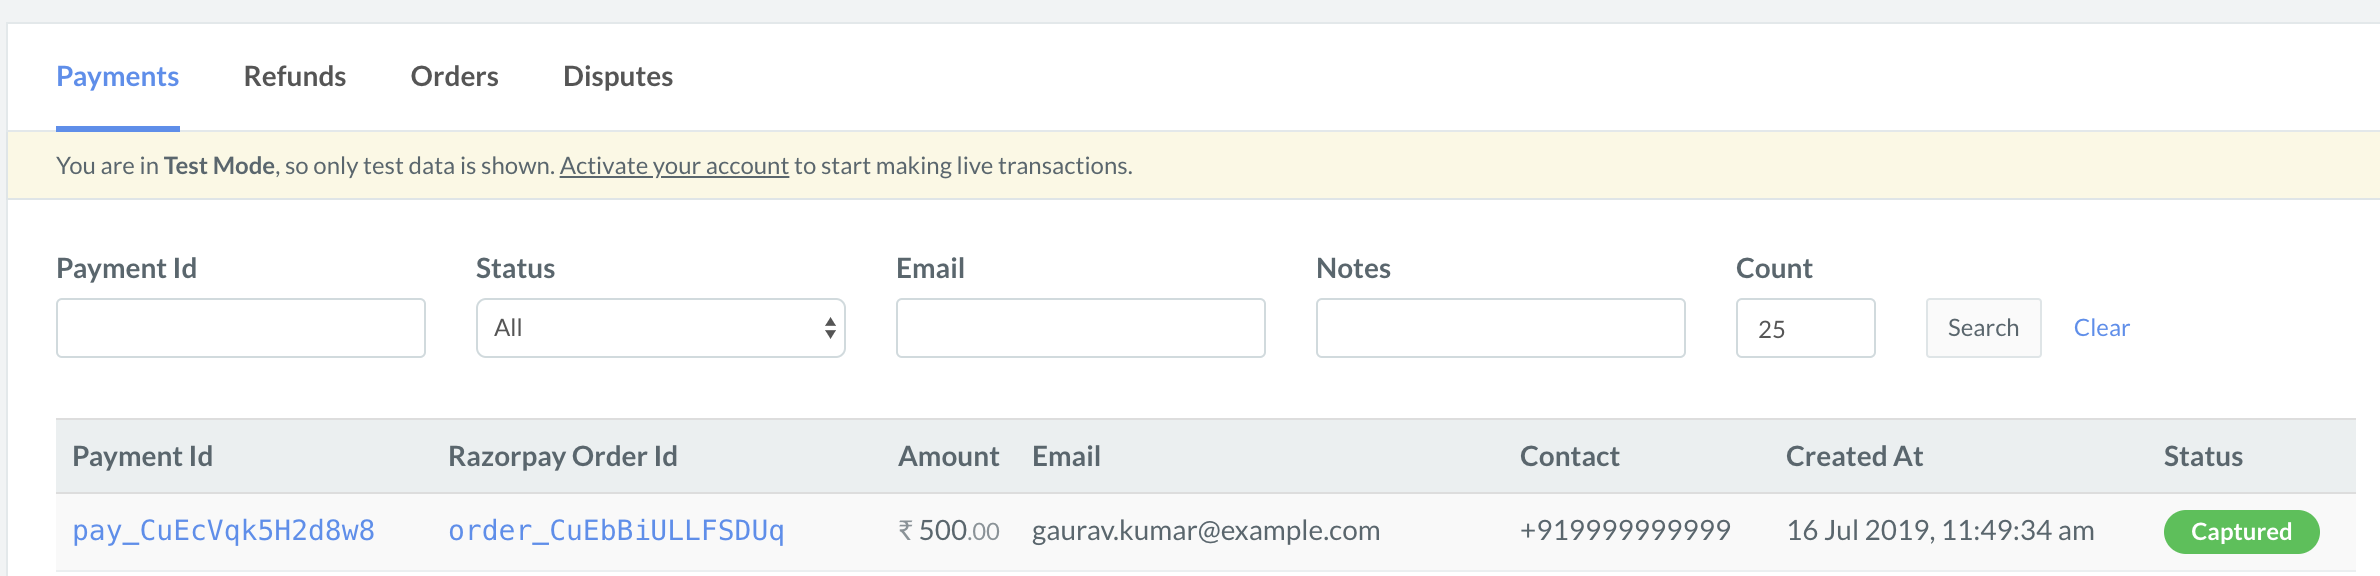
You can track the payment status from the Razorpay Dashboard, subscribe to the Webhook event or poll our APIs.
- Log into the Dashboard and navigate to Transactions → Payments.
- Check if a
payment_ID has been generated and note the status. In case of a successful payment, the status is marked as captured.
You can use Razorpay Webhooks to configure and receive notifications when a specific event occurs. When one of these events is triggered, we send an HTTP POST payload in JSON to the webhook's configured URL. Know how to set up Webhooks.
If you have subscribed to the order.paid webhook event, you will receive a notification every time a customer pays you for an order.
Step 2: Test Integration