1. Create an Application🔗
The first step towards building an OAuth integration is creating an application.
Applications are external entities visible to the user. Internally, however, Razorpay OAuth works with clients identified by their client_id.
When you create an application on Razorpay, we generate two clients linked to the application - development and production clients. Each client has its own client_id and client_secret. You can use the development client in your sandbox environment or during the integration phase, and the production client once you go live.
Given below is a comparison of the development and production clients:
Particulars | Development Client | Production Client |
|---|---|---|
Redirect URI | Can have any type of Redirect URIs whitelisted, including non-HTTP and localhost. | Cannot use non-HTTPS Redirect URIs. |
Test and Live Mode Access | Can access both modes. | Can access only live mode data. |
Watch Out!
Only an Admin user can create applications on the Razorpay Dashboard.
To create an application:
-
Log into the Razorpay Dashboard.
-
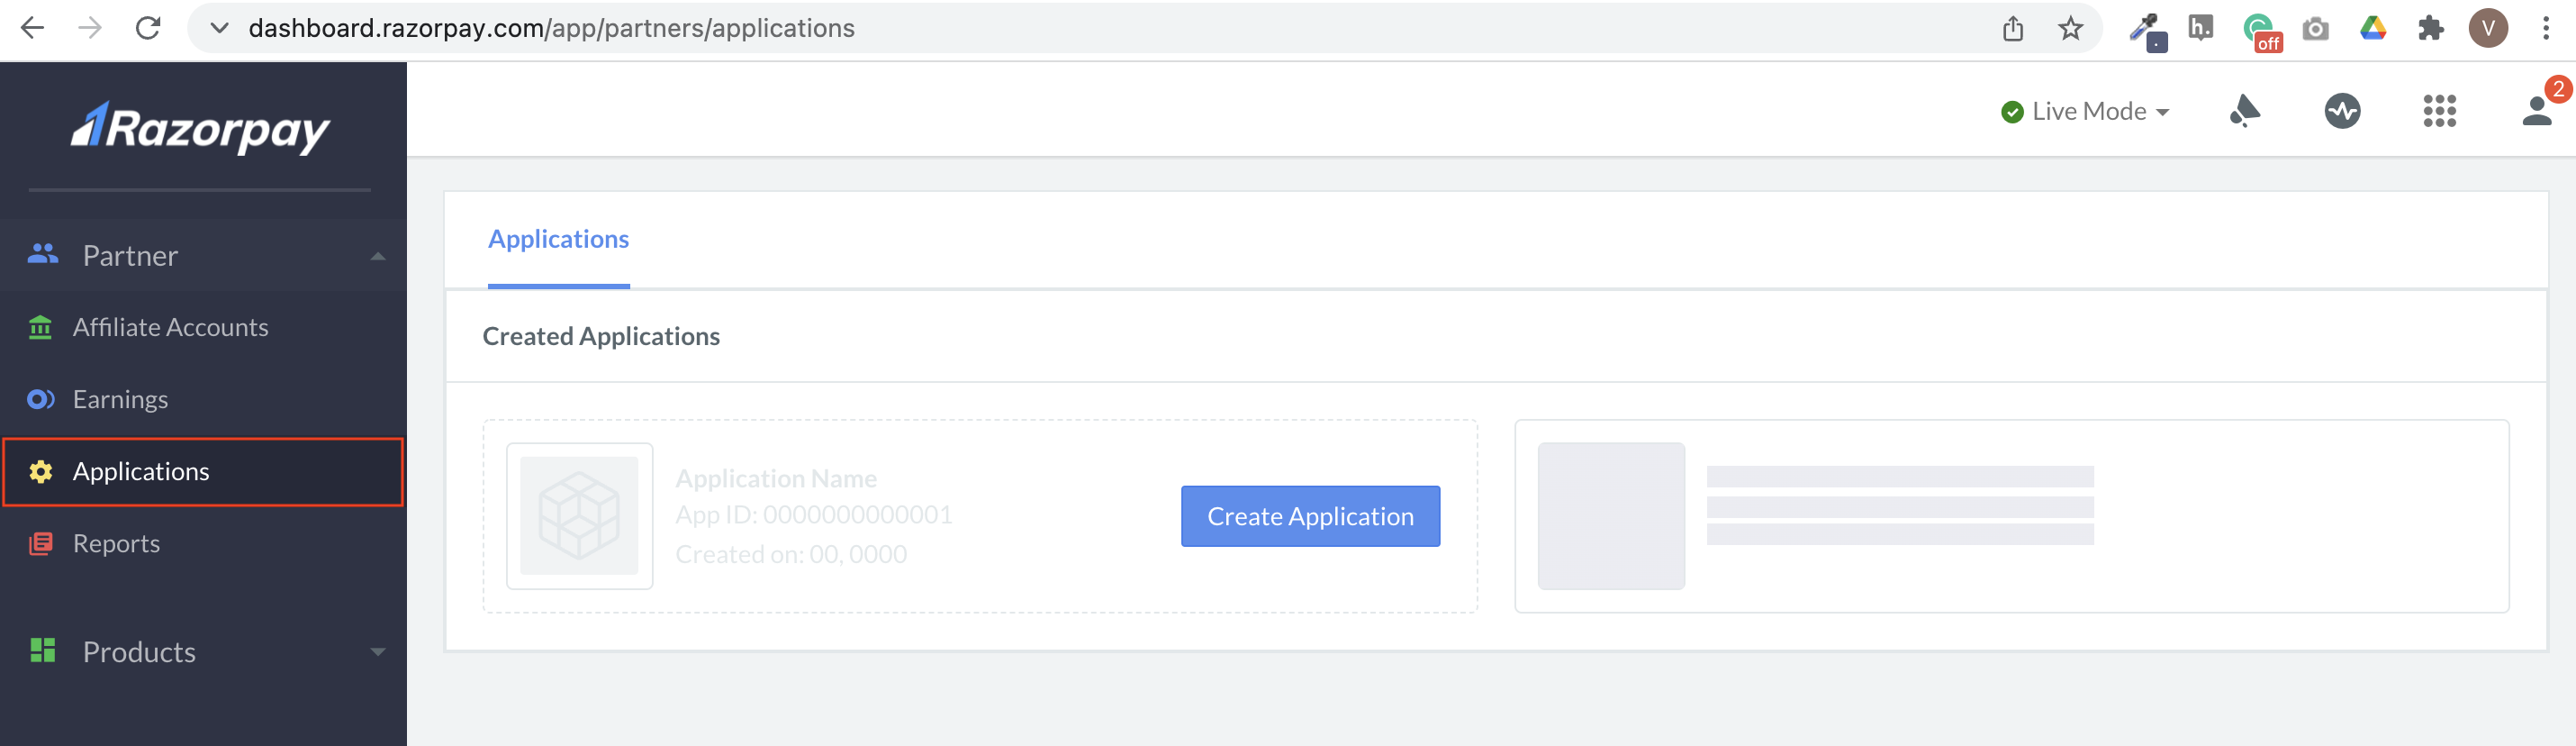
Navigate to Applications.
-
Click Create Application under Created Applications.
-
Provide the following details and click Save.
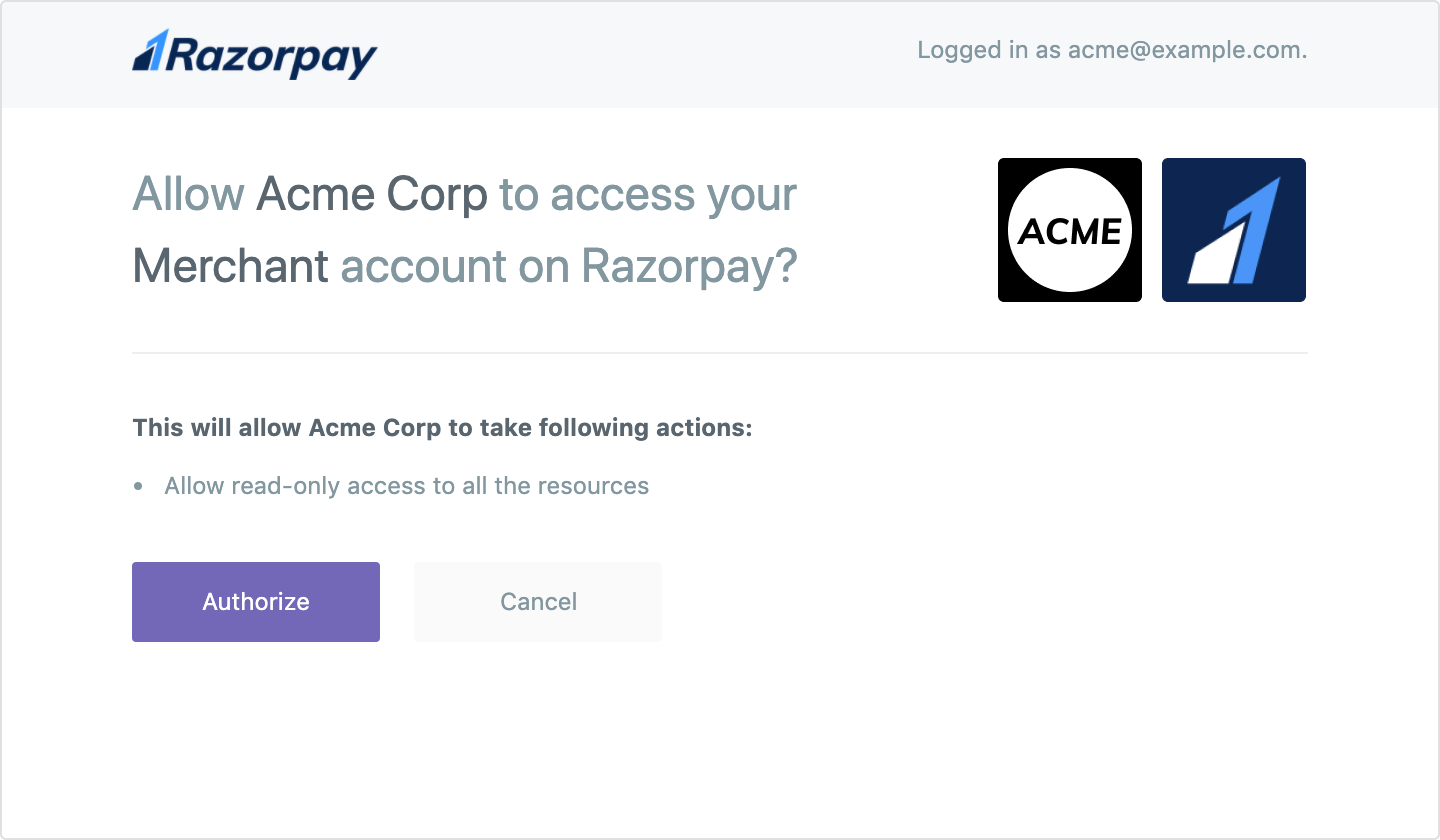
- Name: The application name provided here is displayed on the Razorpay authorisation interface.
- Website: Enter the URL of the application's website.
- Logo: Upload a square image for application logo. If logo is absent, a default logo is used.

The following fields are displayed after the application is created, for development and production clients. These are read-only:
-
Client ID: Publicly exposed identifier of the client which is generated uniquely. It helps identify your application on Razorpay.
-
Client Secret: Privately shared string between the application and Razorpay. Do not expose the client secret publicly. It helps to authenticate the identity of the application on server-to-server API calls.
-
Redirect URIs: A whitelisted set of URIs defined during creation. Production clients can only use secure HTTPS URIs to prevent man-in-the-middle attacks. You can define multiple redirect URIs.
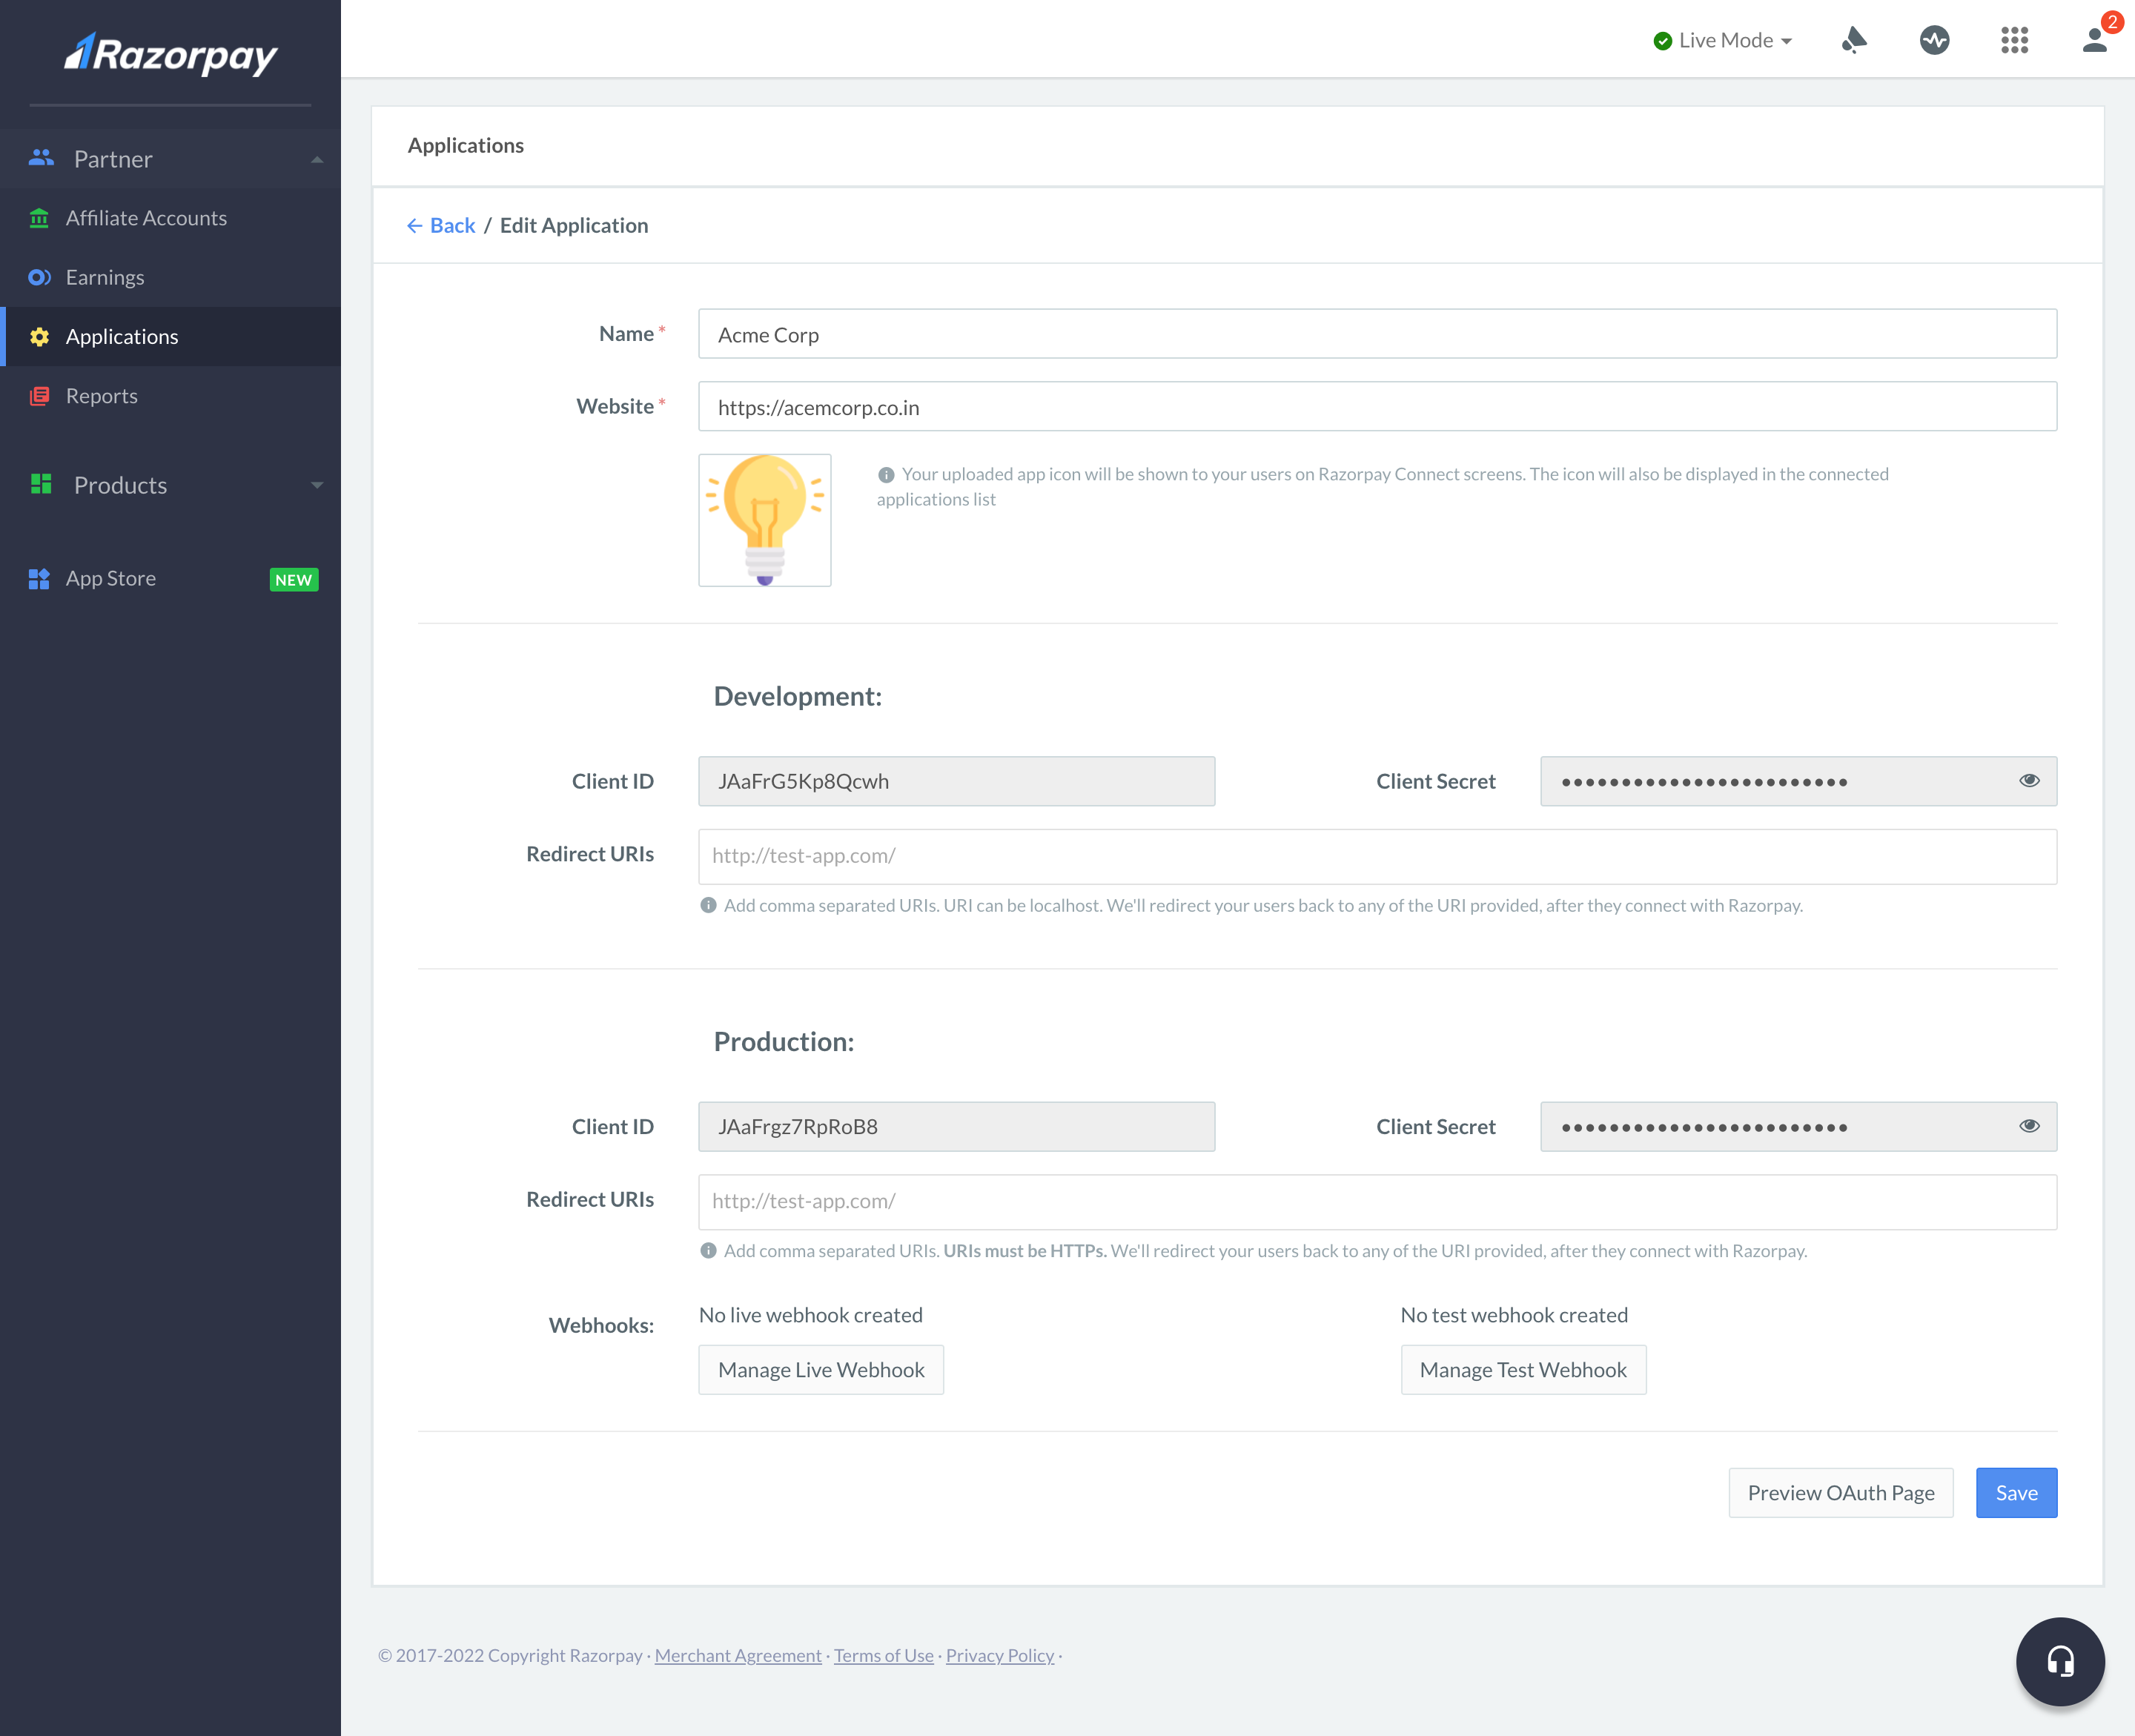
- Edit the Redirect URIs for your clients if needed.
- Click Save.