Subscribe to Webhooks
Setup and manage webhooks for your client application from your Razorpay Dashboard.
Webhooks allow you to build or set up integrations that subscribe to certain Razorpay events on merchant resources. When one of those events is triggered, we send an HTTP POST payload in JSON to a specific URL.
Webhooks can be configured and managed independently for each application you create on your Razorpay Dashboard, thereby giving you greater control over your notifications.
Refer the webhook documentation to know more about Razorpay Webhooks.
Set Up Webhooks🔗
Managing webhooks for individual applications follows the same procedure as managing account webhooks.
Handy Tips
If you are just starting off and have not created an application yet, refer the create application section to create an app.
Follow these steps to set up webhooks:
-
Log into the Razorpay Dashboard.
-
Navigate to Applications.
-
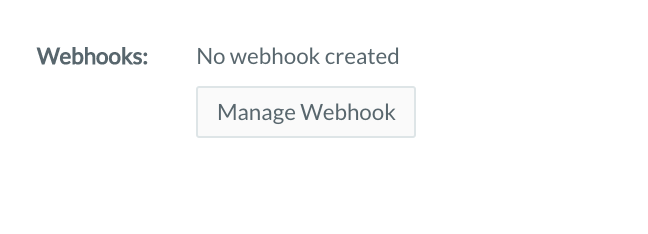
On a created application, click Manage Webhook.
-
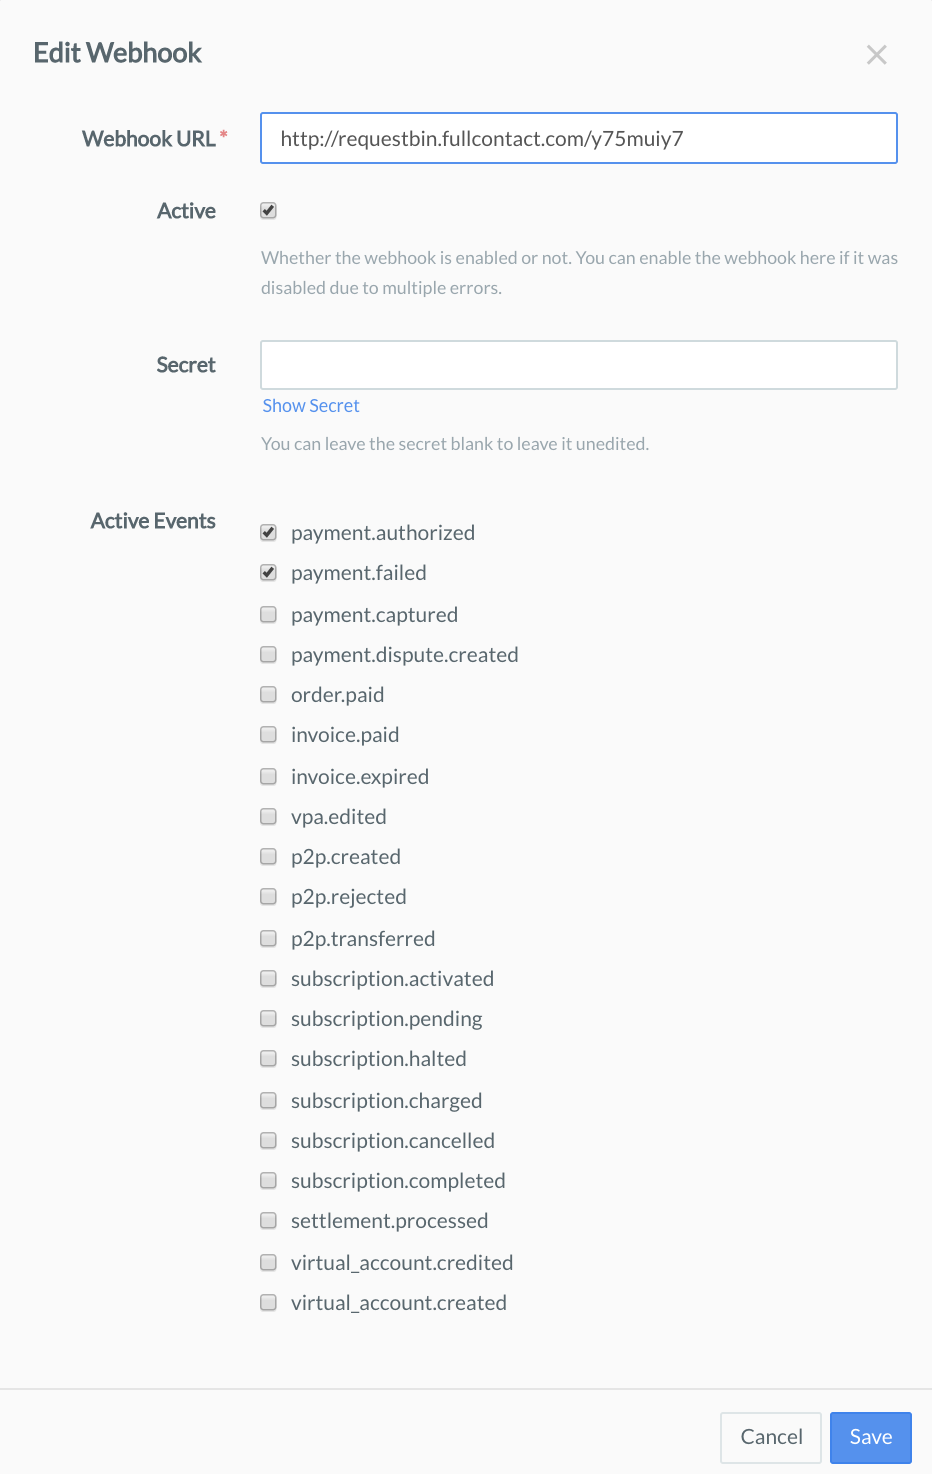
Enter the Webhook URL where you will receive the webhook payload when the event is triggered.
-
Create a new Secret. This field is optional.
Handy Tips
The Secret can be used to validate that the webhook is from Razorpay, thus it should not be exposed publicly. On the UI, the Secret will not be shown after creation. You can leave the Secret blank to leave it unedited. -
Select the event(s) you want to activate the webhook for from the list of available events.
-
Click Save to enable the webhook.
To validate your webhook signature, refer the Validation section.
Handy Tips
Use the Test mode on the Dashboard to test the webhooks.
ON THIS PAGE