Sign Up🔗
Watch this video to see how to sign up for a Razorpay account.
To create a Razorpay account:
-
Go to the Razorpay website and click Sign Up.
-
Enter your work email address and a password for your Razorpay account and click Create Account.
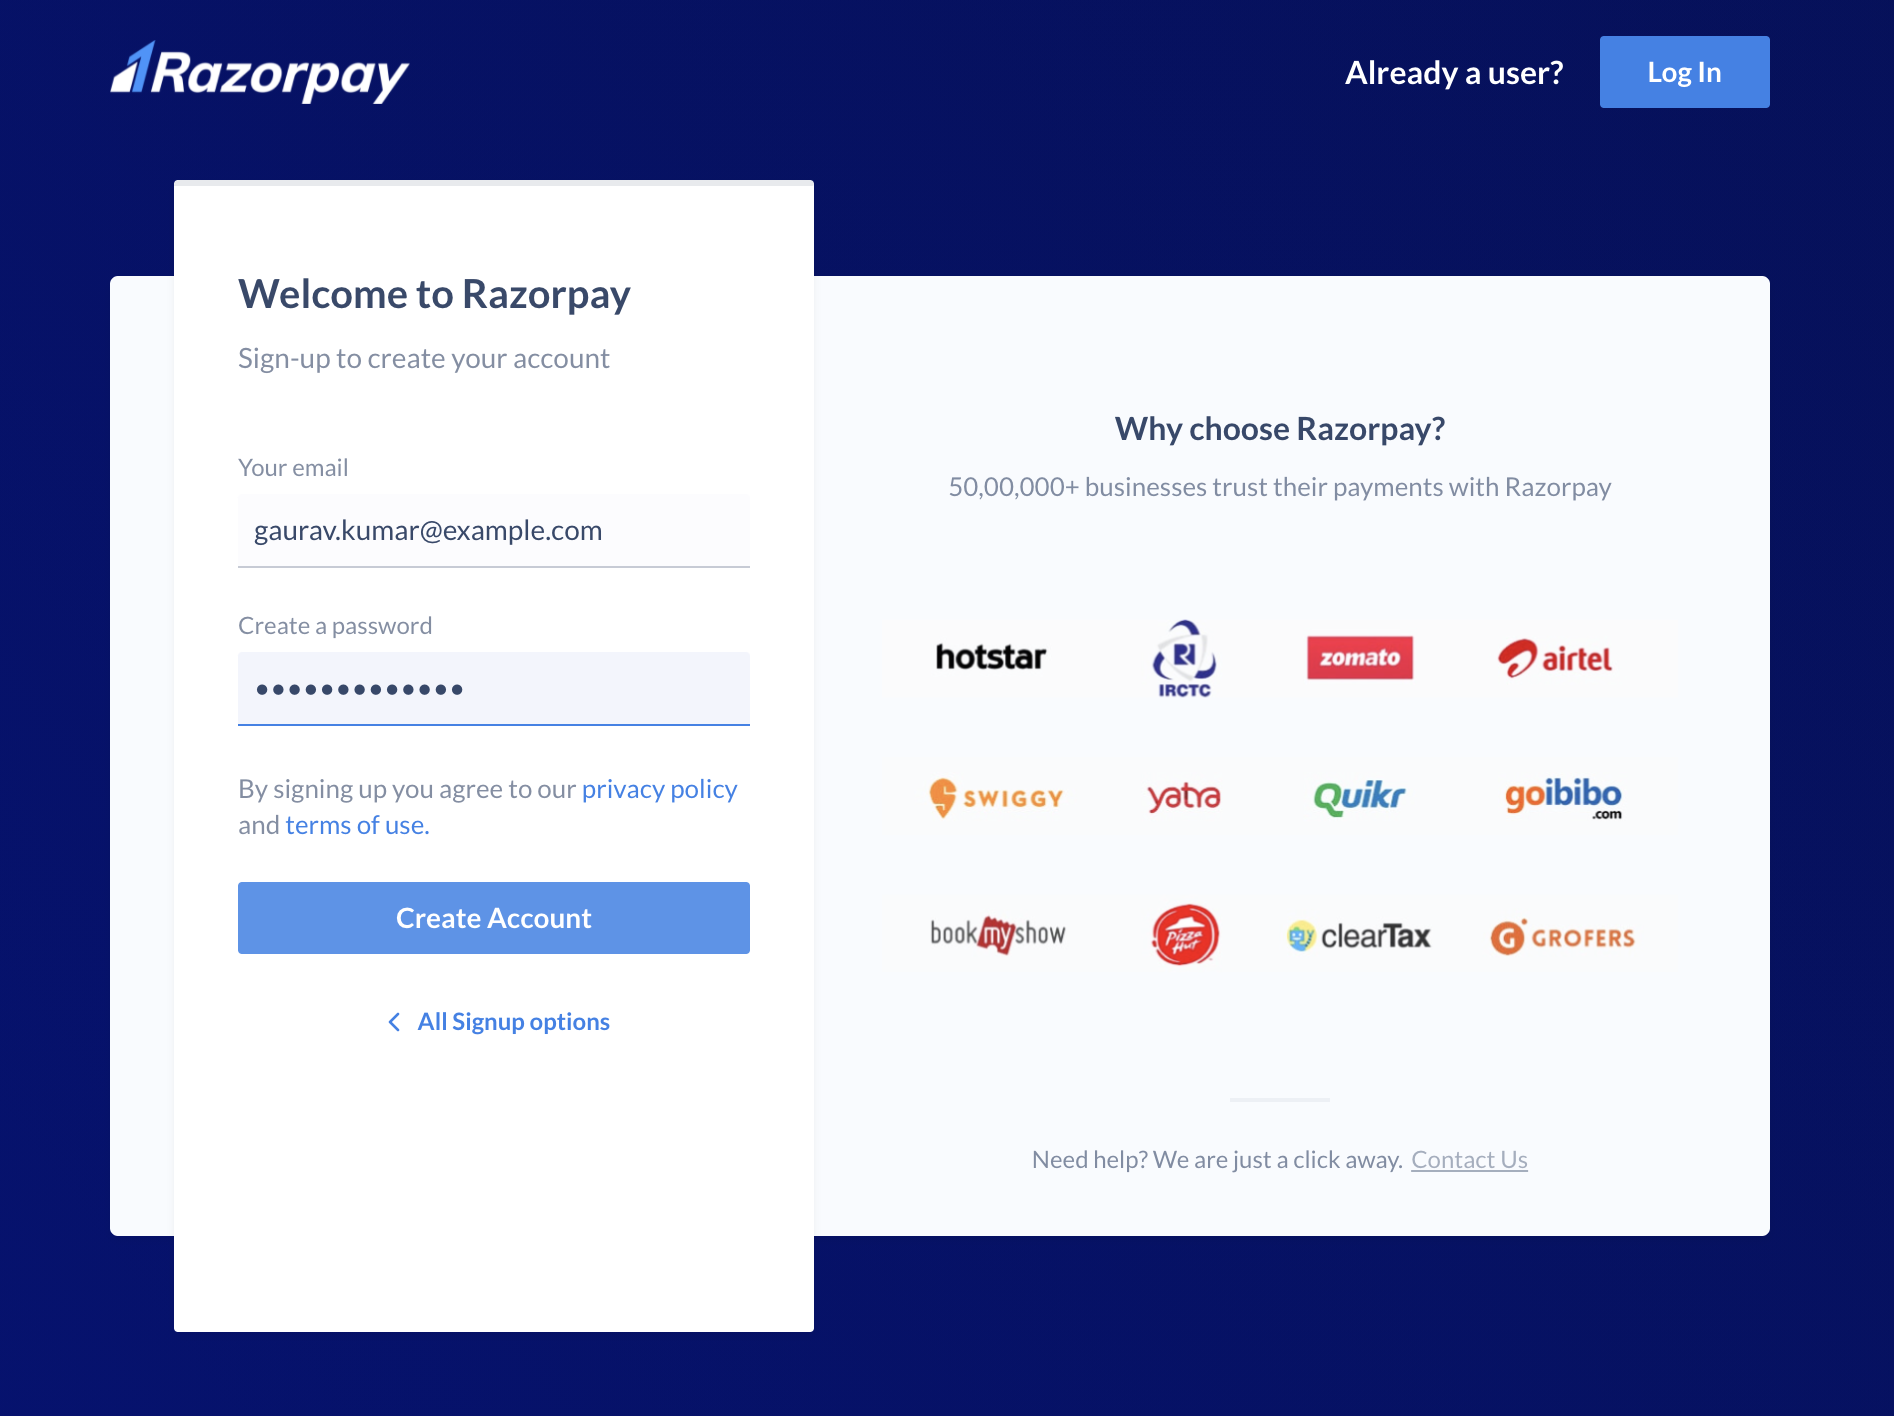
Create Account
Sign up for a Razorpay account to access the various Razorpay Payments and Banking Plus products.
You need to sign up for a Razorpay account to use the Razorpay Payments products and access the Razorpay Dashboard.
After creating an account, you can start accepting payments from customers. However, the money is settled in your account only after your KYC is verified.
Watch this video to see how to sign up for a Razorpay account.
To create a Razorpay account:
Go to the Razorpay website and click Sign Up.
Enter your work email address and a password for your Razorpay account and click Create Account.
Provide the following business details:
Select your business type.
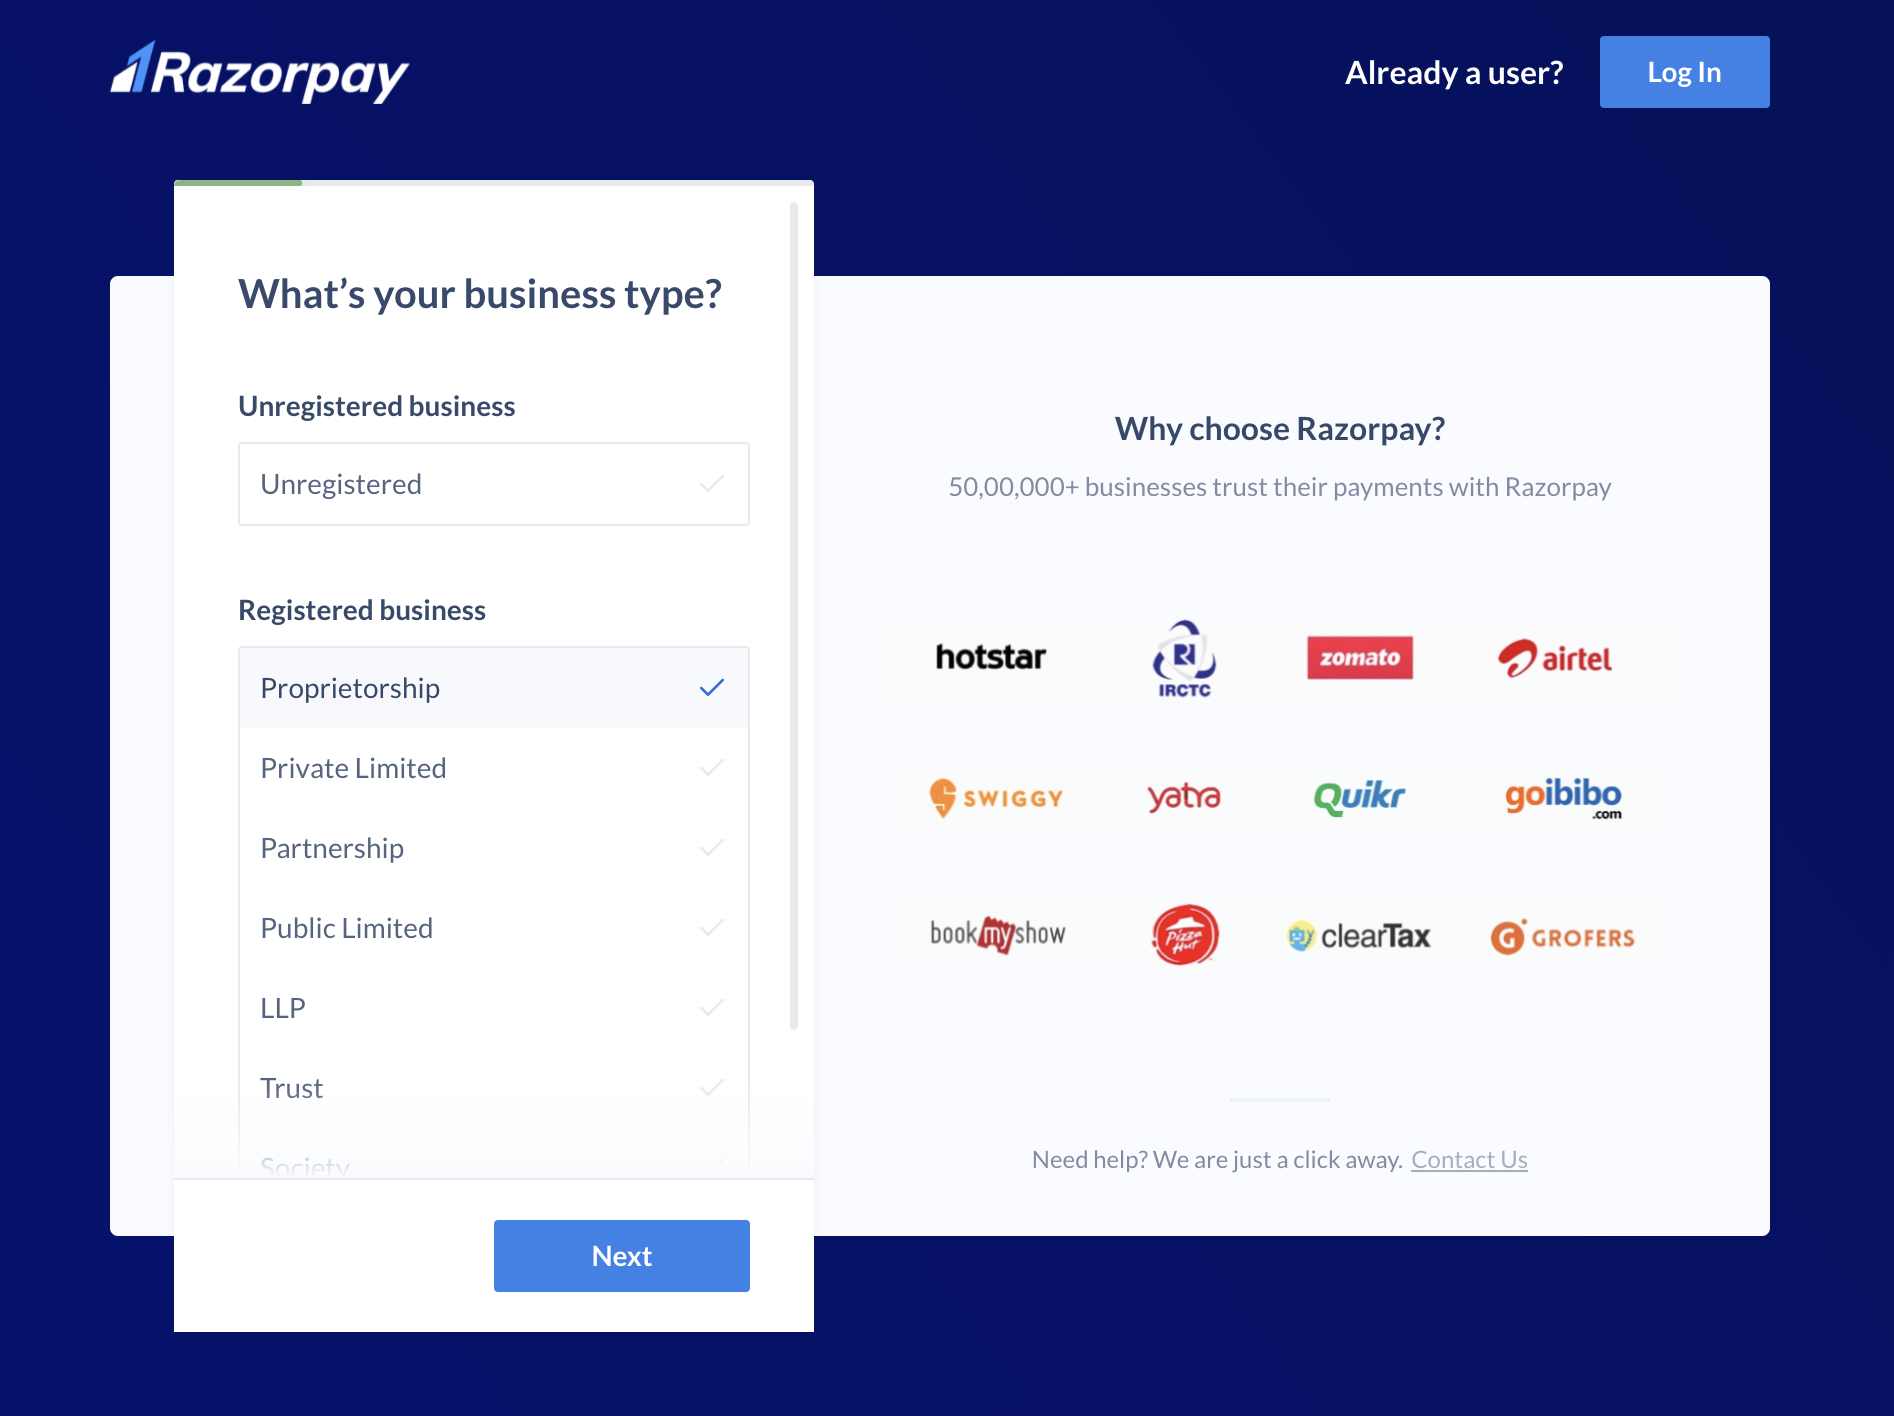
Select your monthly revenue range.

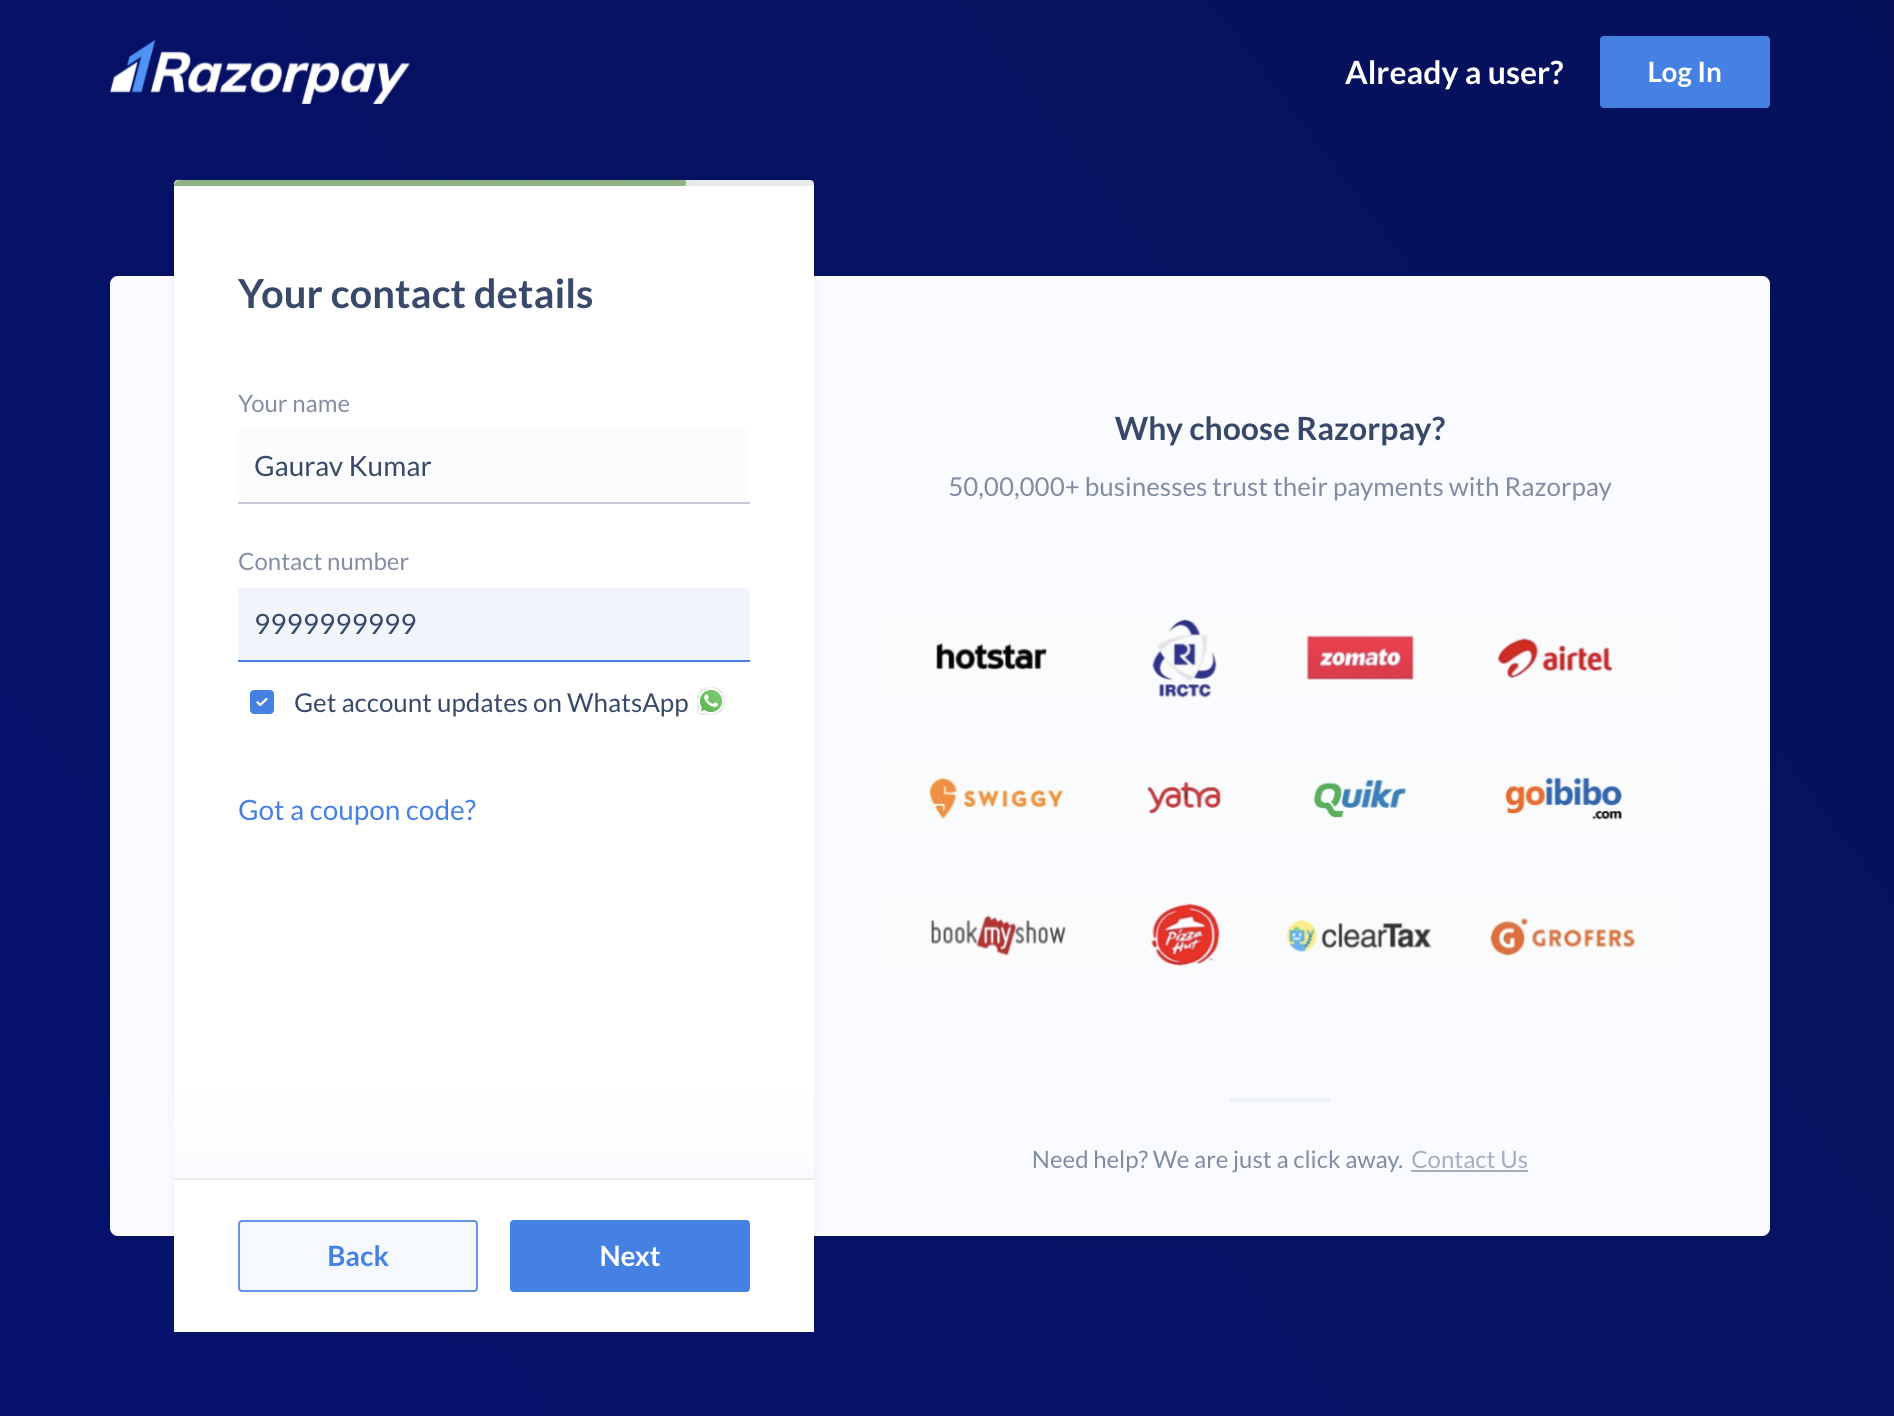
Enter your name and contact details and click Next.
Test Mode
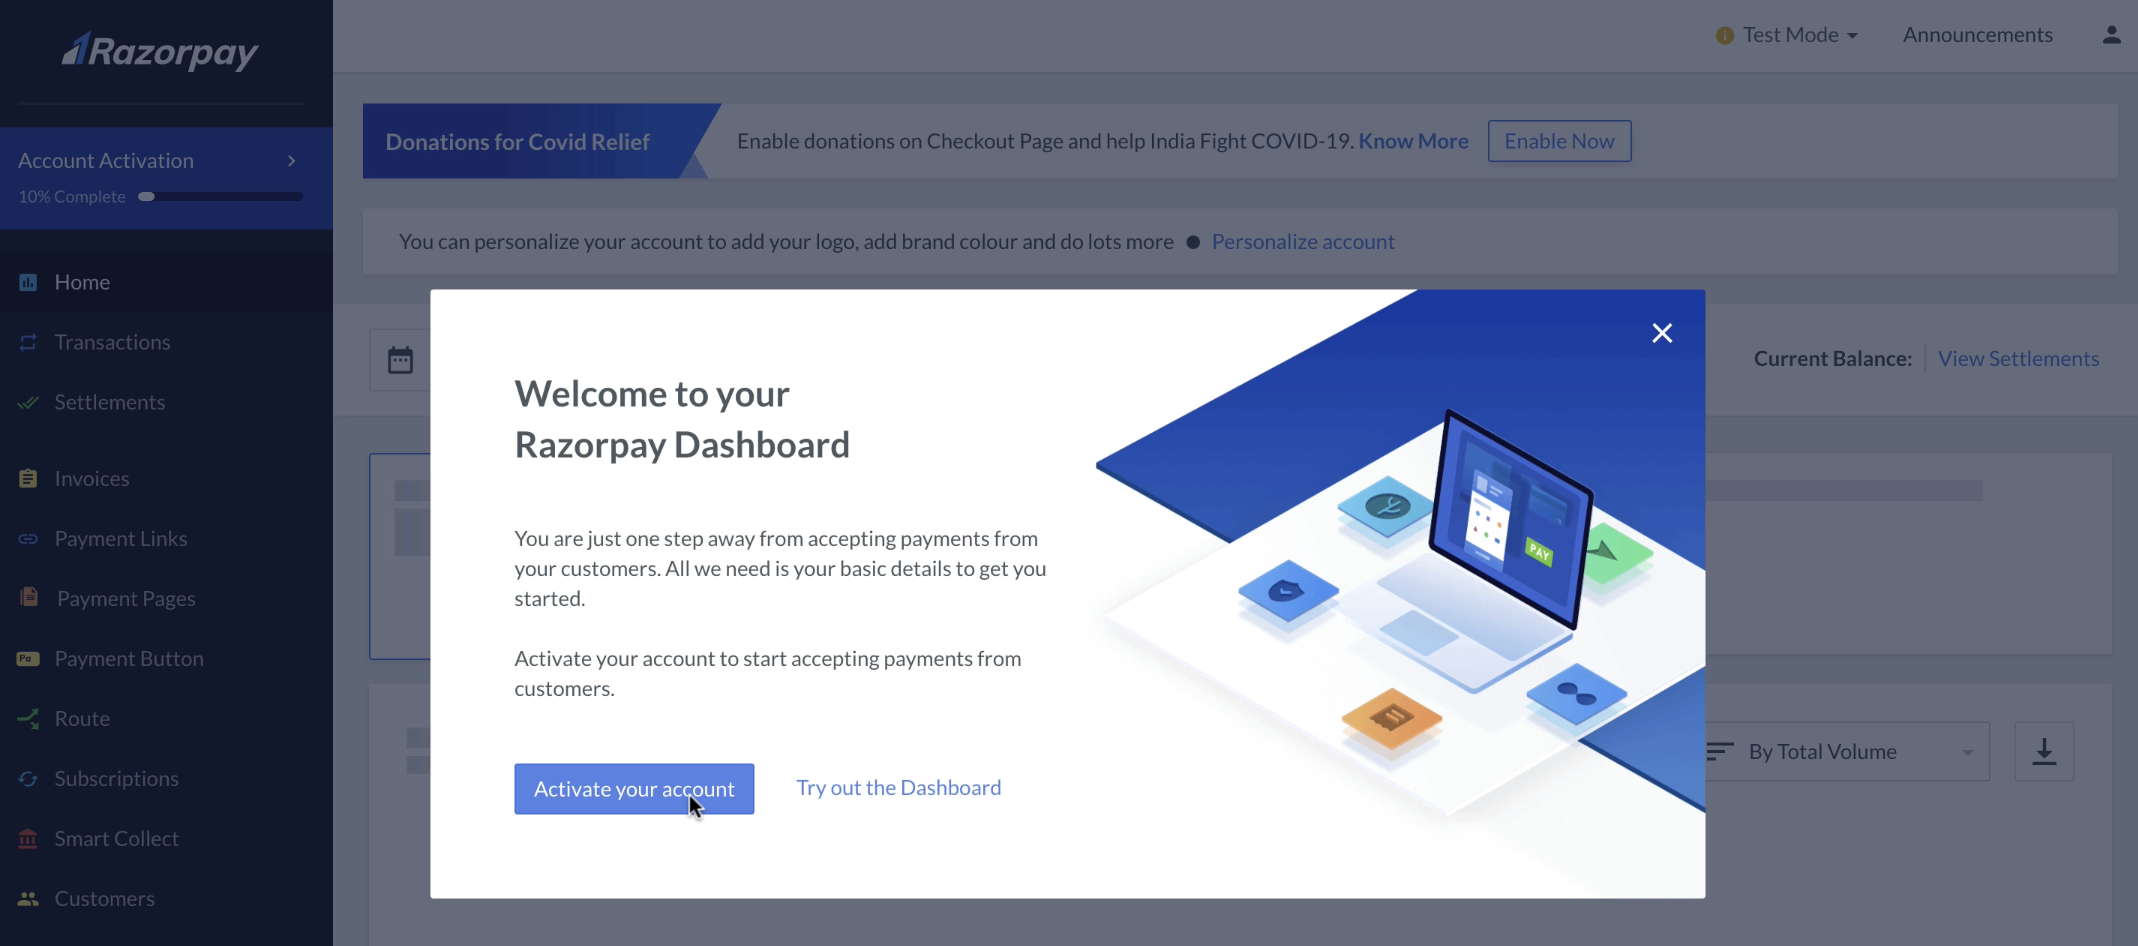
Once your account is created, you have access to the Test mode on the Dashboard. Test mode is used for testing purposes and does not involve actual money transactions. However, you would need to activate your account in order to accept live payments.
To access live mode and accept payments from customers, you must activate your account and complete the KYC process.
Handy Tips
You can activate your account:
At first login: Click Activate your account on the pop-up page and complete the KYC process.
or
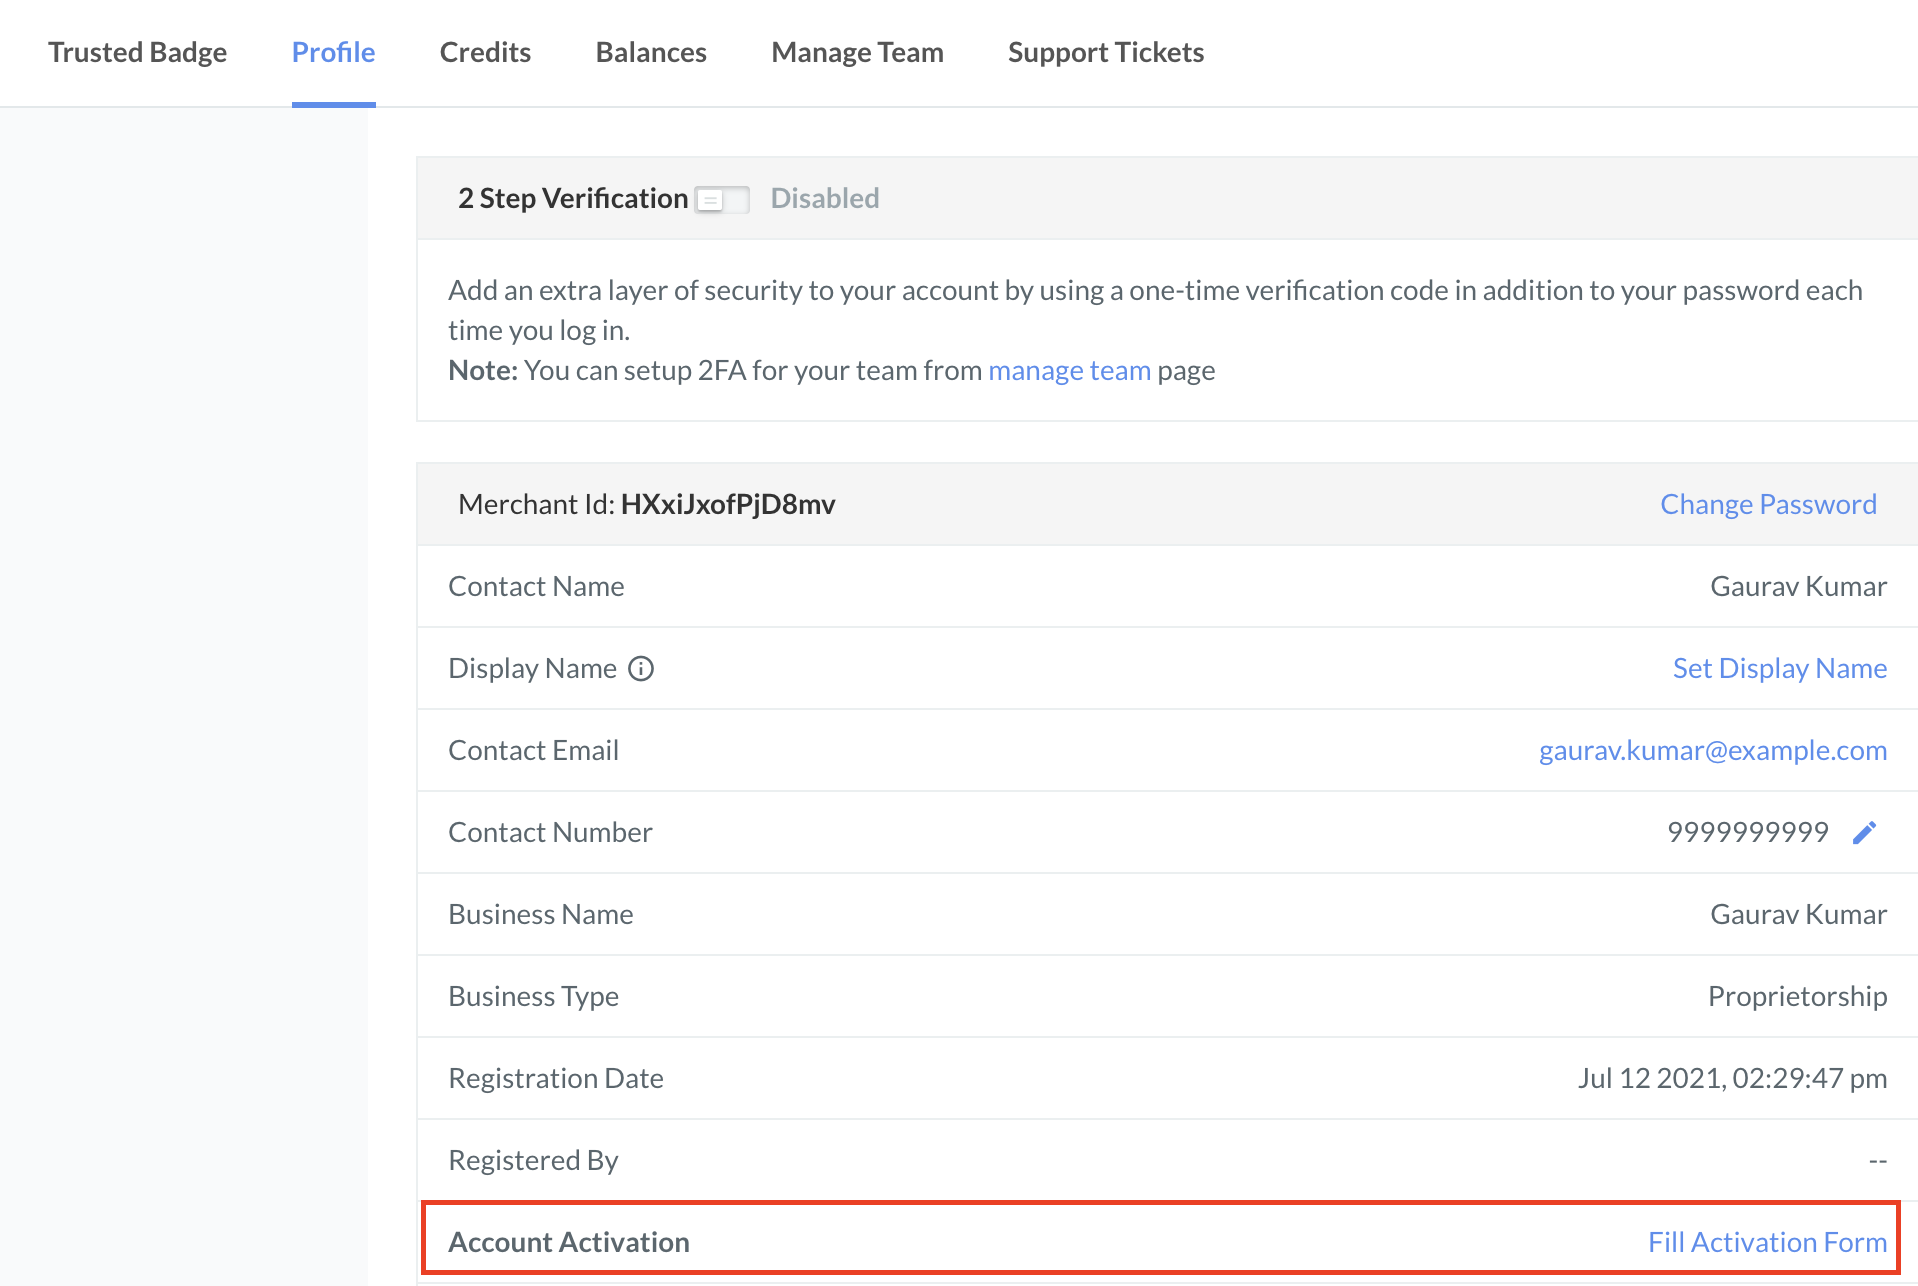
From My Account → Profile: Click Fill activation form in the Account Activation field.
As part of the KYC verification, you need to submit information such as contact details, business overview, business details, and more. Know more about KYC documents to be submitted by different business types.
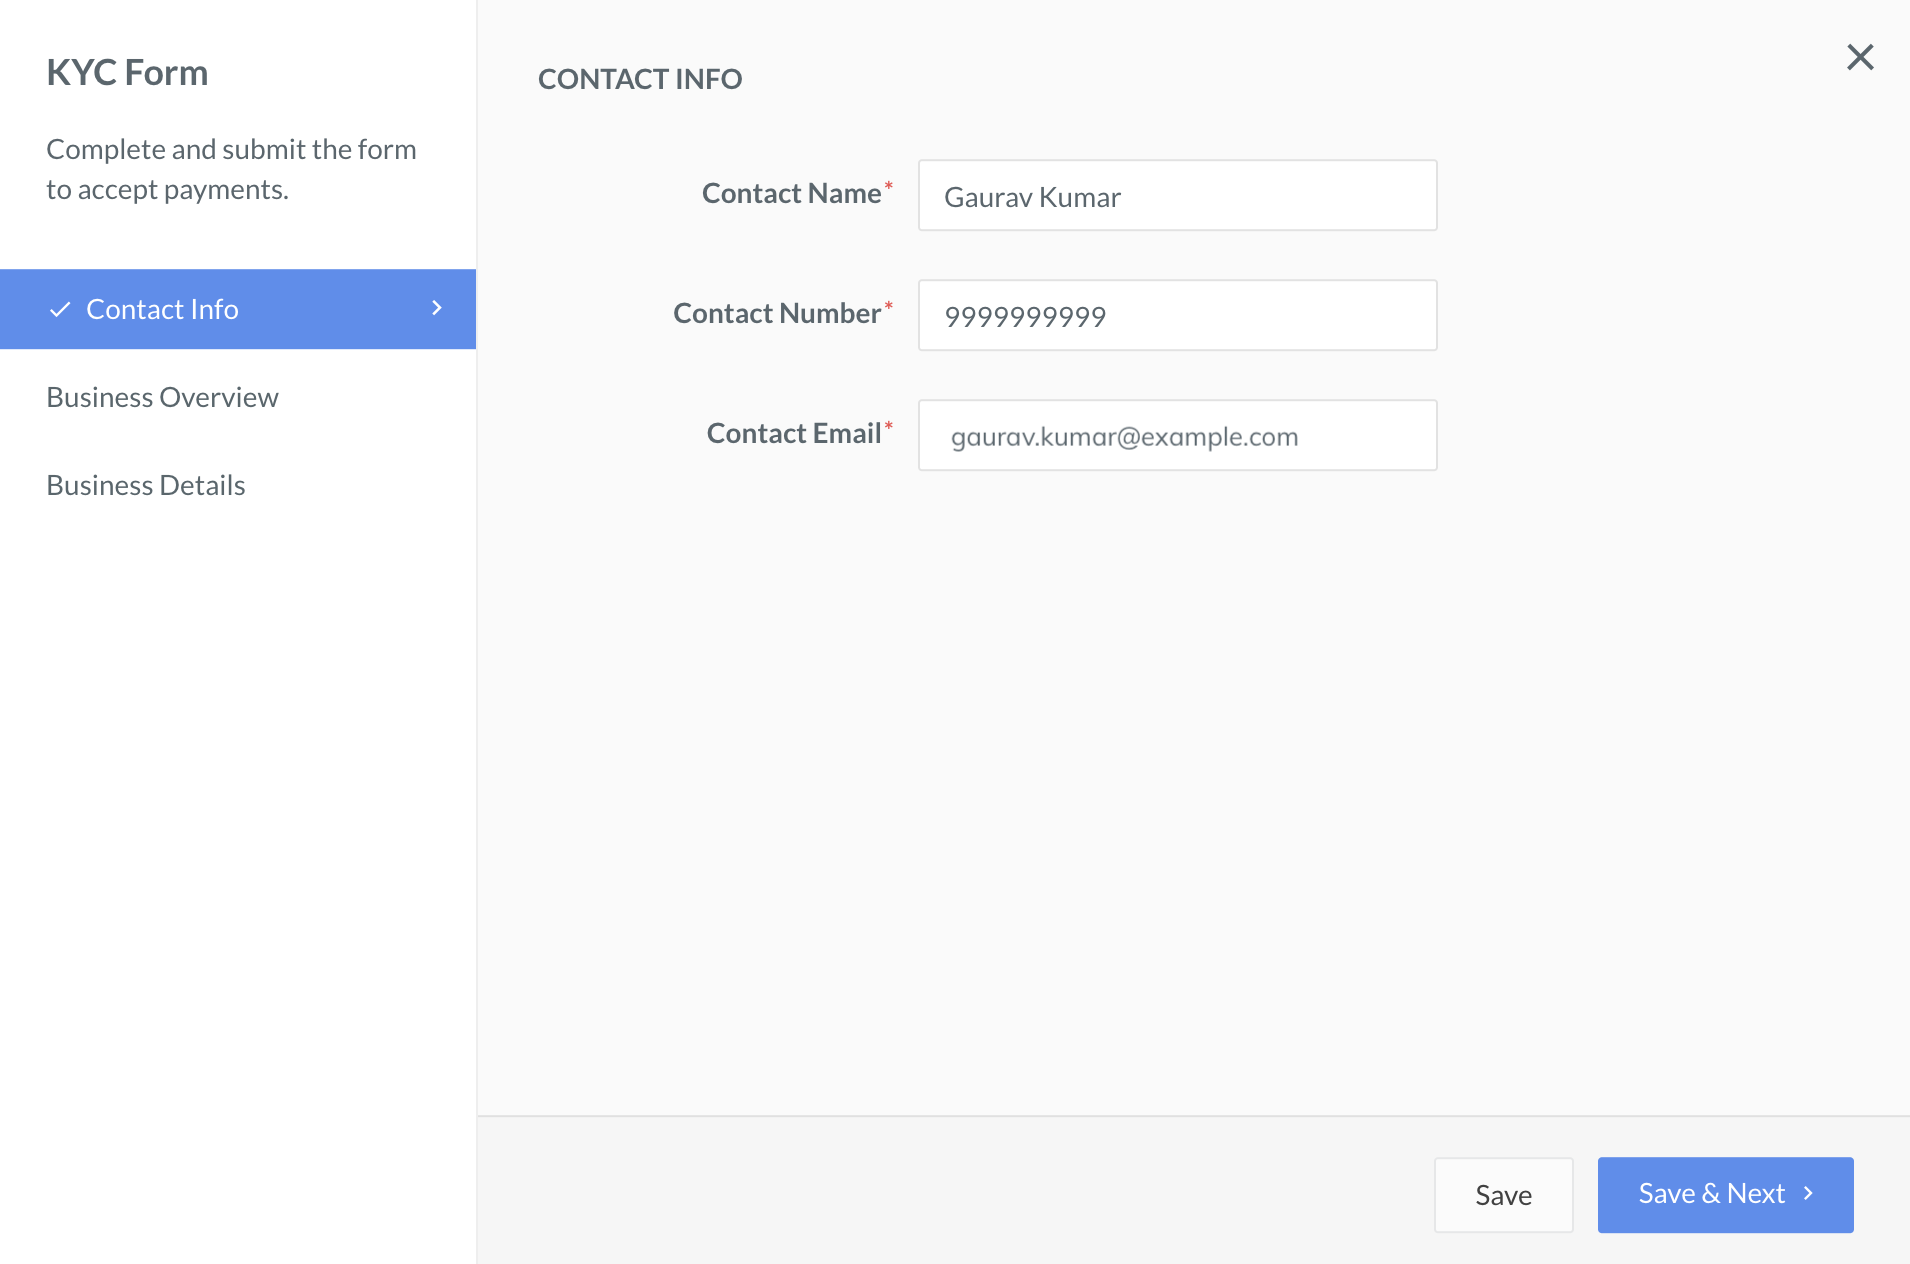
Follow these steps to complete KYC verification:
Review the details in the Contact Info tab. This displays your Contact Name, Contact Number and Contact Email. Click Save & Next.
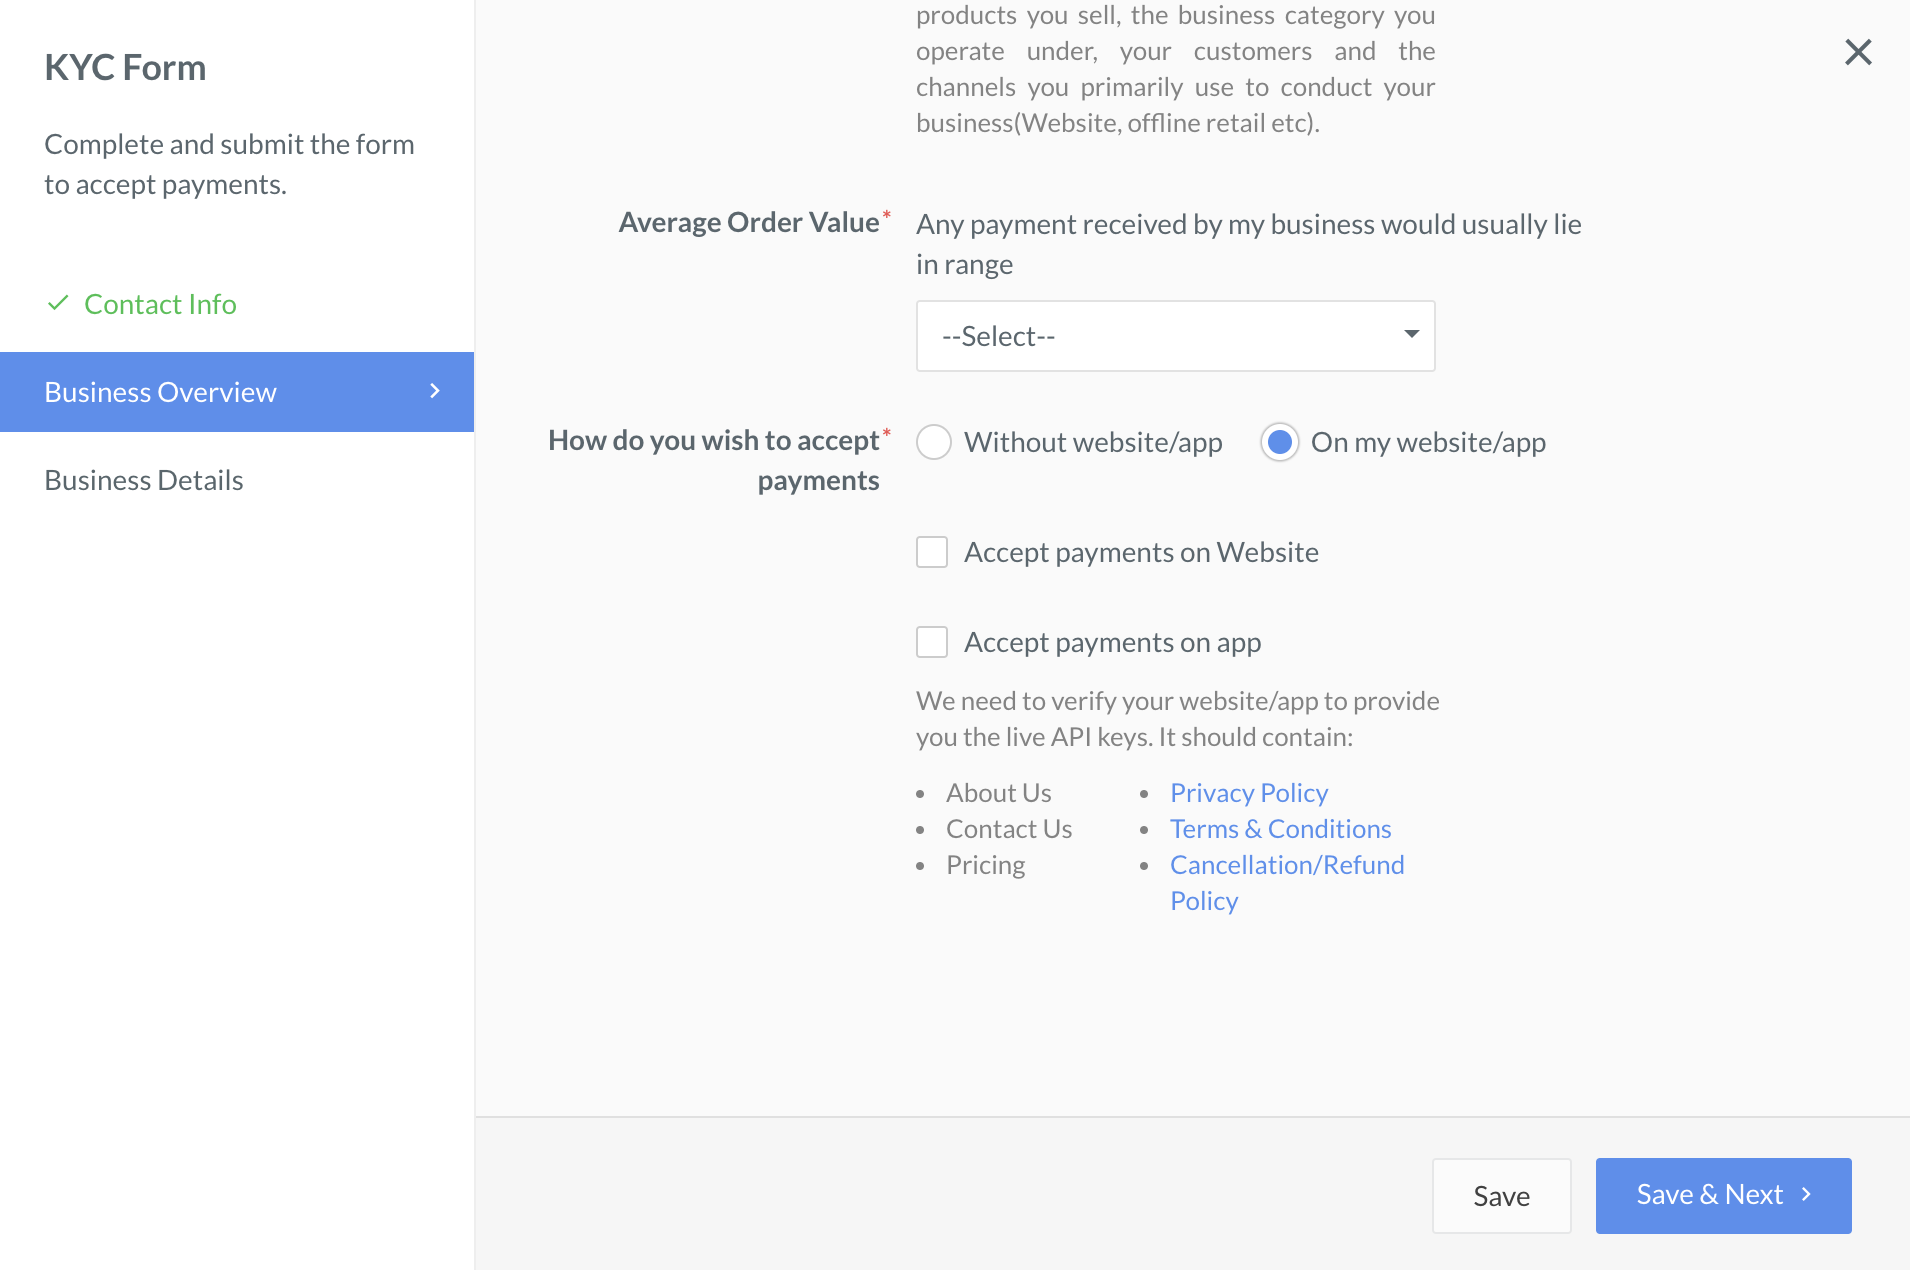
In the Business Overview tab, enter the following details:
Proprietorship.Ecommerce.Book and Publications.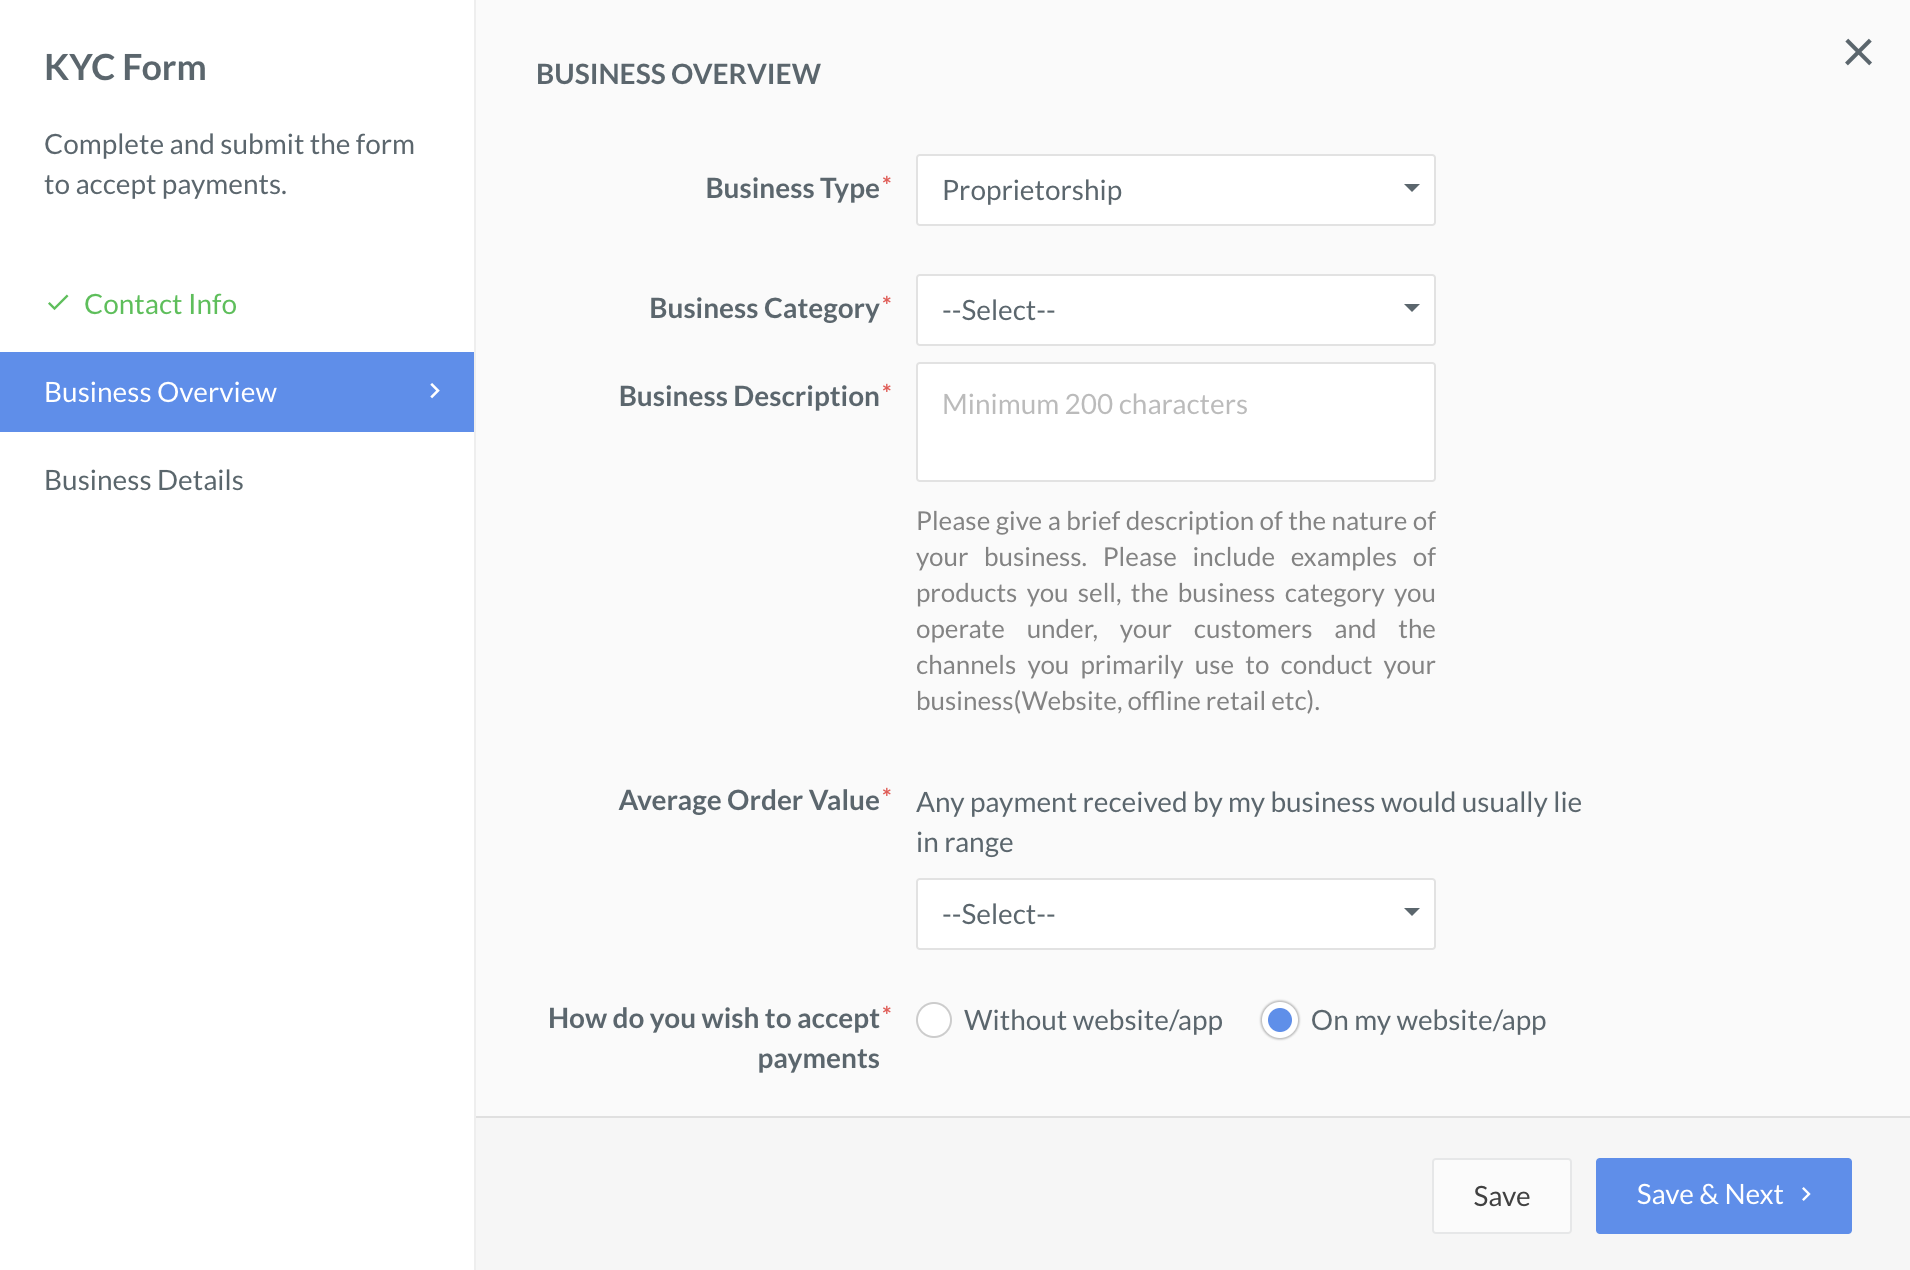
In the Business Details tab, enter information regarding your business. The fields on this page will differ according to the business type selected.
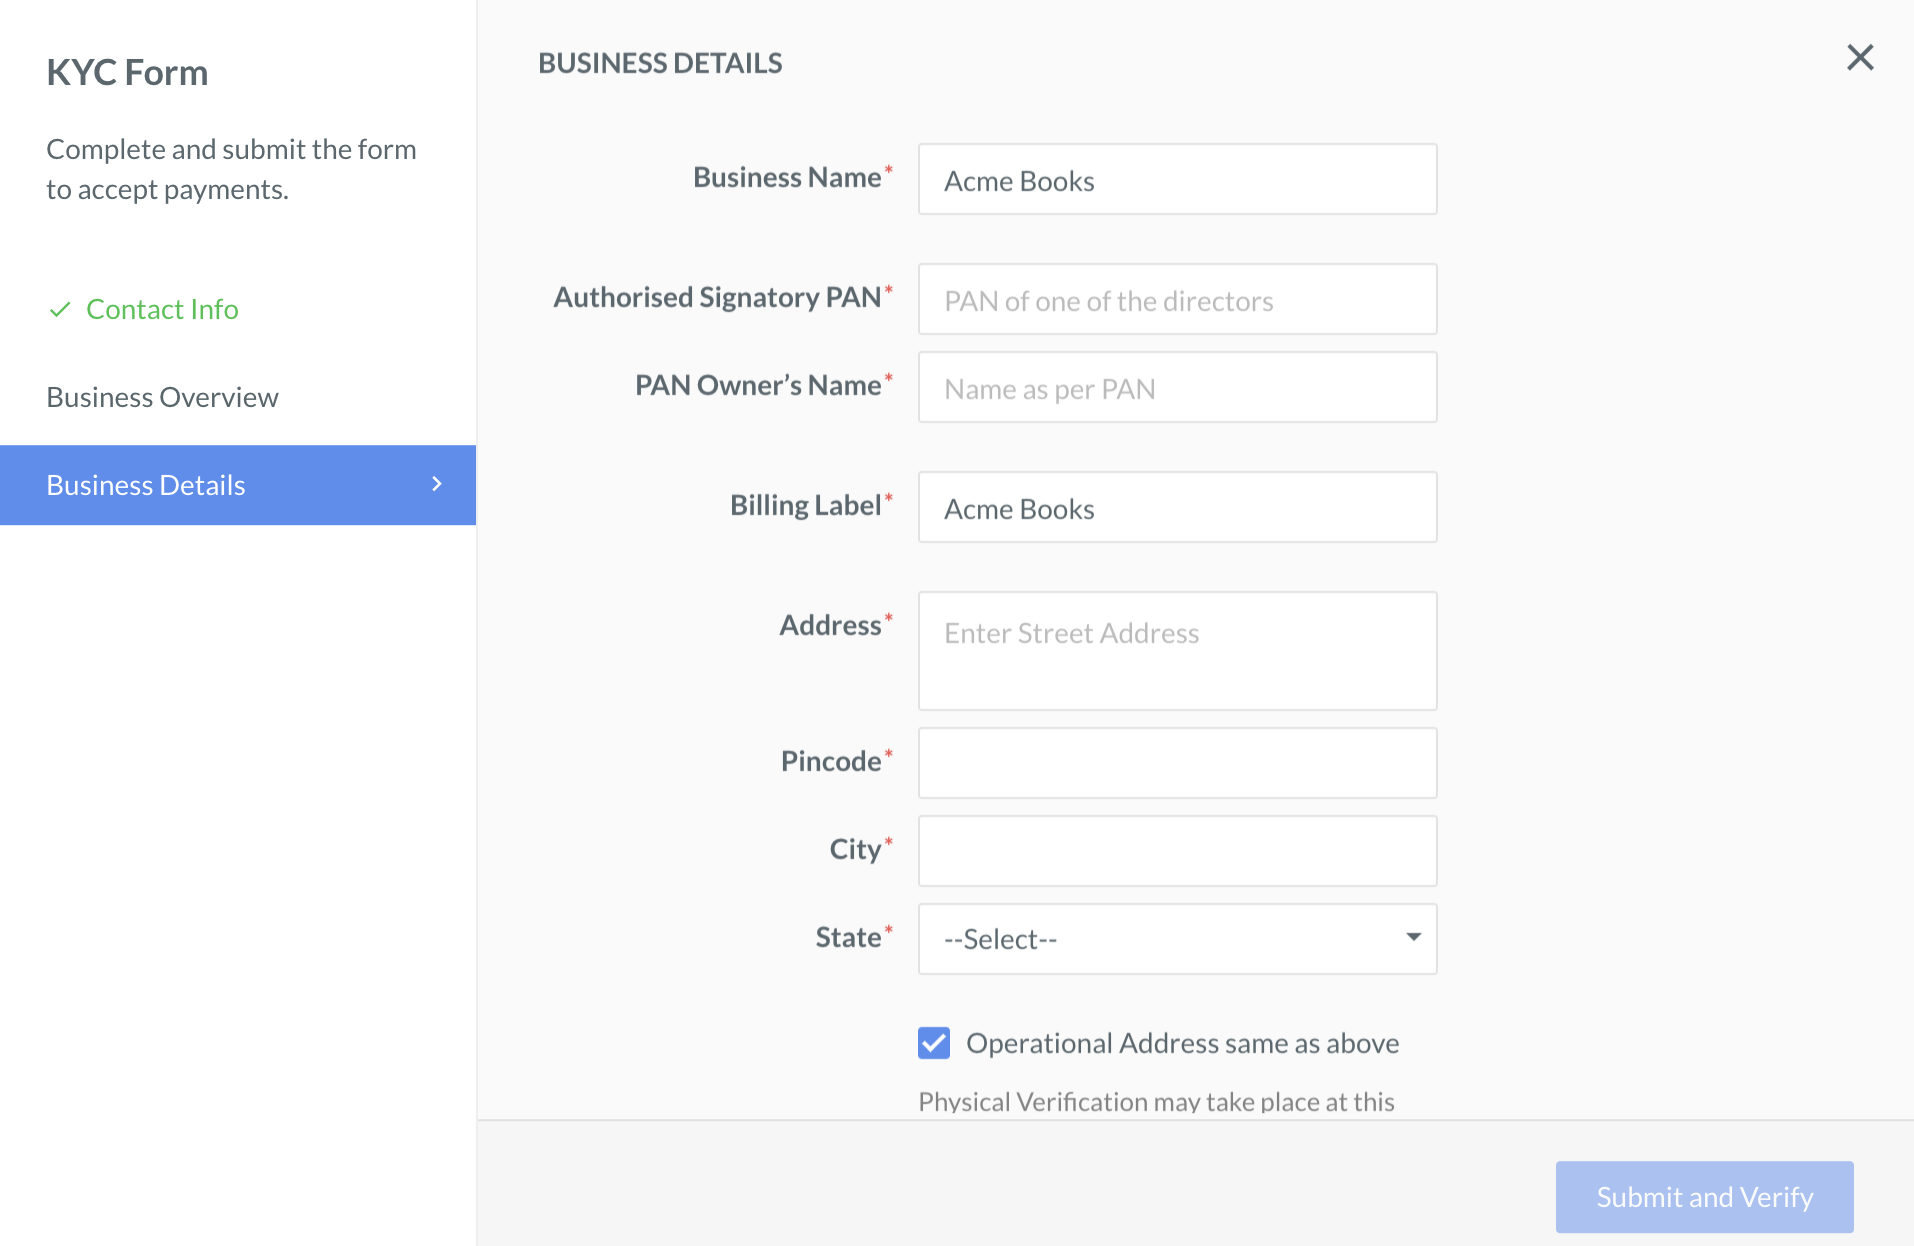
Click Submit & Verify.
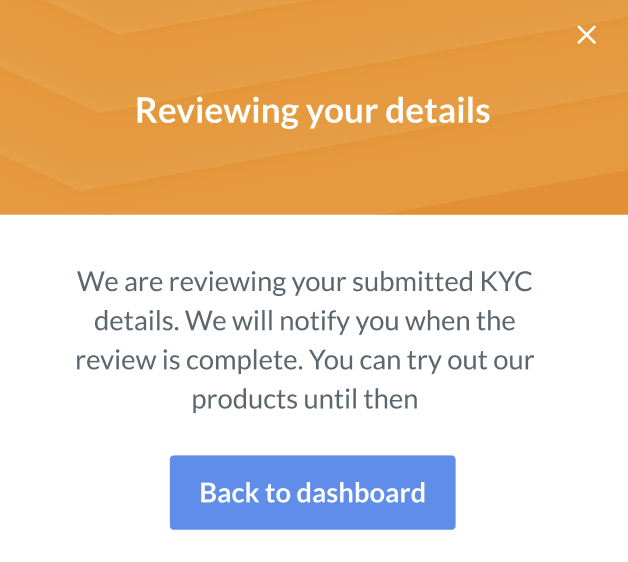
Razorpay performs an initial KYC review. Upon successful review, two additional tabs appear on the left menu:
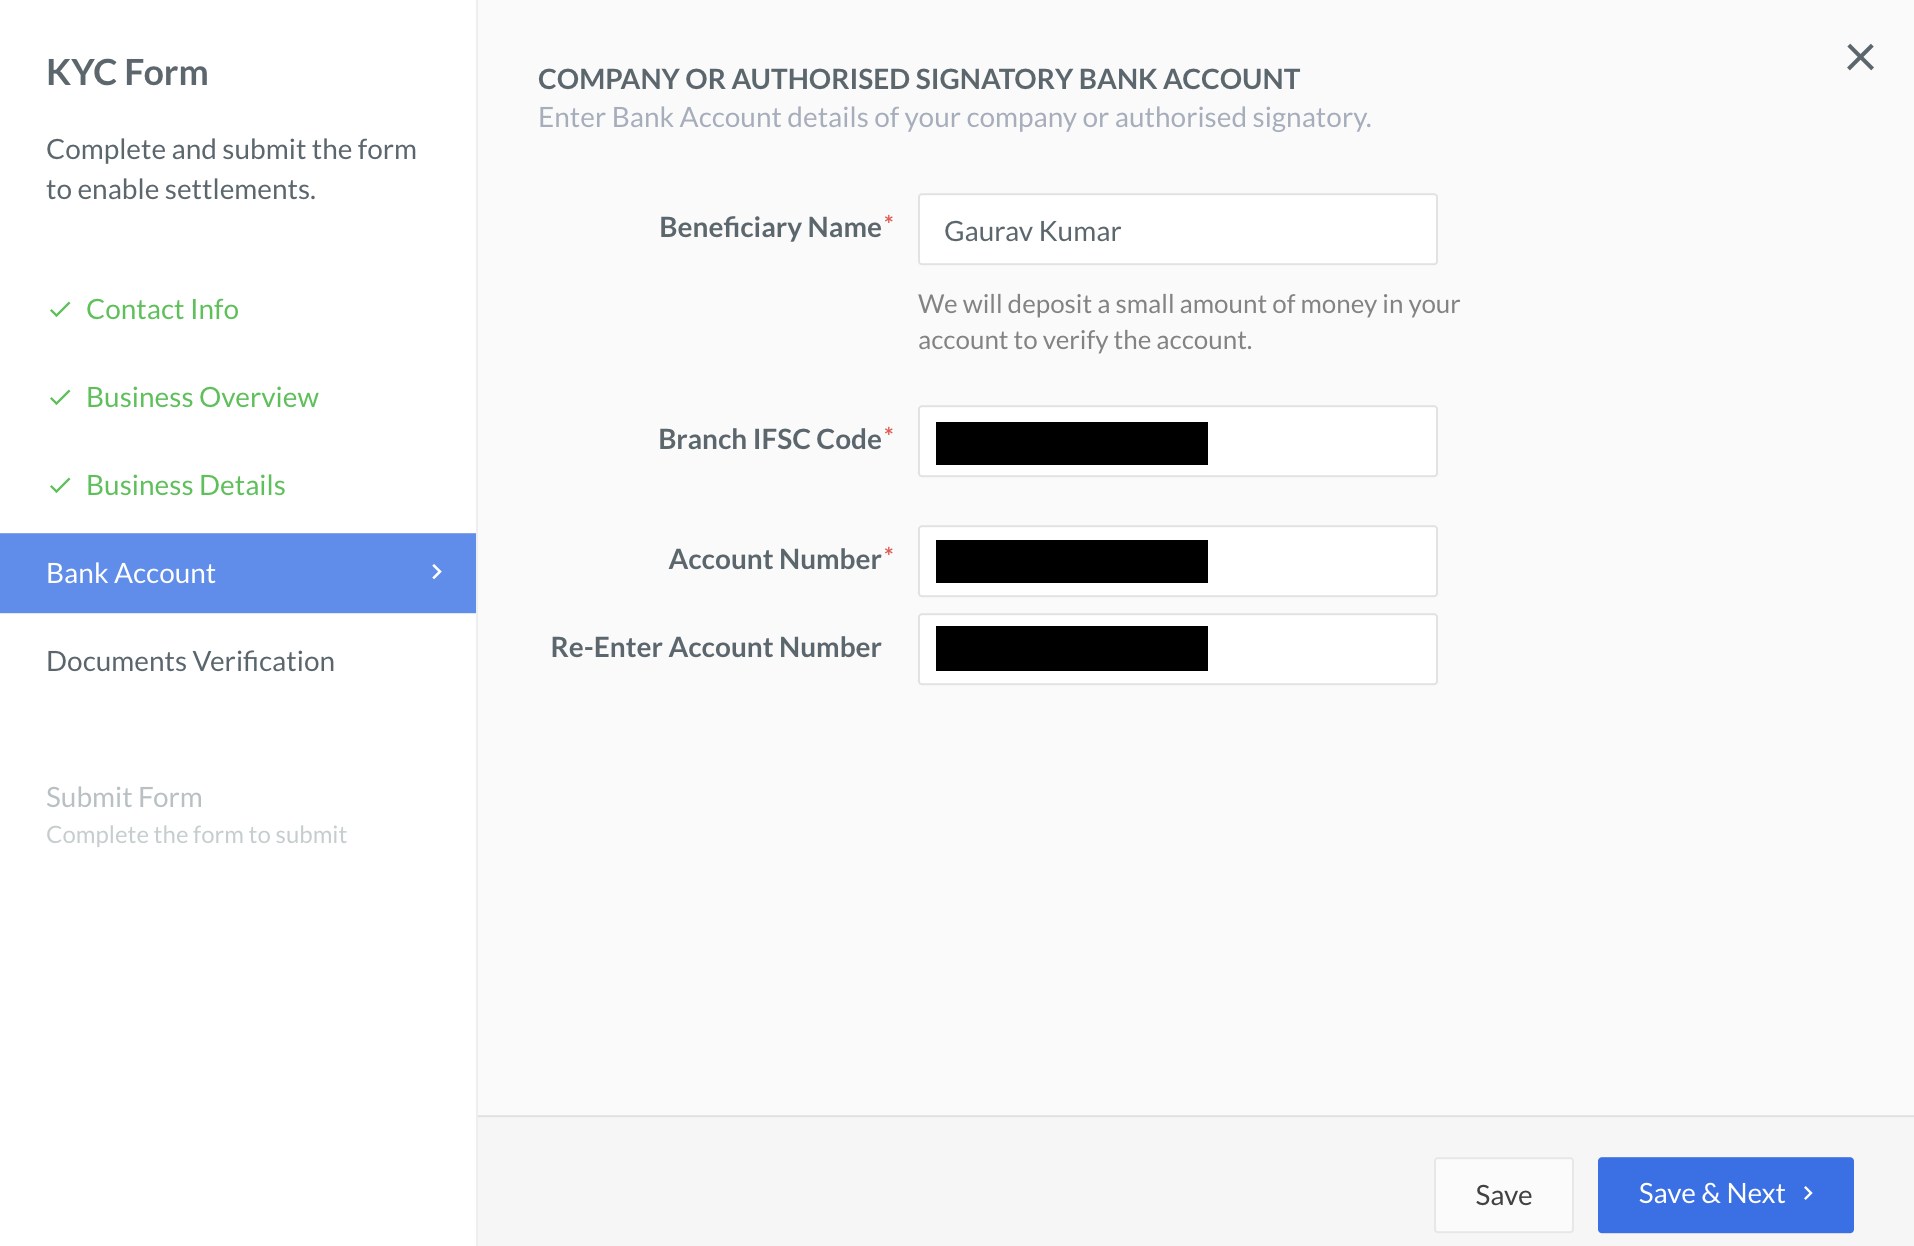
In the Bank Details tab, fill in your bank account details such as Bank account number, Beneficiary name and IFSC. This will be the account to which Razorpay settles your funds.
In the Documents Verification tab, upload the PDF copies of the business documents. The fields on this page will differ according to the business type selected.
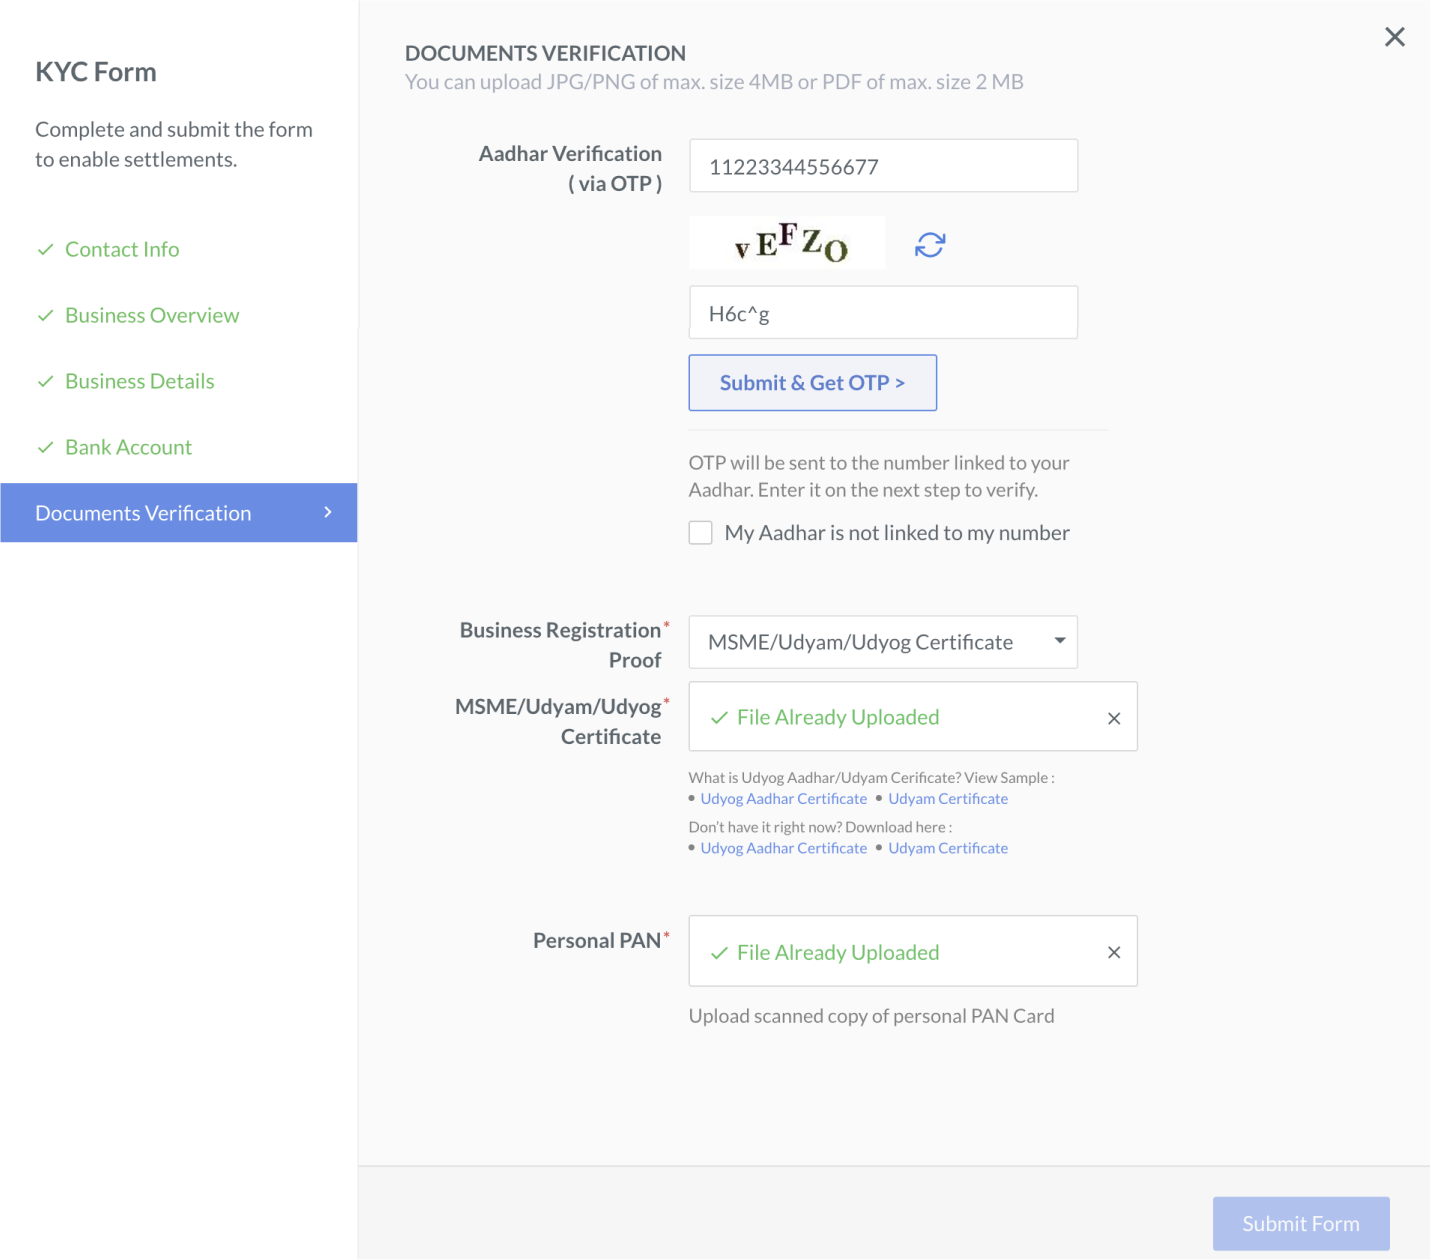
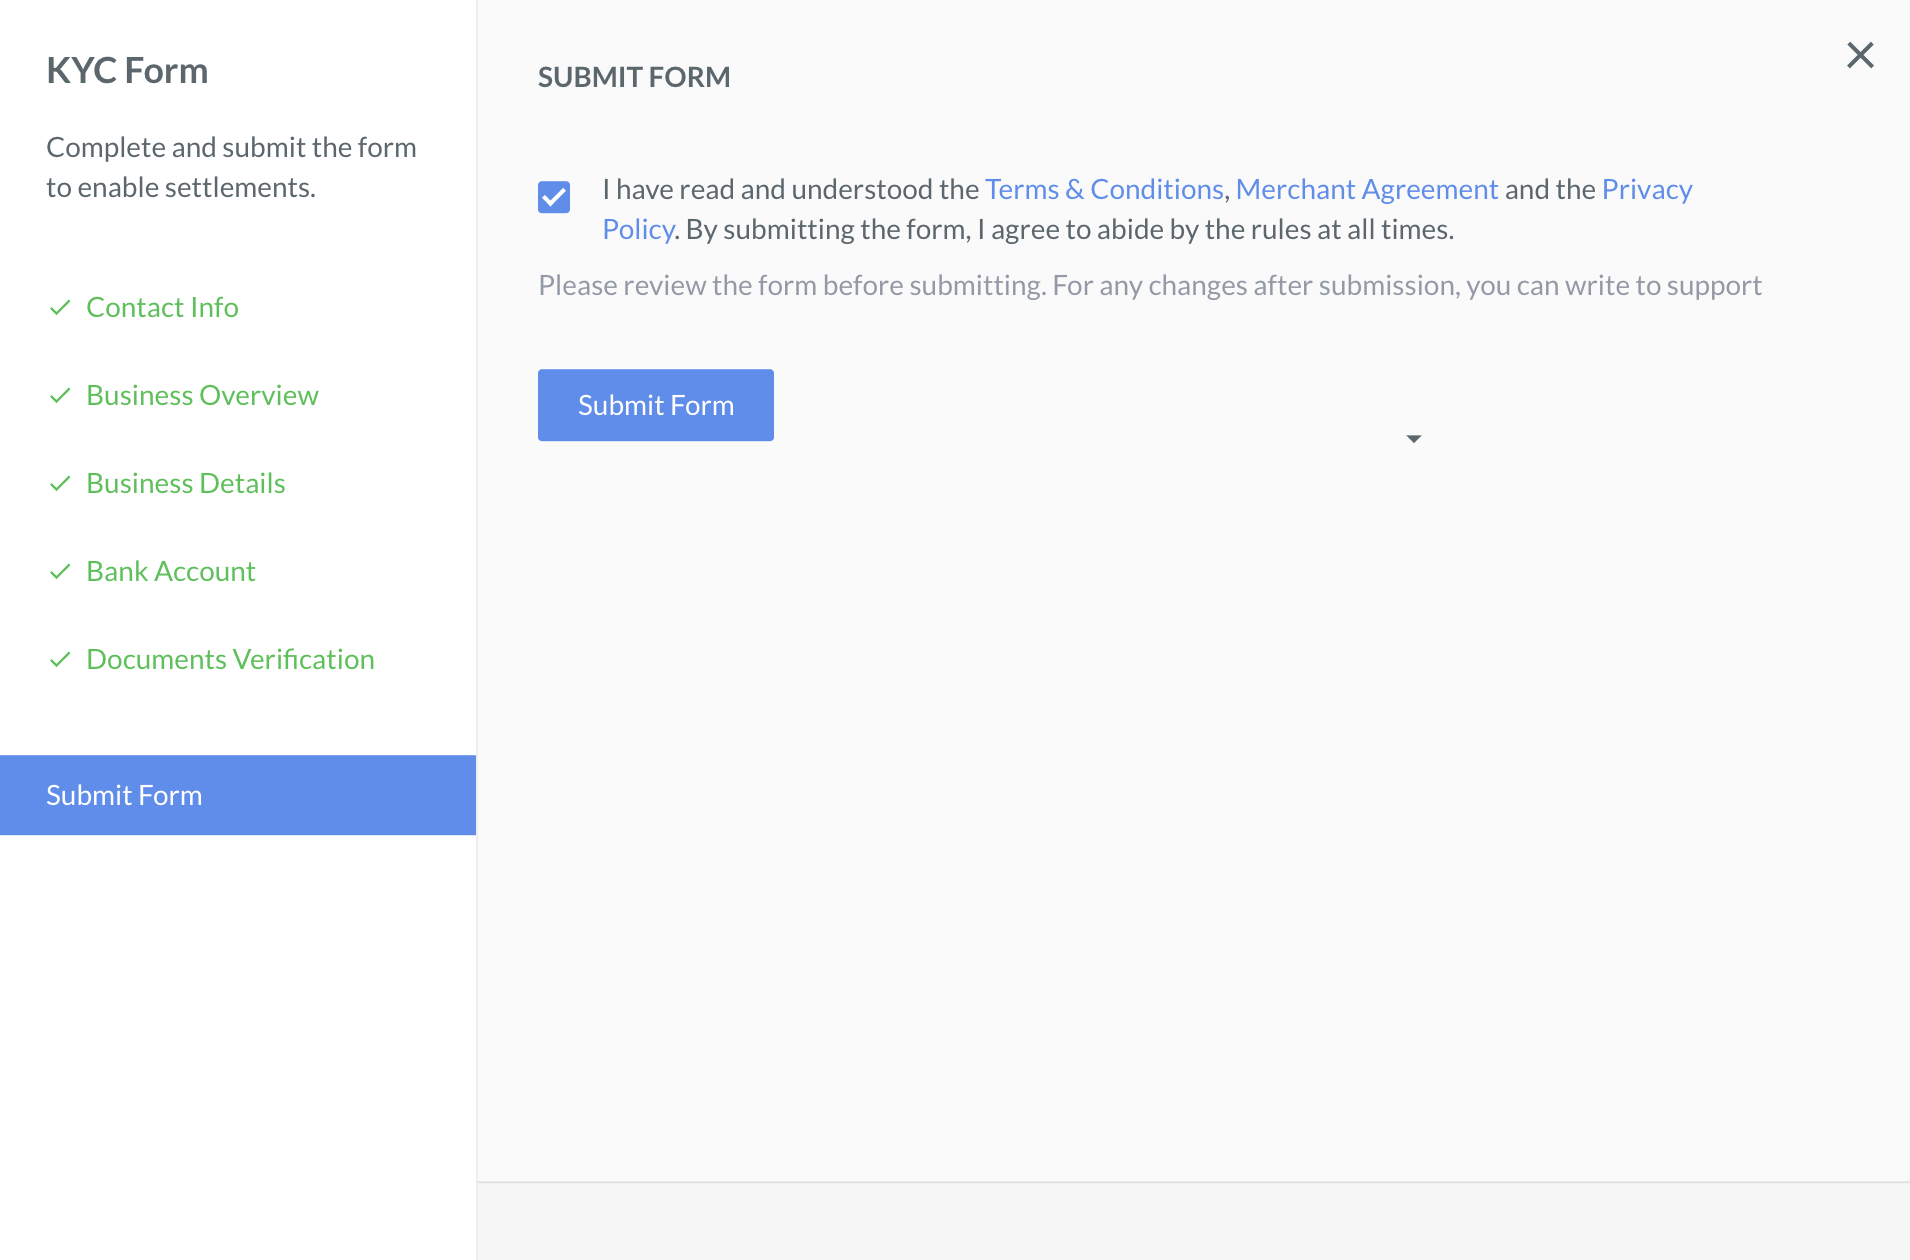
After completing the KYC form and uploading the required document, read through the Terms and Conditions. Select the check box on the page if you have read and agree with the terms and conditions, and click Submit.
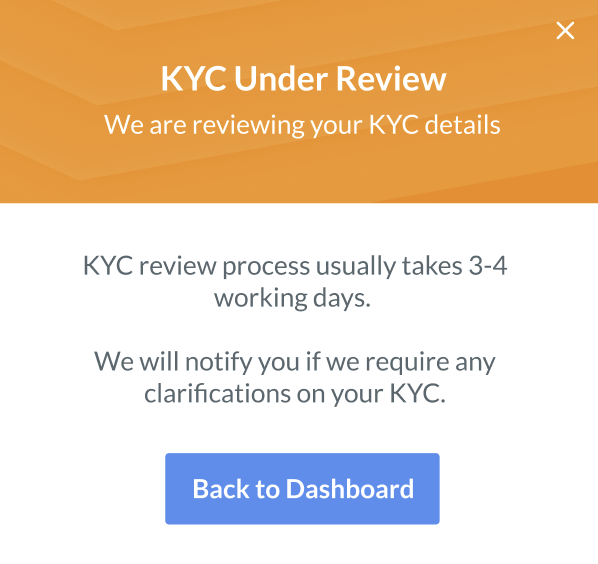
Our team will review the information submitted by you. It takes approximately 3 days to complete the review process.
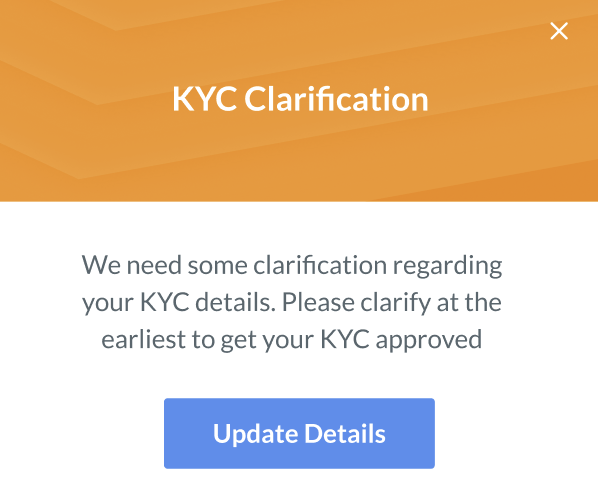
During the review process, we may reach out to you for clarifications. You can address these queries on the Razorpay Dashboard.
Your Razorpay account is activated upon successful review of all the information provided above.