Set Up Webhooks🔗
Watch this video to see how to set up a webhook.
To set up webhooks:
-
Log into the Razorpay Dashboard and navigate to Settings → Webhooks.
-
Click the + Add New Webhook button.

-
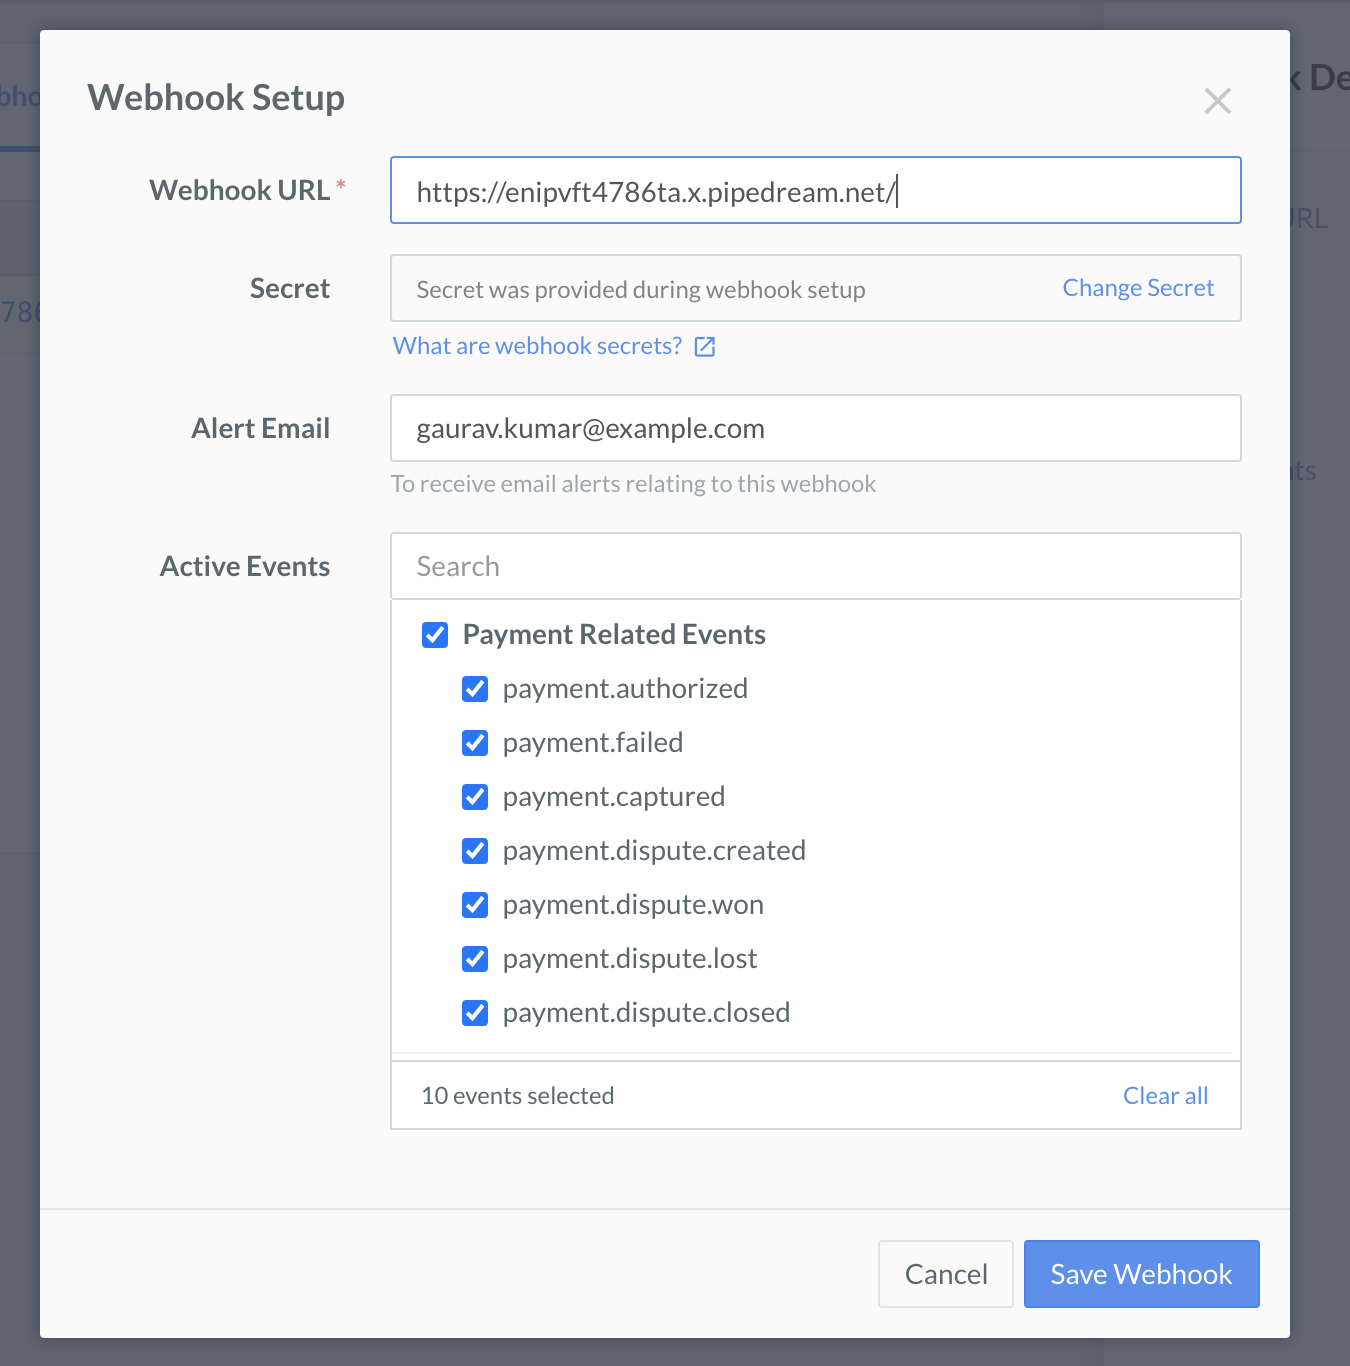
In the Webhook Setup pop-up page:
- Enter the URL where you want to receive the webhook payload when an event is triggered. We recommended using an HTTPS URL.
Handy Tips
You can set up to 10 URLs to receive Webhook notifications. Webhooks can only be delivered to public URLs. If you attempt to save a localhost endpoint as part of a webhook setup, you will notice an error. Know more about testing Webhooks on an application running on localhost. - Enter a Secret for the webhook endpoint. The secret is used to validate that the webhook is from Razorpay. Do not expose the secret publicly. Know more about how to validate webhooks.
Handy Tips
- When setting up the webhook, you will be asked to specify a secret. Using this secret, you can validate that the webhook is from Razorpay. Entering the secret is optional but recommended. The secret should never be exposed publicly.
- The webhoook secret does not need to be the merchant secret key provided by Razorpay.
- Enter the URL where you want to receive the webhook payload when an event is triggered. We recommended using an HTTPS URL.
- In the Alert Email field, enter the email address to which the notifications should be sent in case of webhook failure. You will receive webhook deactivation notifications to this email address.
- Select the required events from the list of Active Events.
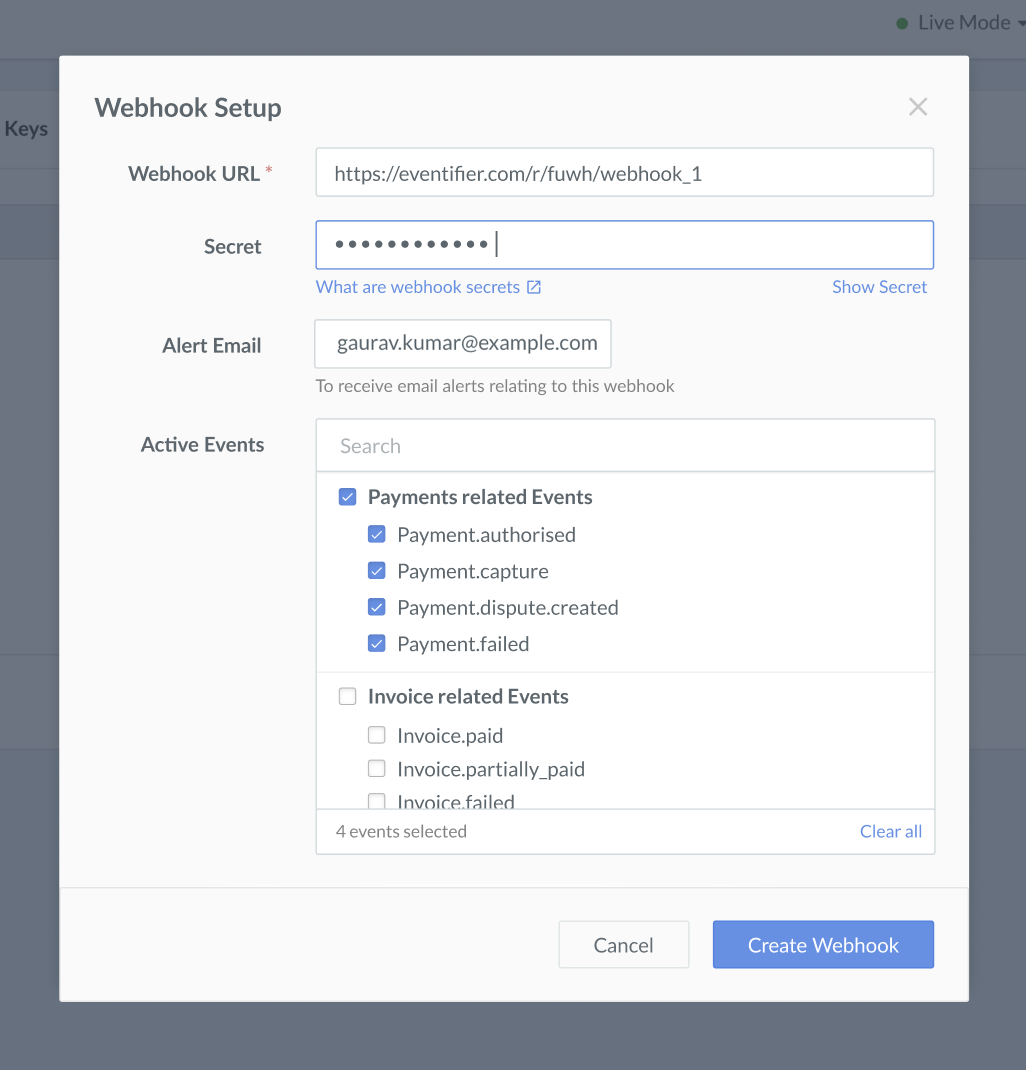
Click Create Webhook.
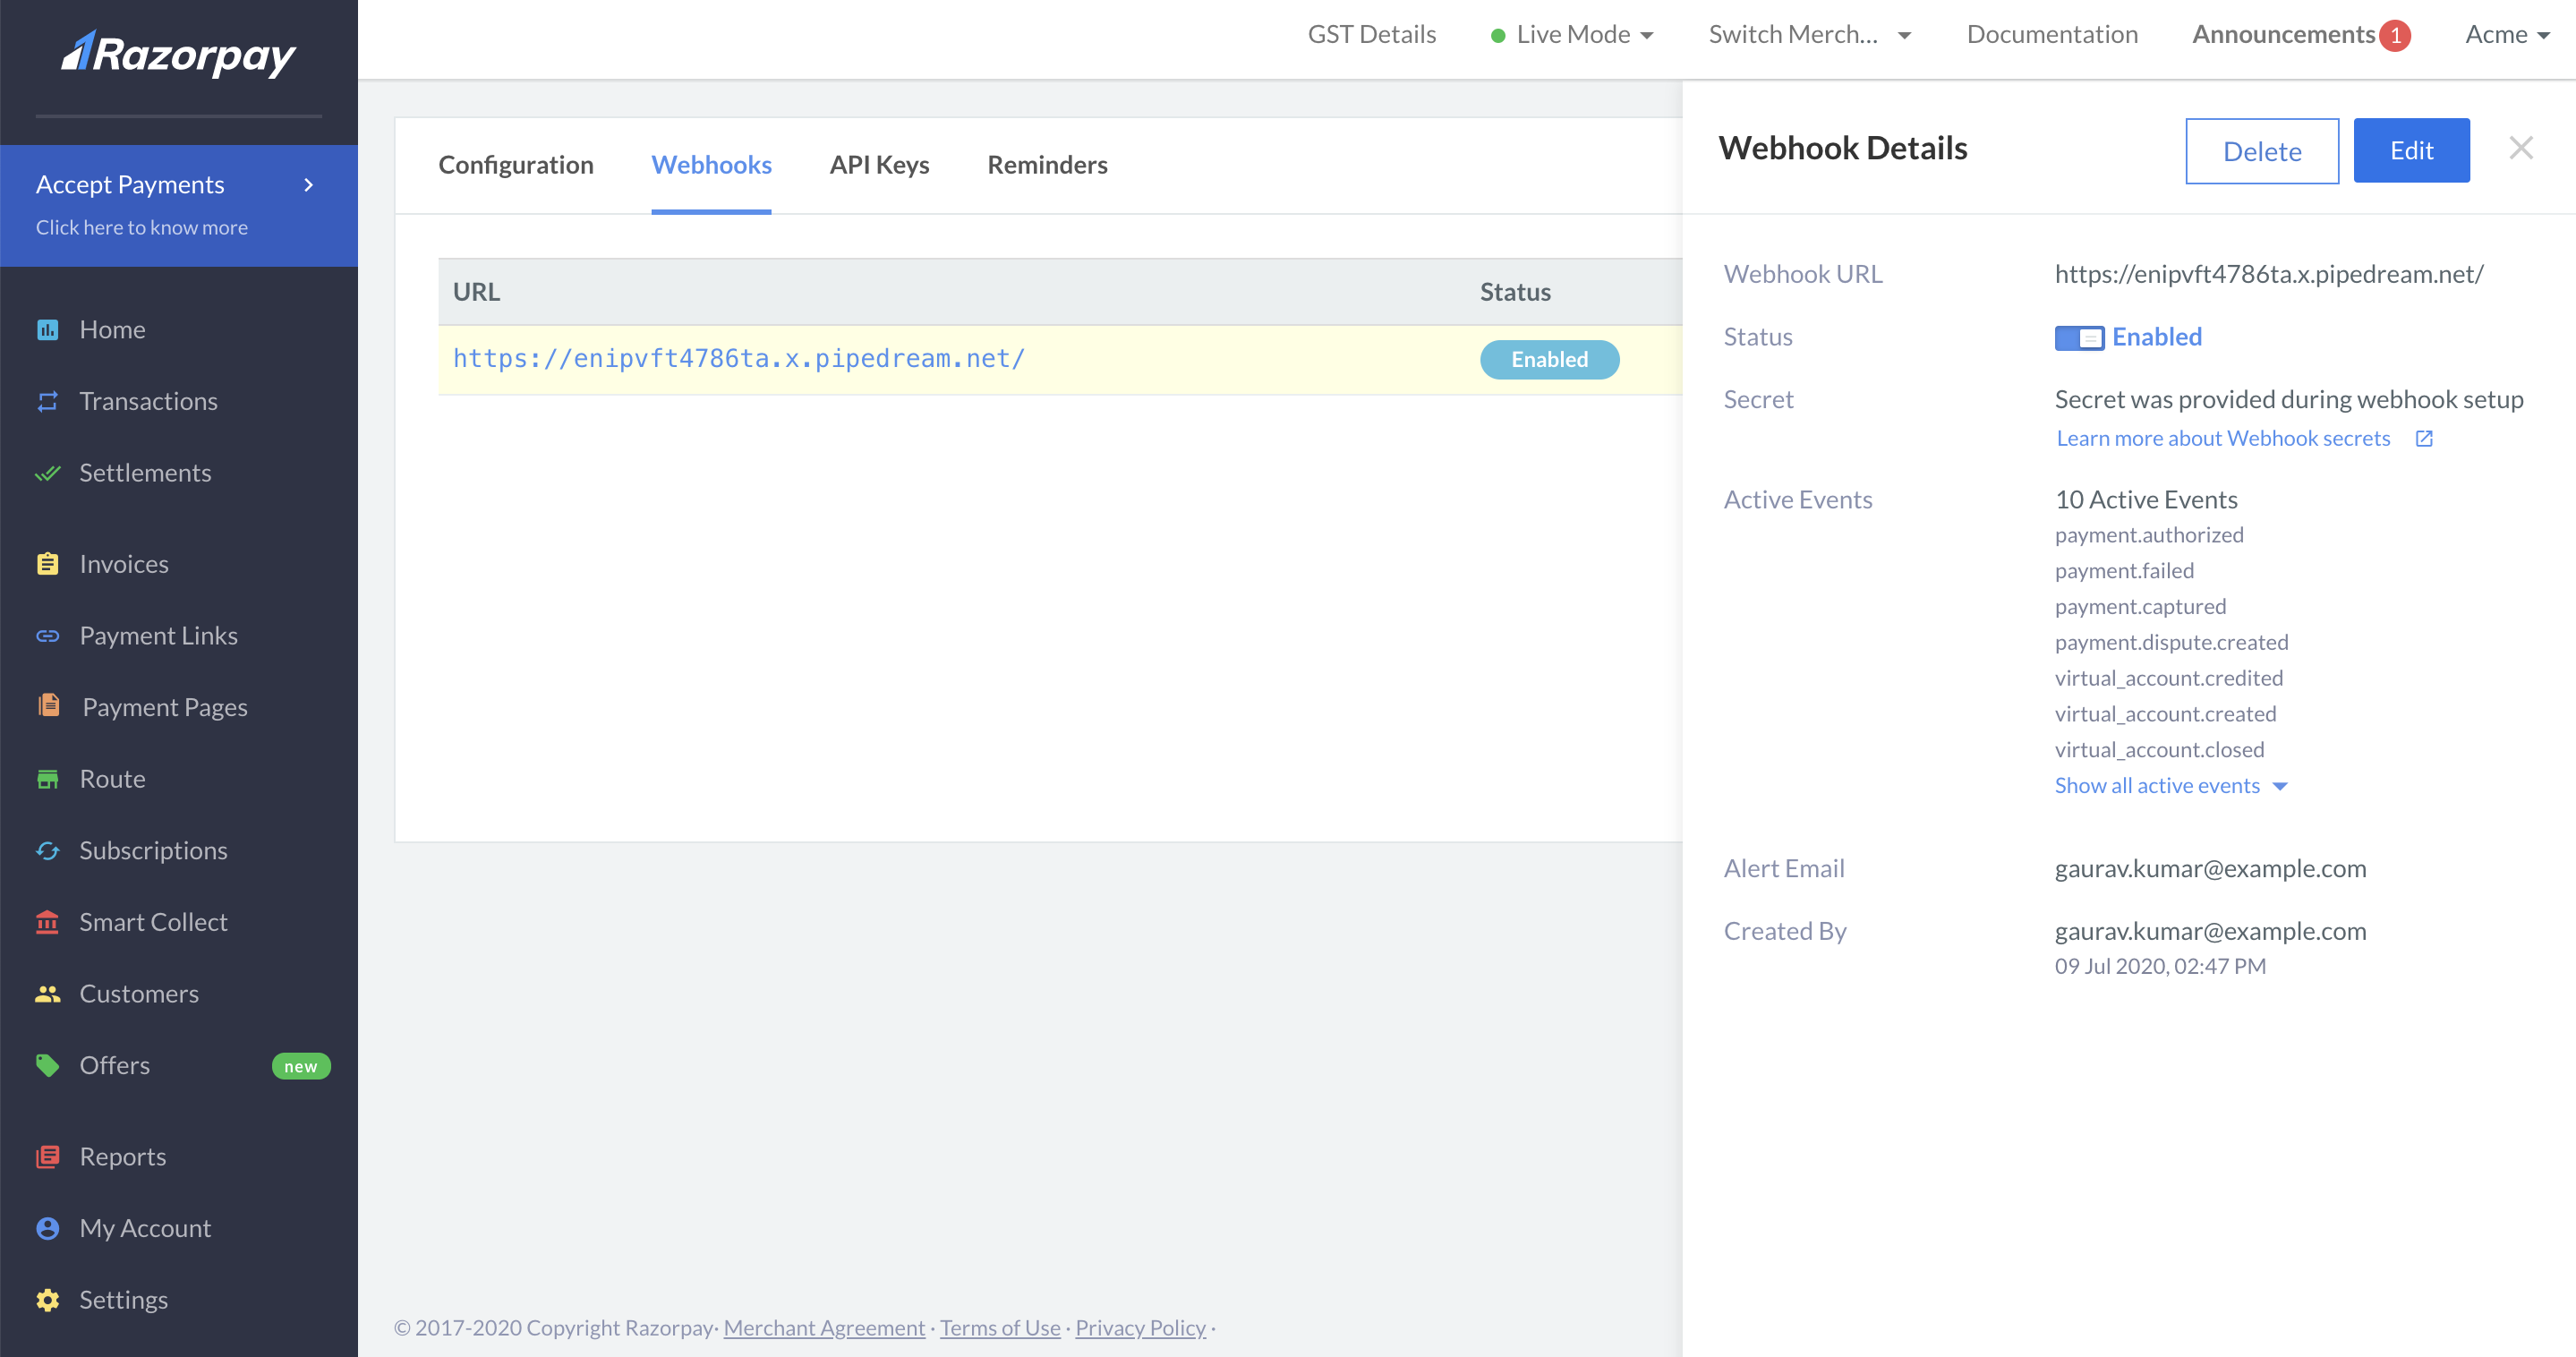
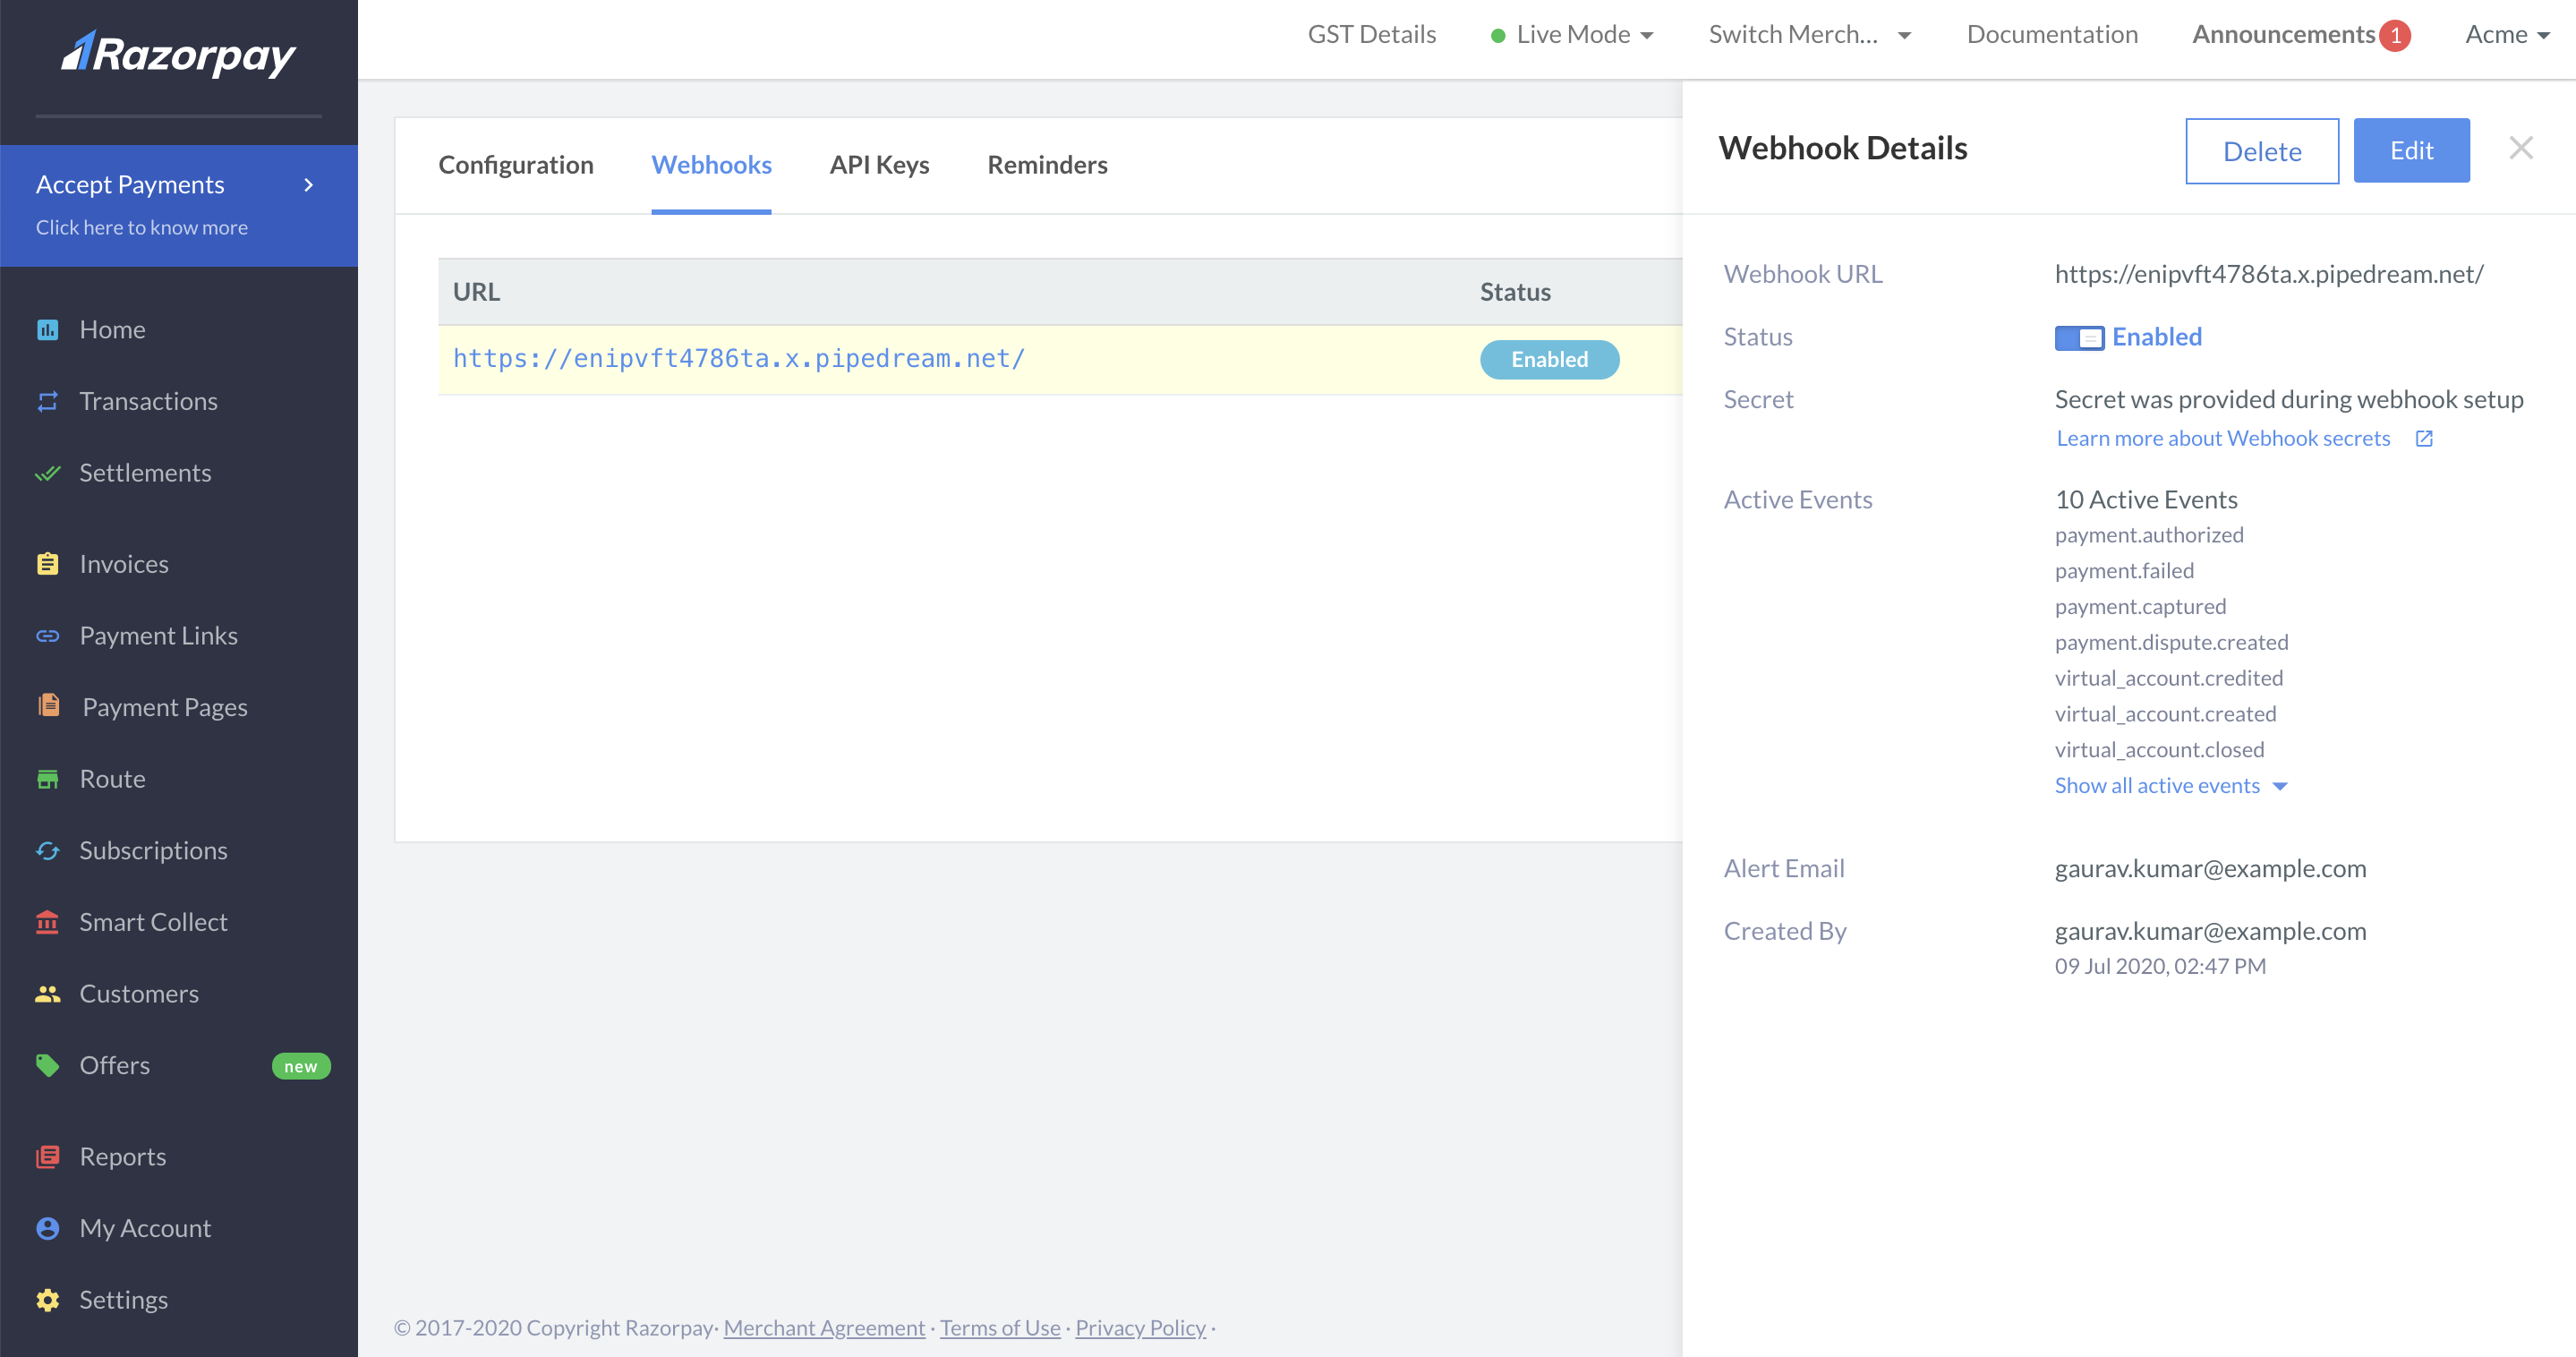
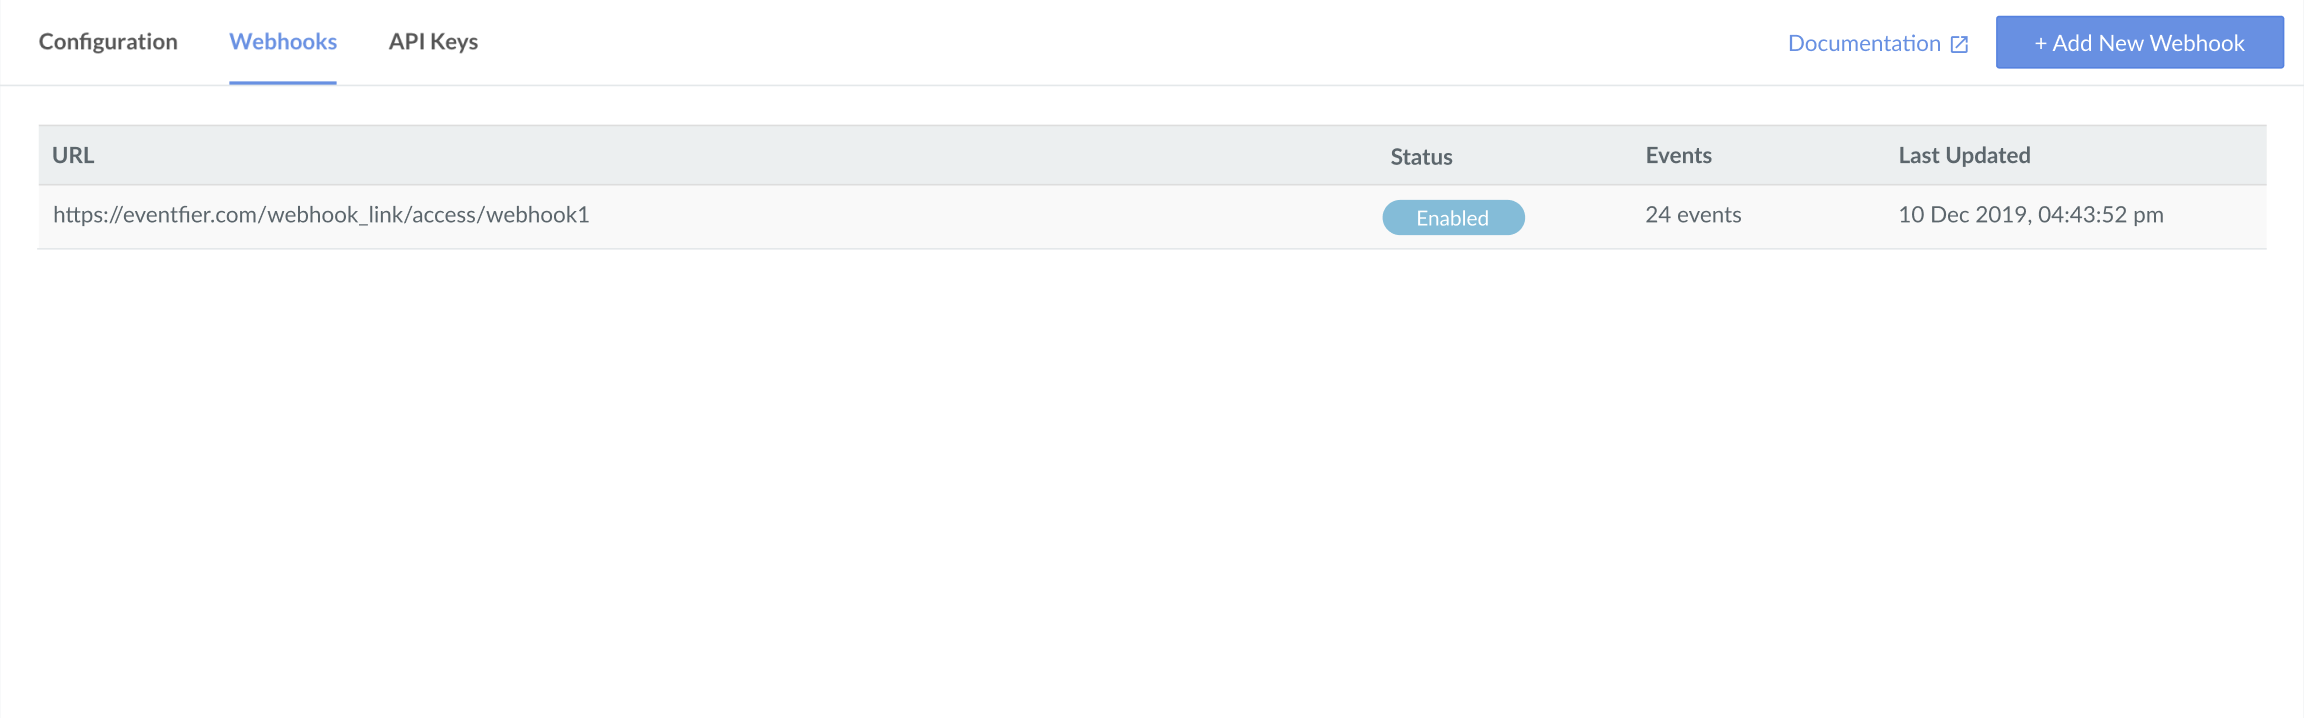
After you set a webhook, it appears on the list of webhooks.
You can click Edit to make changes to the webhooks.
Next Steps
You should validate and test your webhooks before you go live. Know more about validating and testing your webhooks.