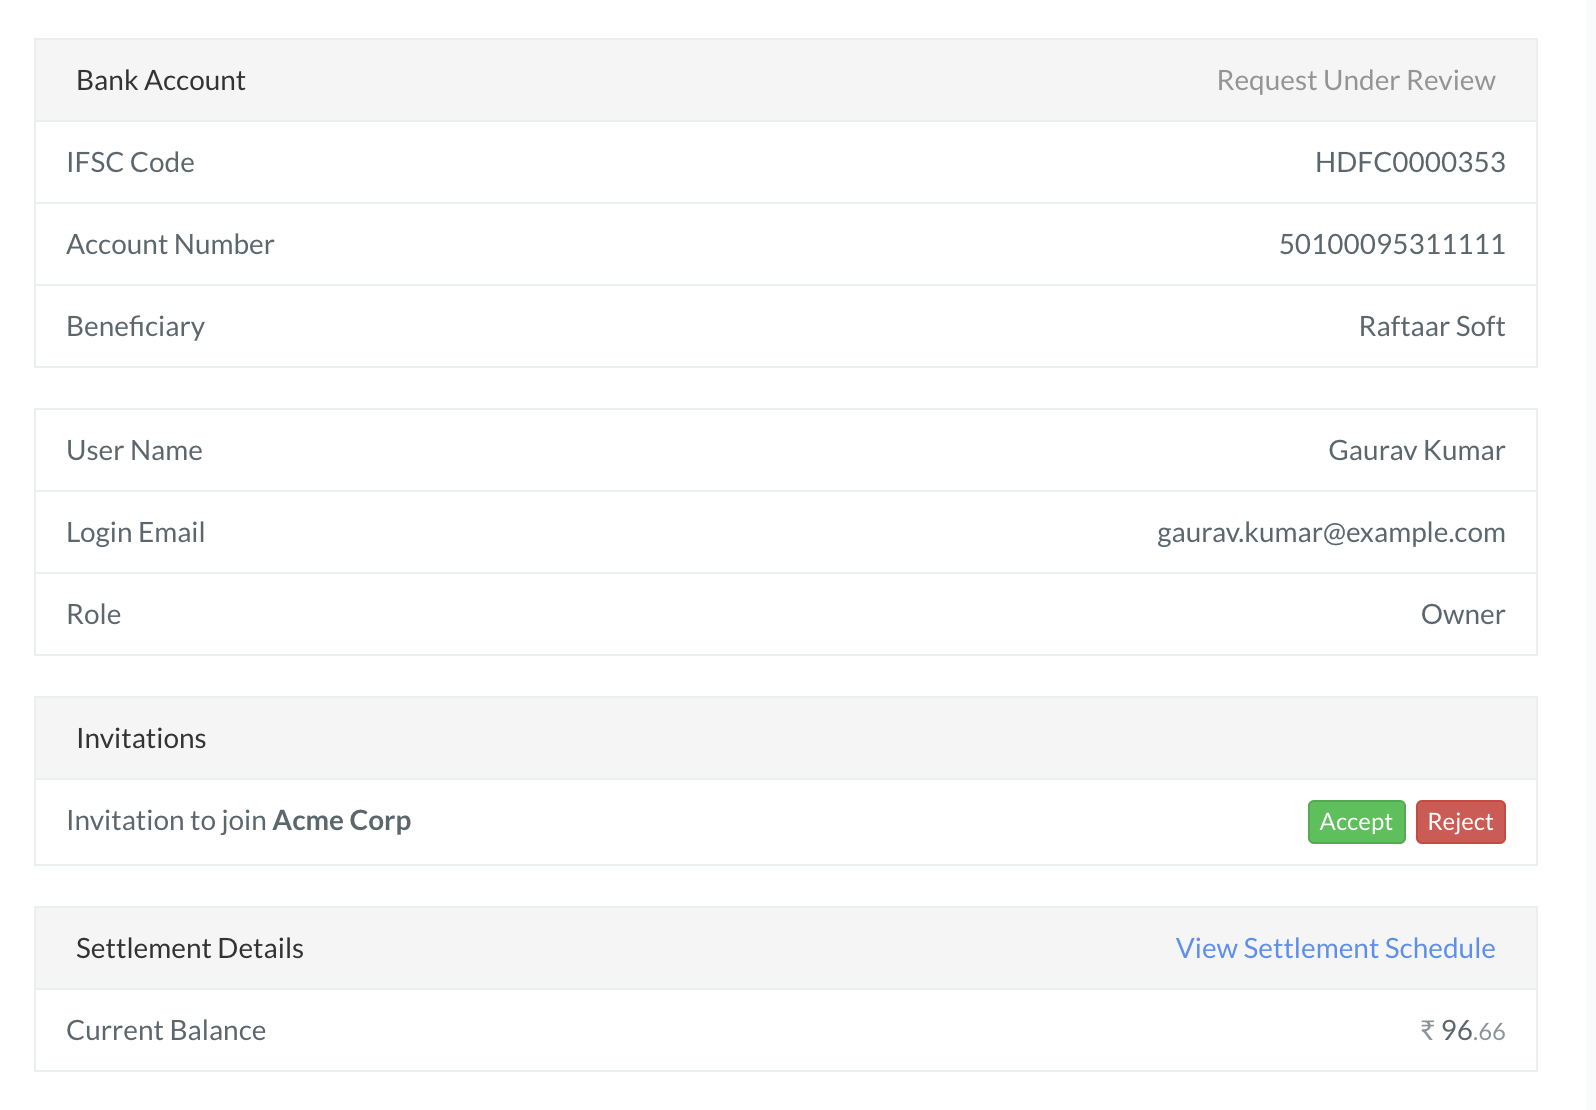
Manage Team

Mange your team, add or remove users and provide appropriate role to control access.


You can manage your team of users who can access the Razorpay Dashboard. You can provide specific access to a user or a set of users.

Example🔗

You need someone in your organization to perform day-to-day operations such as handling refunds and settlements. In this case, you can give access of your Razorpay Dashboard to a person and assign the Operations role. This limits the access to actions related to refunds and settlements only.

Standard User Roles🔗

There are some predefined user roles that you can assign to your team members. You can use these roles to limit a user's access to the Dashboard. The below table explains each role and permissions associated with it. A team member should be assigned a role as the role is tied to an email address. A user can have multiple roles if he/she has different email ids.

Role

Action Allowed

Actions not Allowed

Owner

  • Generate API Keys.

  • Create and manage webhooks.

  • Manage Teams.

  • Update brand name.

  • Edit activation form details, including bank account details and GST number, before submission.

  • View all transactions and settlements.

  • View all disputes.

  • Accept all disputes.

  • Contest all disputes and submit evidence.

  • Configure payment capture settings.

  • Configure payment methods.

  • Capture transactions.

  • Create refunds.

  • Create and manage Invoices, Payment Pages, Payment Links, Plans and Subscription Links, Customers and Virtual Accounts.

  • Edit linked account details.

  • Create and upload batch files.

  • Download and email reports.

  • Use Payments Mobile App.

  • Create Offers.

  • Install OAuth Apps.

NA

Admin

  • Generate API Keys.

  • Create and manage webhooks.

  • Update brand name.

  • Edit activation form details, including bank account details and GST number, before submission.

  • Configure payment methods.

  • View all transactions and settlements.

  • View all disputes.

  • Accept all disputes.

  • Contest all disputes and submit evidence.

  • Capture transactions.

  • Create refunds.

  • Create and manage Invoices, Payment Pages, Payment Links, Plans and Subscription Links, Customers and Virtual Accounts.

  • Create and upload batch files.

  • Download and email reports.

  • Use Payments Mobile App.

  • Create Offers.

  • Manage Teams.

  • Edit linked account details.

Manager

  • Create and manage webhooks.

  • Edit activation form details, including GST number, before submission.

  • Configure payment capture settings.

  • Configure payment methods.

  • View all transactions and settlements.

  • View all disputes.

  • Accept all disputes.

  • Contest all disputes and submit evidence.

  • Capture transactions.

  • Create refunds.

  • Create and manage Invoices, Payment Pages, Payment Links, Plans and Subscription Links, Customers and Virtual Accounts.

  • Create and upload batch files.

  • Download and email reports.

  • Use Payments Mobile App.

  • Generate API Keys.

  • Manage Teams.

  • Edit linked account details.

Operations

  • View all transactions and settlements.
  • View all disputes.
  • Accept all disputes.
  • Contest all disputes and submit evidence.
  • Capture transactions.
  • Create refunds.
  • Create Invoices, Payment Links, Payment Pages, Payment Buttons and Virtual Accounts.
  • Create and upload batch files.
  • Download and email reports.
  • Use Payments Mobile App.
    • Generate API Keys.

    • Manage Teams.

    • Edit activation form details, including bank account details and GST number, before submission.

    • Edit linked account details.

    Finance

    • Edit activation form details including GST number, before submission.

    • View all transactions and settlements.

    • View all disputes.

    • Accept all disputes.

    • Contest all disputes and submit evidence.

    • Create and upload batch files.

    • Download and email reports.

    • Generate API Keys.

    • Create and manage webhooks.

    • Manage Teams.

    • Capture transactions.

    • Create refunds.

    • Create and manage Invoices, Payment Pages, Payment Links, Plans and Subscription Links, Customers and Virtual Accounts.

    • Edit linked account details.

    ePos

    • Create Invoices and Payment Links in INR only.

    • Create Offers.

    • Generate API Keys.

    • Edit activation form details including GST number, before submission.

    • Create and manage webhooks.

    • Manage Teams.

    • View all transactions and settlements.

    • View all disputes.

    • Accept all disputes.

    • Contest all disputes and submit evidence.

    • Capture transactions.

    • Create refunds.

    • Edit linked account details.

    • Create and upload batch files.

    • Download and email reports.

    • Create Items.

    • View Invoices, Payment Pages, Payment Links created by other users.

    Support

    • View all transactions and settlements.

    • View all disputes.

    • Accept all disputes.

    • Contest all disputes and submit evidence.

    • Download and email reports other than the monthly invoice report.

    • Generate API Keys.

    • Create and manage webhooks.

    • Manage Teams.

    • Edit activation form details, including bank account details and GST number, before submission.

    • Capture transactions.

    • Create refunds.

    • Create and manage Invoices, Payment Pages, Payment Links, Plans and Subscription Links, Customers and Virtual Accounts.

    • Edit linked account details.

    • Create and upload batch files.

    • Access monthly invoice report.

    Invite a User🔗

    You can invite anyone with a valid email address to your Razorpay account. Every user has unique login credentials.

    Invite a Registered User🔗

    Watch this video to see how you can invite users to your team.

    1. Log into the Razorpay Dashboard.
    2. Navigate to the My Account tab and click Manage Team.
    3. Type in the email address of the user whom you want to invite. Select a role from the drop-down list.
    4. Click Send Invitation to invite the user. A list of accepted and pending invitations is displayed on the same page.
    5. Click Resend to re-invite the user or Cancel to cancel the invitation.

    Accept Invite - Existing Razorpay User🔗

    Watch this video to see how to accept an invite to be a team member.

    Switching Accounts
    After accepting the invite, the invited user can switch between their and your account using the Switch Merchant option available on the Dashboard header.
    You cannot access their account unless they invite you to join their team.

    Invite a New User🔗

    You can invite a user who is not registered with Razorpay to join your team. Such users are sent an invite link via email.

    Update Role of a User🔗

    You can change the user's role after the invitation is sent to the user or after the invitation is accepted by the user.

    Watch this video to see how you can update the role of a user.

    To update a user's role:

    1. Log into your Razorpay Dashboard.
    2. Navigate to My Account and click Manage Team.
    3. Select the new role for the user from the dropdown.
    4. Click Update.

    Remove a User🔗

    You can remove a user from your team to remove his/her complete access from your Razorpay Dashboard.

    Watch this video to see how you can remove a user from your team.

    To remove a user from your team:

    1. Log into your Razorpay Dashboard.
    2. Navigate to My Account and click Manage Team.
    3. Click Remove to remove a user from the Team Member list. Once removed, the user can no longer access your Dashboard.
    4. Click Cancel to remove a user from the Pending Invitations list.

    2-Step Verification (Team Level)🔗

    You can set 2-step verification for your entire team for enhanced security and protection of your Razorpay Dashboard data thus preventing malicious attacks or misuse of your sensitive business data.

    What is 2-Step Account Verification (Two-factor Authentication, 2FA)🔗

    Account 2-Step Verification
    To know how to enable 2-step verification only for your account, refer to the Profile section.

    Watch this video to see how to enable 2FA for your entire team.

    To enable 2-step verification for your team:

    1. Log into your Razorpay Dashboard.
    2. Navigate to My Account → Manage Team.
    3. Enable the 2-Step Verification to the team option.
    4. Enter the OTP sent to your registered mobile device. (This step is not required if you had already performed OTP verification during login.)
    5. Enter your account password and confirm.

    You have now set up 2FA for your entire team.

    FAQs🔗

    1. What to do if a user account is locked?🔗

    If a user enters the wrong OTP 9 times, their account will be locked for security reasons. In such scenarios, the user should contact their respective account owner. The account owner can unlock the users' accounts.

    2. What to do if a user loses their mobile device?🔗

    If a user loses their mobile device, they should reach out to their respective account owner. The account owner can Invalidate 2FA for the user, that is reset 2FA for the user. The user will be asked to enter their mobile number the next time they log into the Dashboard.

    Watch this video to see how the owner can reset 2FA for a team member.

    3. What to do if the account owner is locked?🔗

    If you are the account owner and have entered the wrong OTP 9 times, your account will be locked for security reasons. In such scenarios, contact our Support Team to Reset 2FA for your account.

    4. What to do if the account owner loses their mobile device?
    🔗

    If you are the account owner and have lost your mobile device, contact our Support Team to Reset 2FA for your account.

    ×