Create Payment Links🔗
Watch this video to see how you can create a Payment Link.
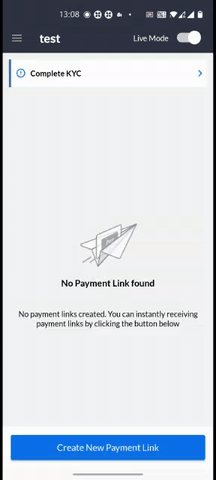
Follow these steps to create Payment Links:
-
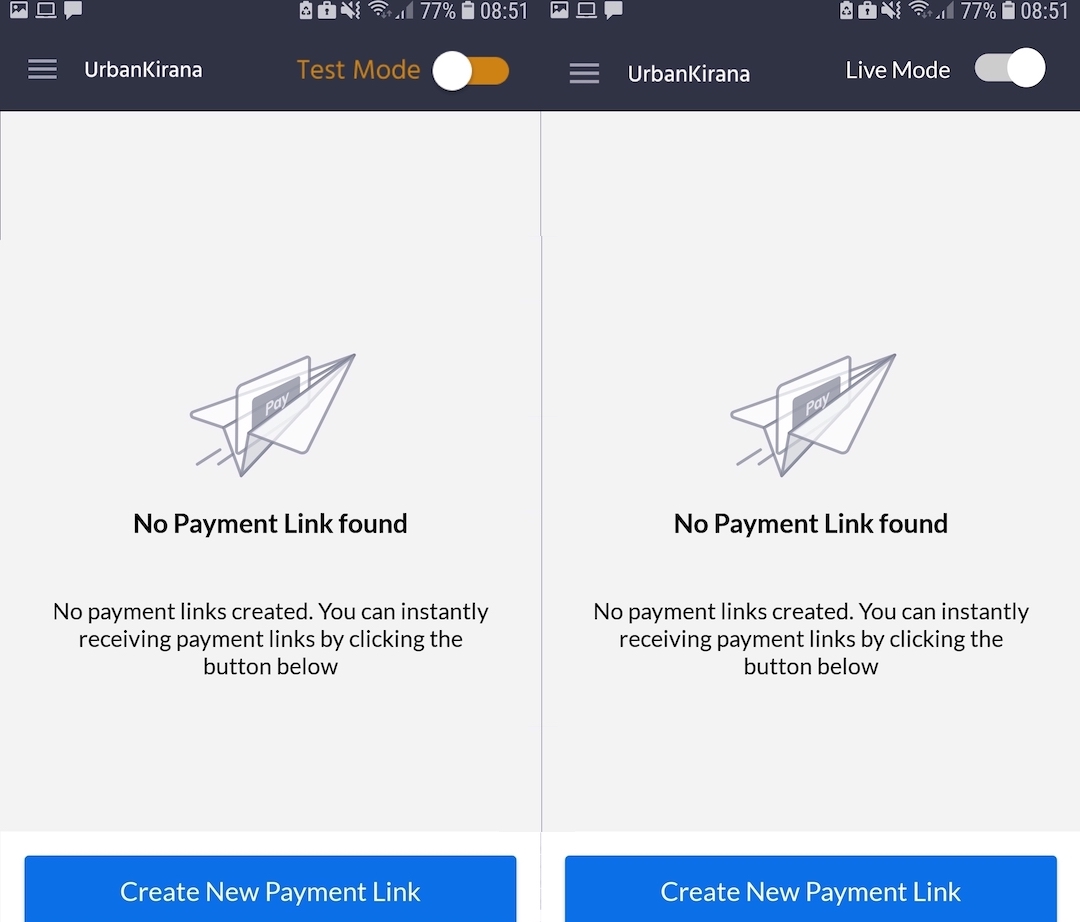
Log into the Razorpay account. You will be navigated to the New Payment page.
-
By default, you are in the Test Mode. Select Live Mode.
-
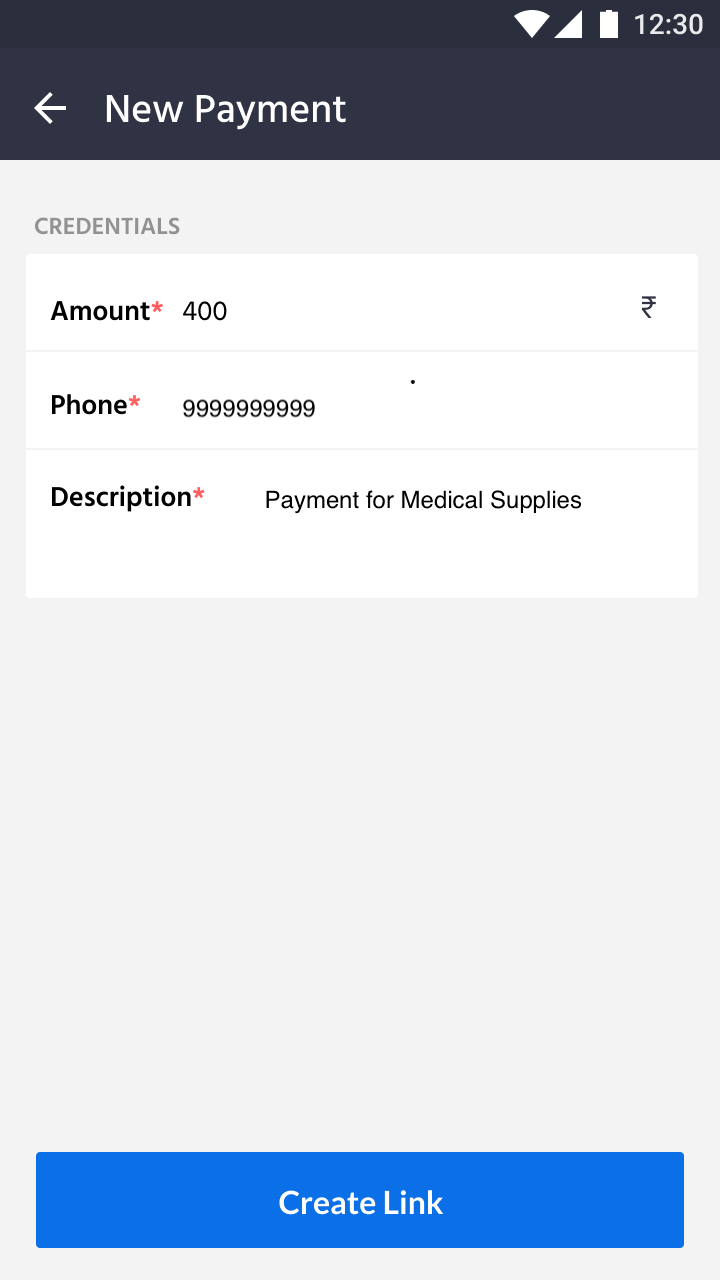
On the New Payment page, enter the amount, your customer's phone number and payment description.
-
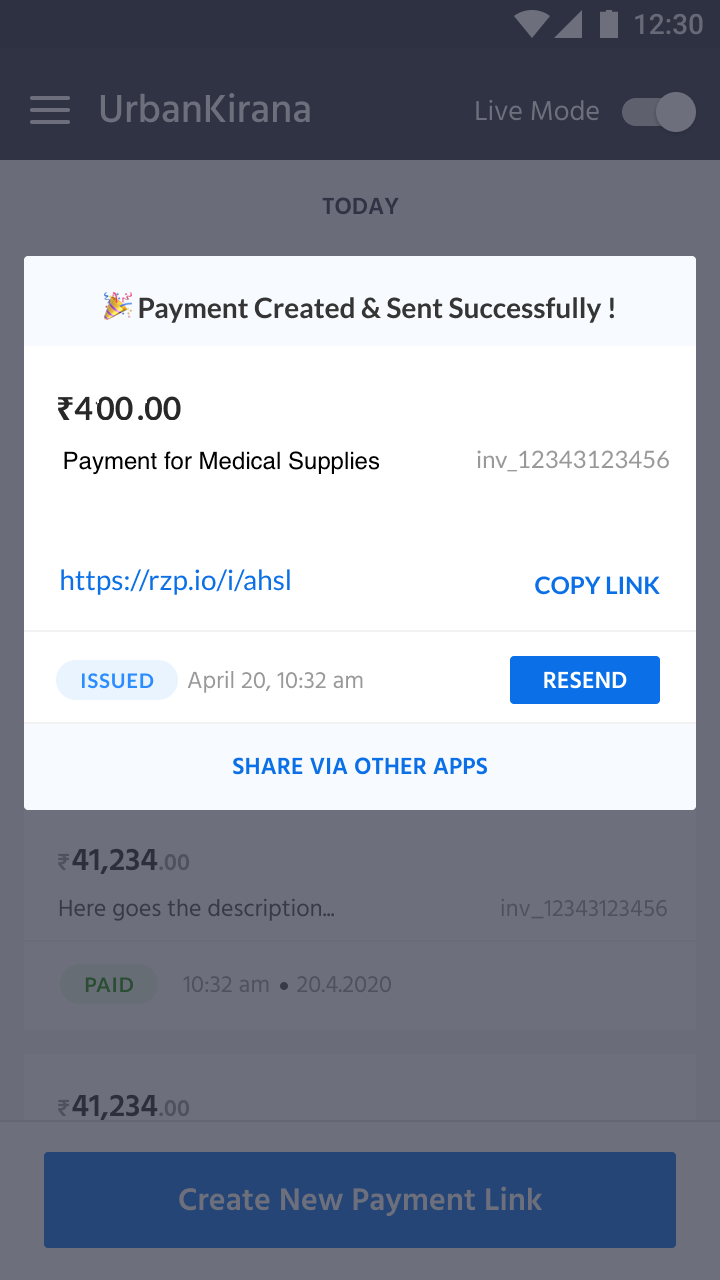
Verify the entered details and tap Create Link. A Payment Link is successfully created and sent to your customer via SMS.
-
When the customers receive the Payment Link, they can select the desired payment method (Debit/Credit card, Netbanking, UPI, or Wallet) and make the payment. After the payment is made, it is transferred to your bank account as per your settlement schedule after fee deduction.
Watch Out!
If you are a new merchant, your must submit your KYC and only after approval of your KYC, the payments are settled in your registered bank account. Know more about Getting Started with ePOS.