Activate Rewards🔗
Follow these steps to activate rewards:
-
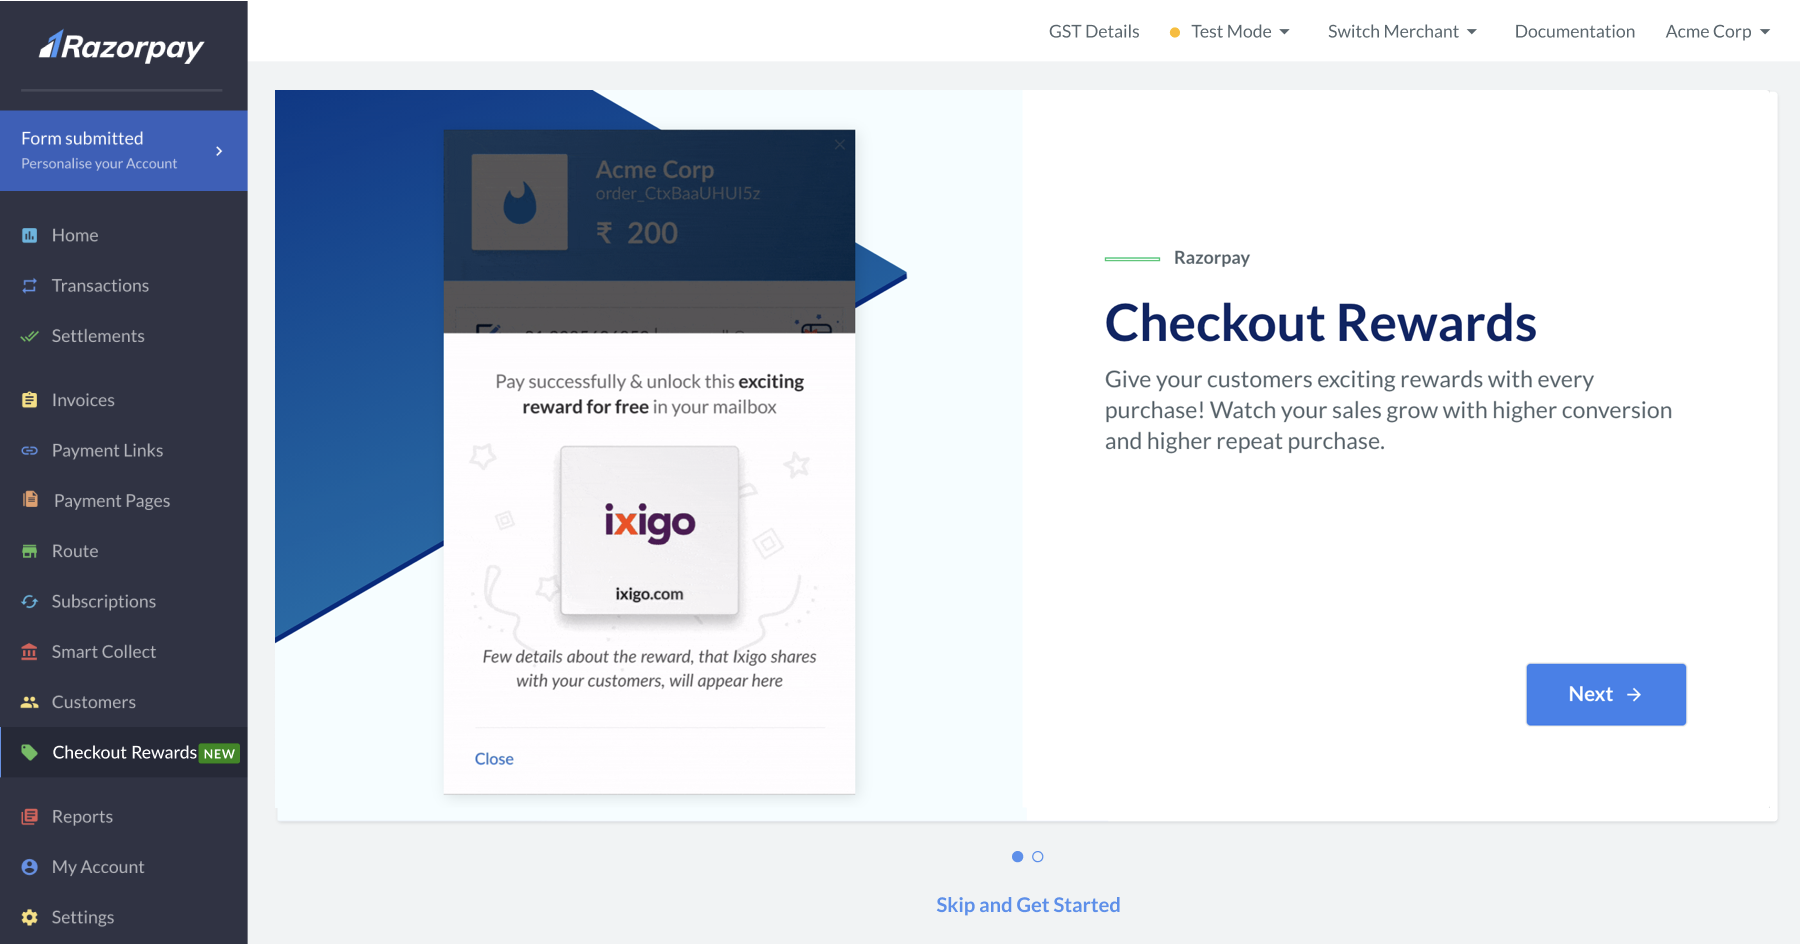
Log into the Razorpay Dashboard.
-
Navigate to Checkout Rewards and click Skip and Get Started.
-
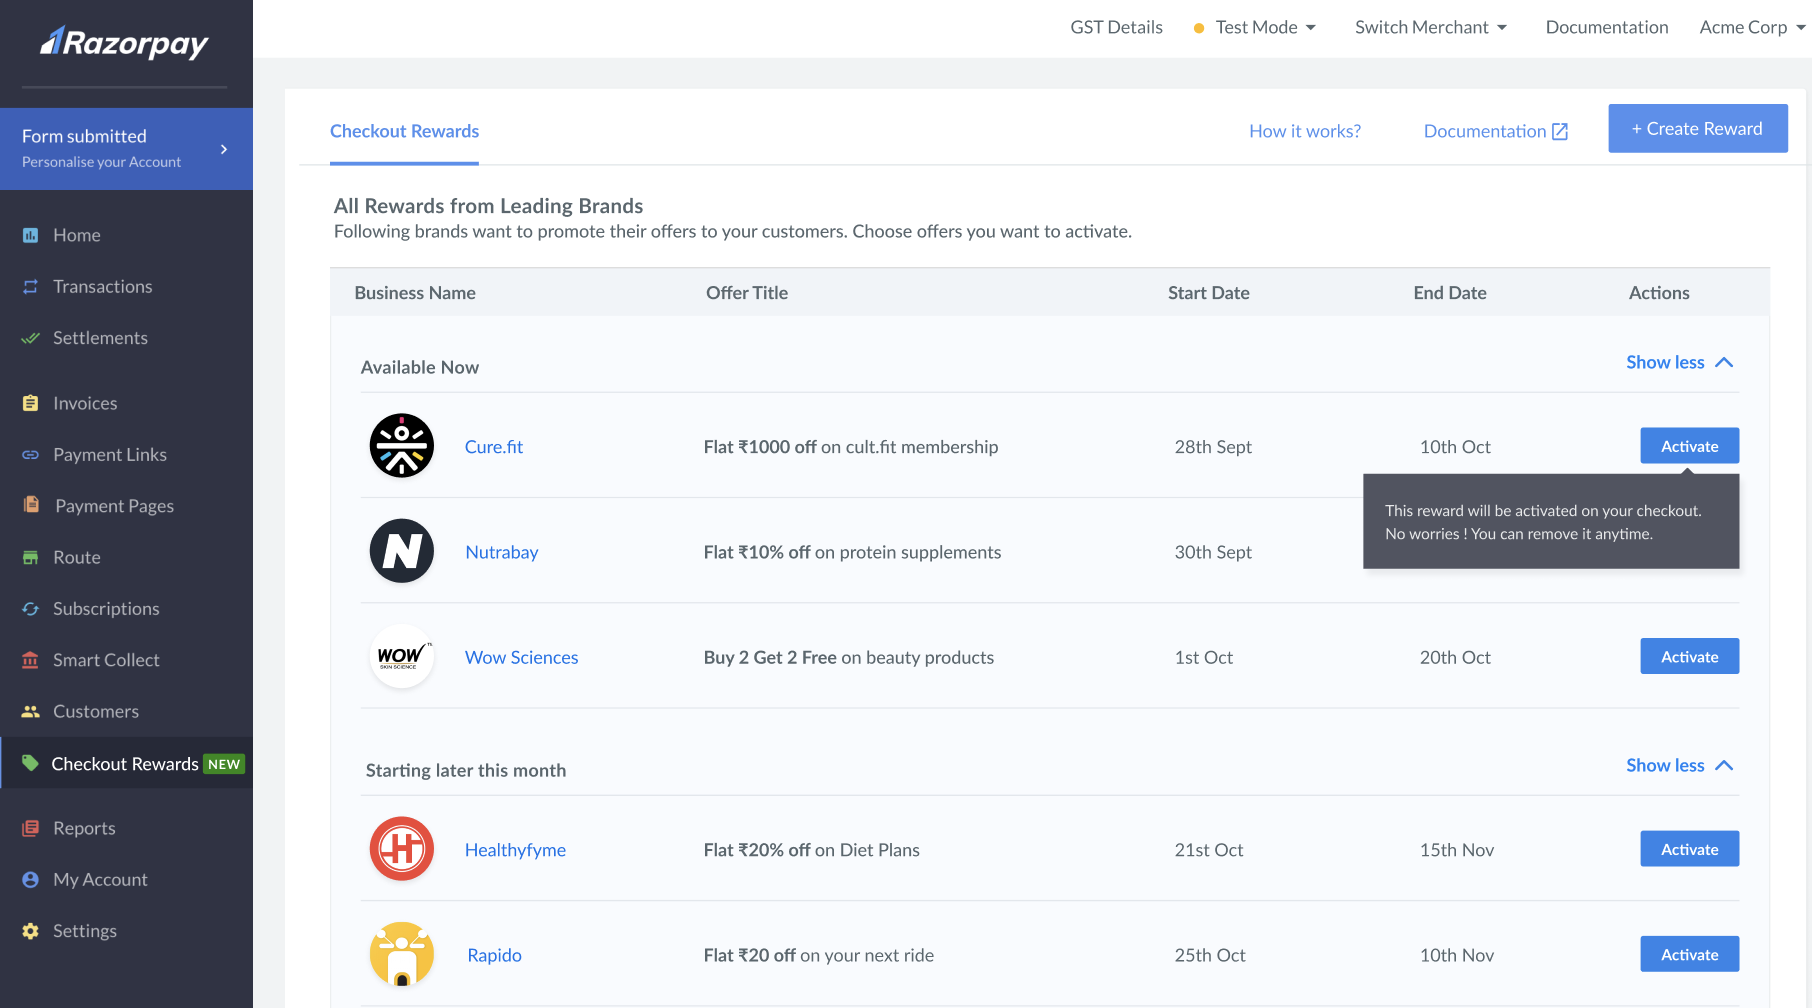
From the list, navigate to a reward of your choice and click Activate. You can select any number of rewards.
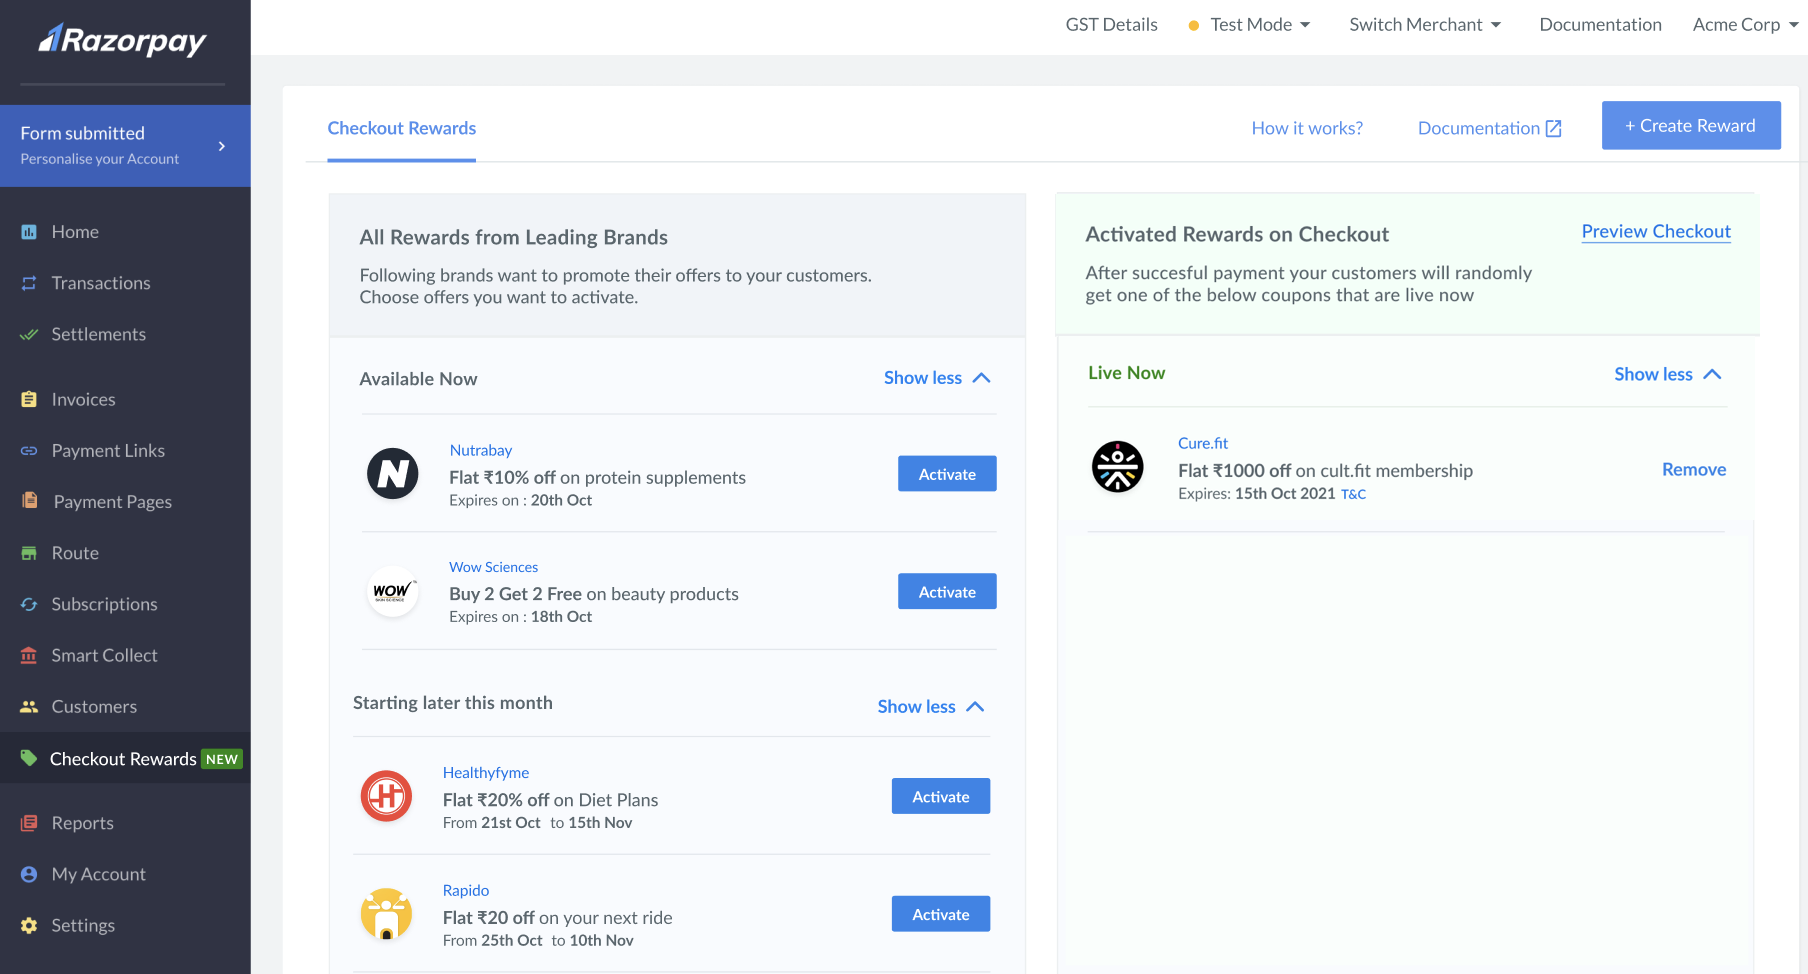
- The selected reward appears under the Activated Rewards on Checkout list. You can drag and drop the rewards to change the order of appearance.
- The selected reward appears under the Activated Rewards on Checkout list. You can drag and drop the rewards to change the order of appearance.
-
You can queue a reward if it is available only at a later date. Click Activate and Add to Queue.
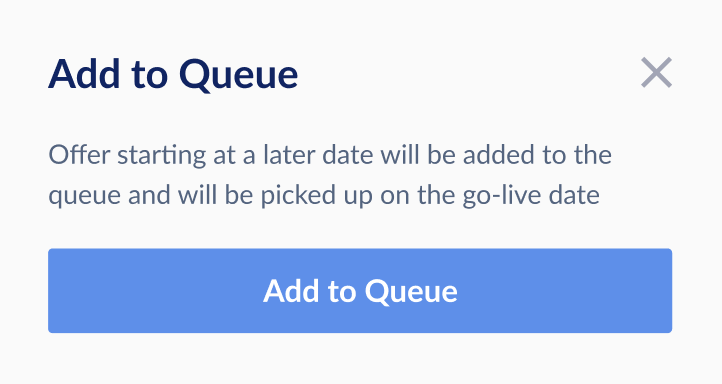
The queued rewards appear as shown below:
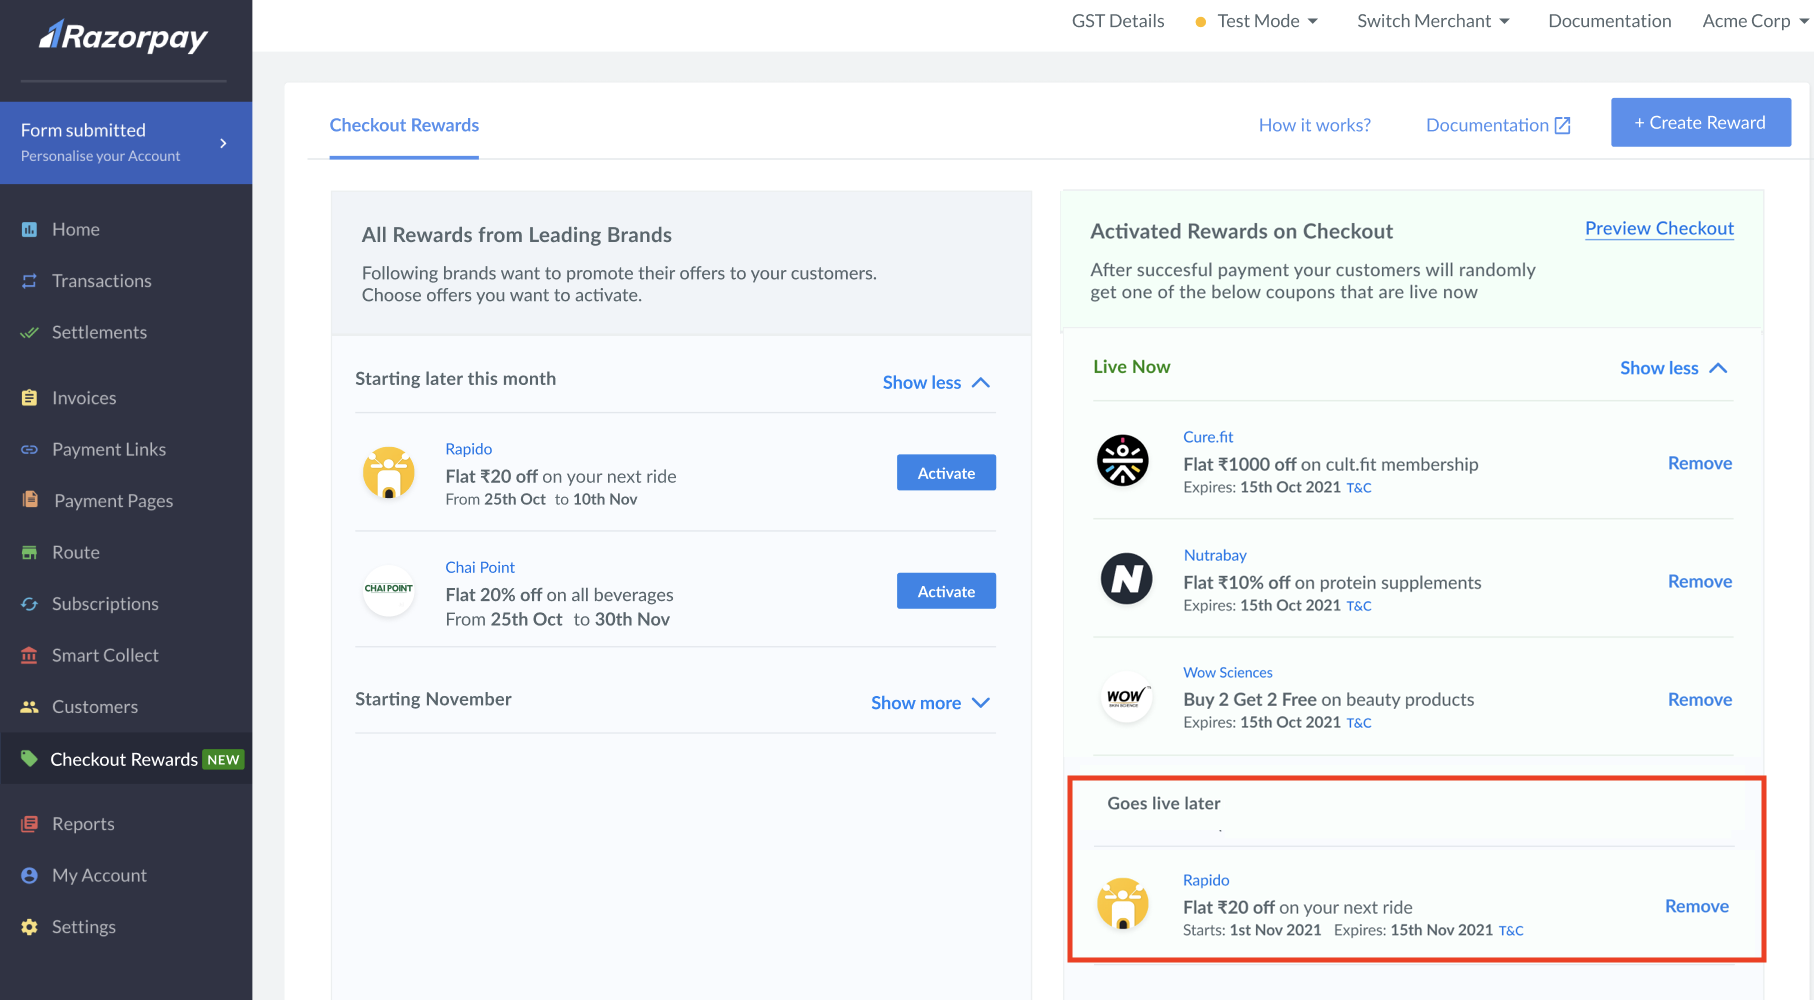
The rewards are displayed at your checkout page as and when they go live. No additional integration is required.
Checkout Visibility🔗
The rewards are visible on all instances of Razorpay Standard Checkout:
- Payment Gateway
- Payment Links
- Payment Pages
- Invoices
- Payment Button
- Subscriptions