How Payment Button Works
Create Razorpay Payment Button and accept payments from customers on your website.
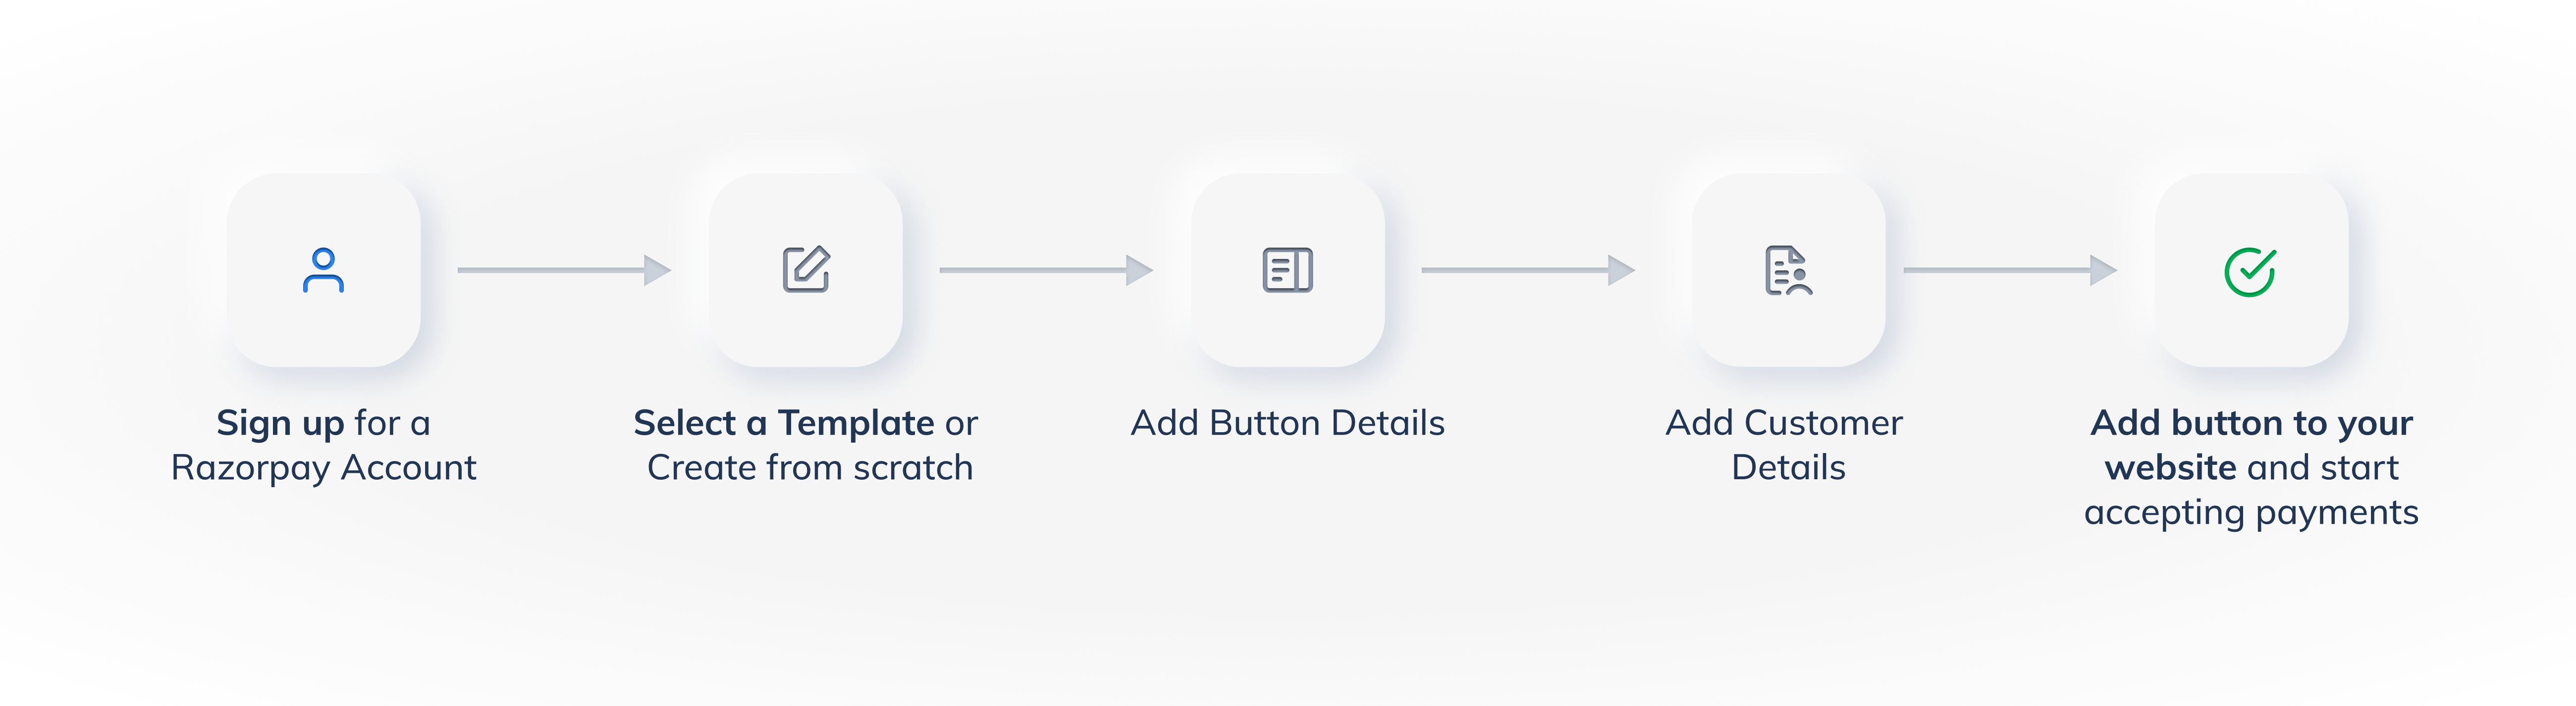
The following flow indicates how the Razorpay Payment Button works on your website:
Step 1: Sign Up for a Razorpay Account🔗
To create a Payment Button, you first need to create a Razorpay account. If you already have an account, log into the Razorpay Dashboard and click Payment Button.
Step 2: Select a Template or Create from Scratch🔗
Click Create Payment Button and select a template. Know more about templates.
Step 3: Add Button Details🔗
Add the button details. For example, you can add title, button type and so on. Know more about adding button details.
Step 4: Add Customer Details🔗
Configure the input fields. For example, you can add email details, add a name field and so on. Know more about adding customer details.
Step 5: Embed Payment Button on your Website and Start Accepting Payments🔗
Add the hyperlink to your website. When customers click on the Pay button, they will be redirected to the Razorpay Payment Gateway to complete the payment. Know more about embedding the Payment button to a website.
×![]()