Create a QR Code from Dashboard🔗
Here is short video on how to create QR codes on the Razorpay Dashboard.
To create a QR code:
-
Log into the Razorpay Dashboard. If you do not have a Razorpay account, sign up.
-
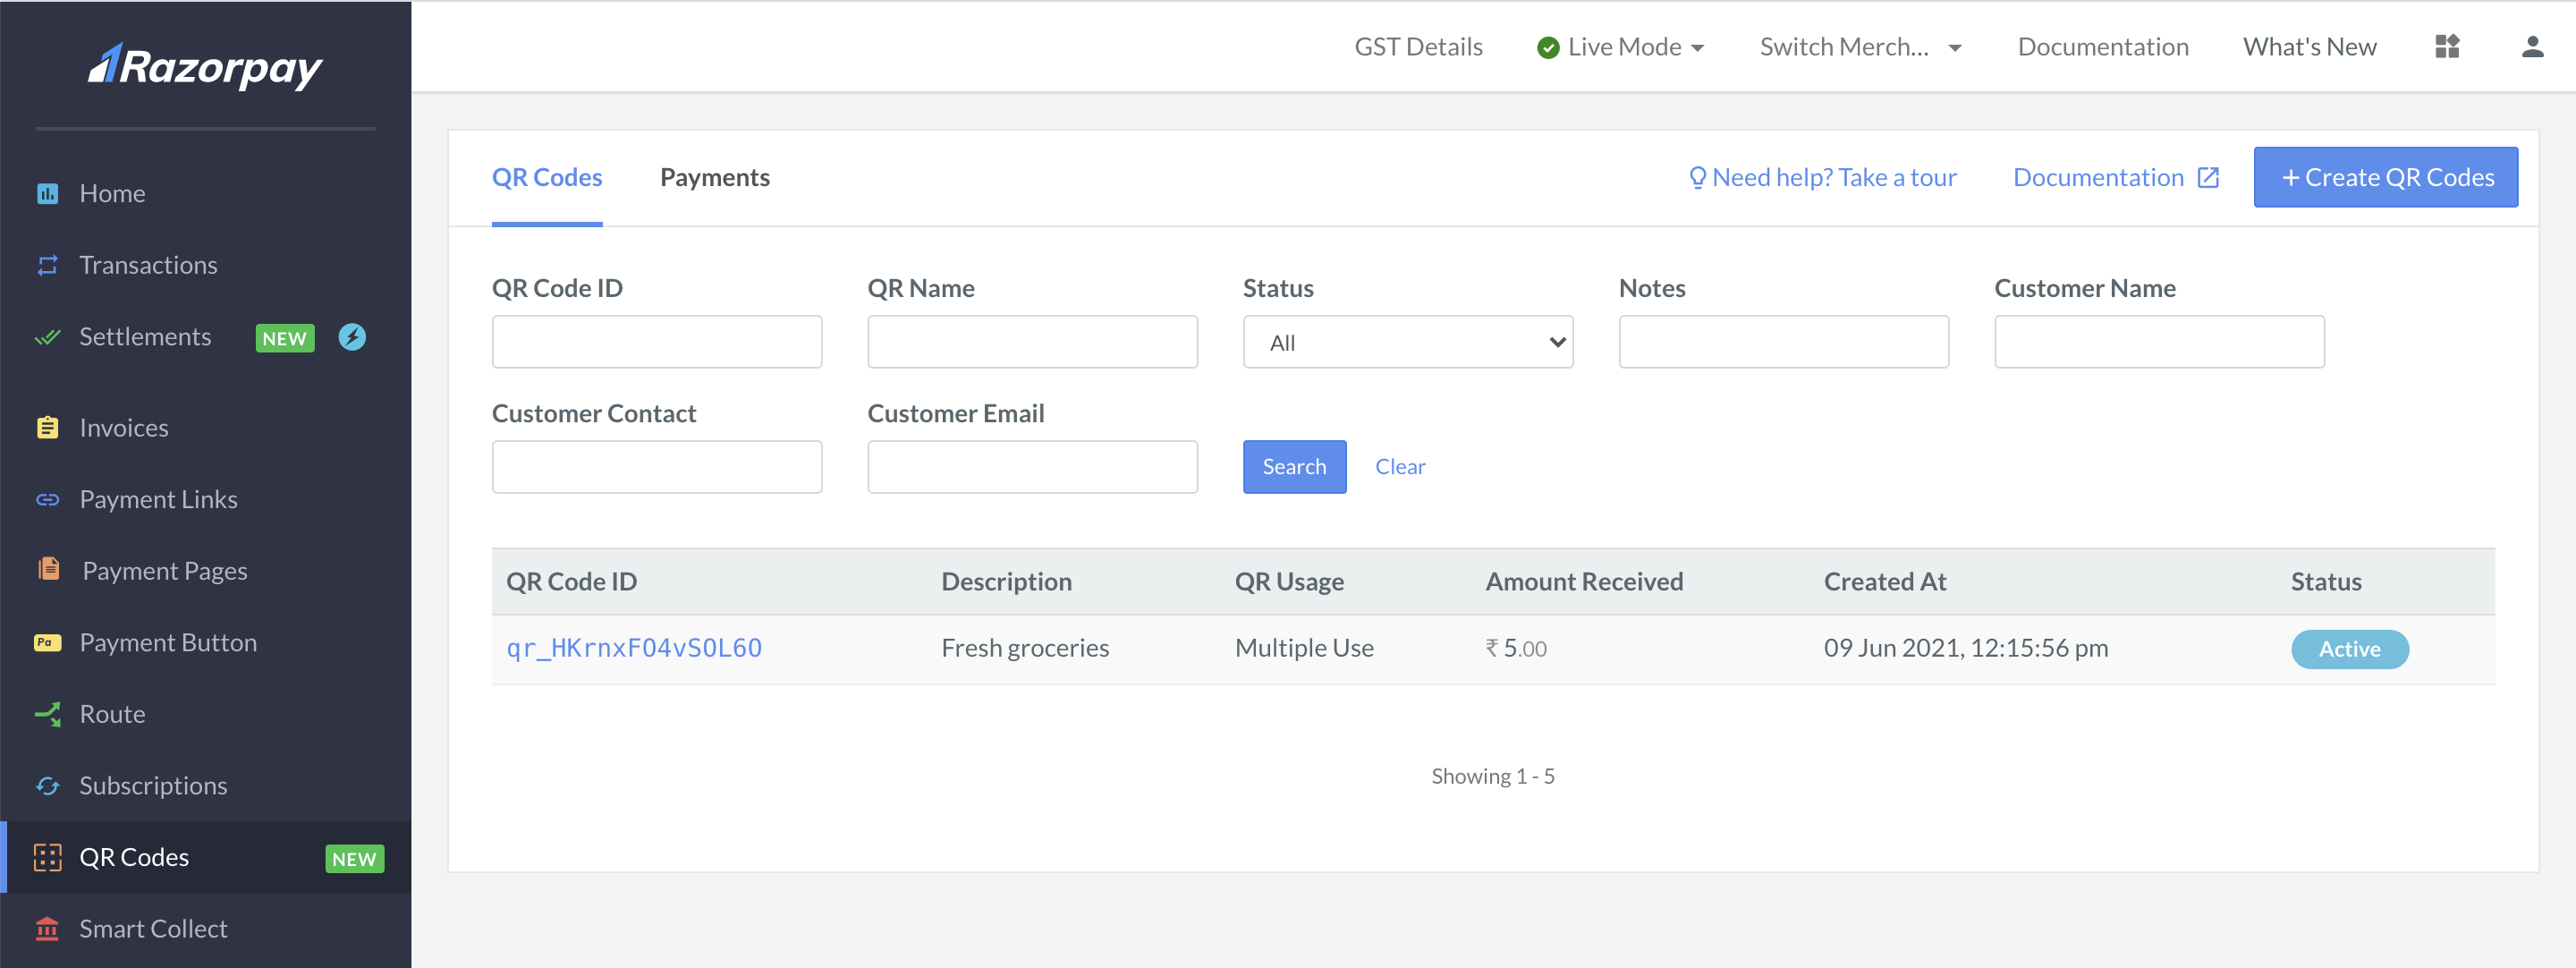
Click QR Codes → +Create QR Codes.
-
Provide the following details:
-
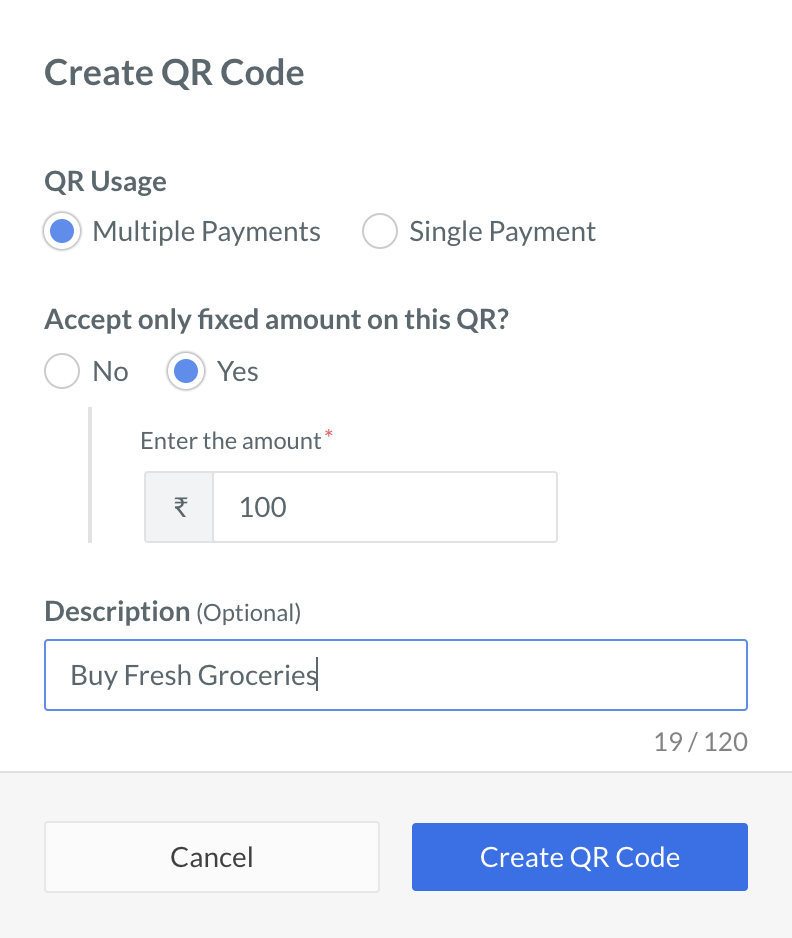
QR Usage: You can configure the QR code to receive a single payment or multiple payments.
- Multiple Payments: Enables QR code tor receive multiple payments.
- Single Payment: Enables QR code to receive only one payment. Once this payment is received, the QR code is automatically closed.
-
Accept only fixed amount on this QR?: You can decide whether to accept fixed amount or let the customer decide the amount:
- Yes: Set to Yes and specify the fixed amount you want to receive from customers. Customers will not be able to pay an amount greater than or lesser than the specified amount.
- No: Set to No to allow customers to pay an amount of their choice.
-
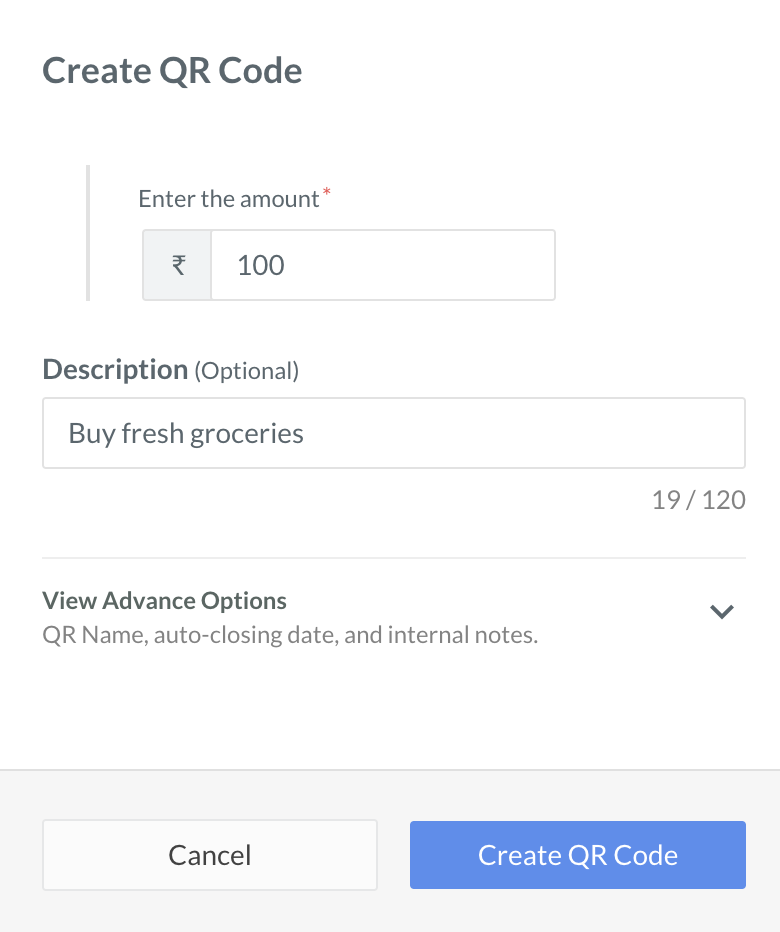
Description (Optional): Add a description for your reference.
-
Details added in description will show up in the QR Image.

-
-
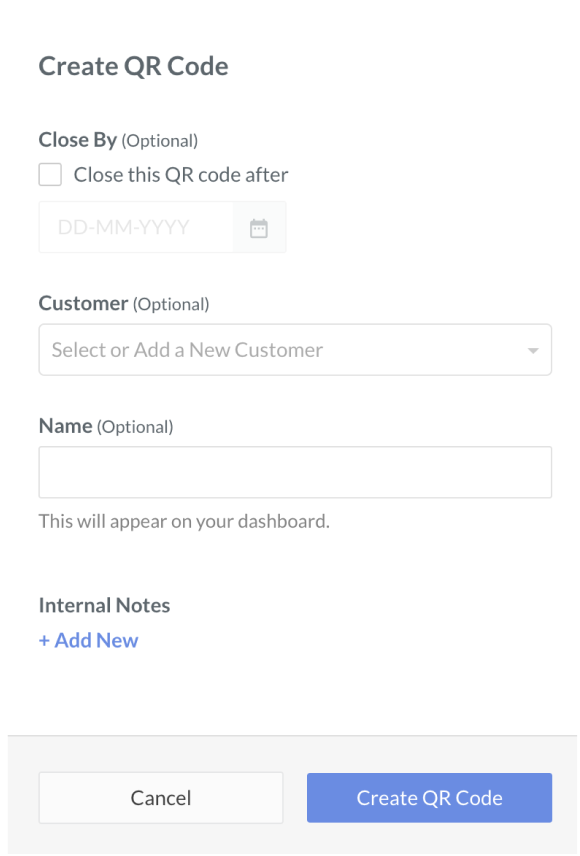
Advanced Options: Click View Advanced Options to view and configure advanced options.
- Close By (Optional): Set a closure date for the QR Code. Select the Close this QR Code after option to select the date and time at which the account must be automatically closed. Ensure that the time specified is at least 15 minutes after the QR code creation time.
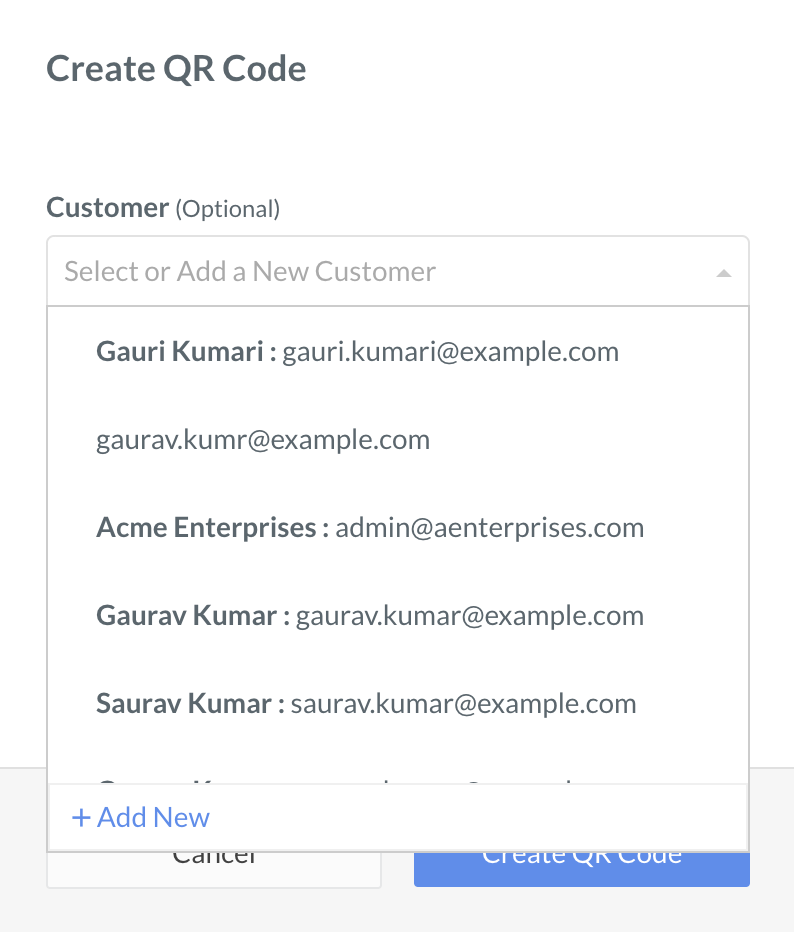
- Customer: Select the customer from the drop-down list. You can also create a new customer while creating the QR code.
Handy Tip
You may skip this step and proceed with creation, if you do not wish to tag it to a specific customer. However, you cannot modify the QR code and tag it to a customer later.
-
Name: Add a name for the QR code for your reference. This will appear on your Dashboard.
Handy Tip
This is for your reference only and will not be visible to the end user. -
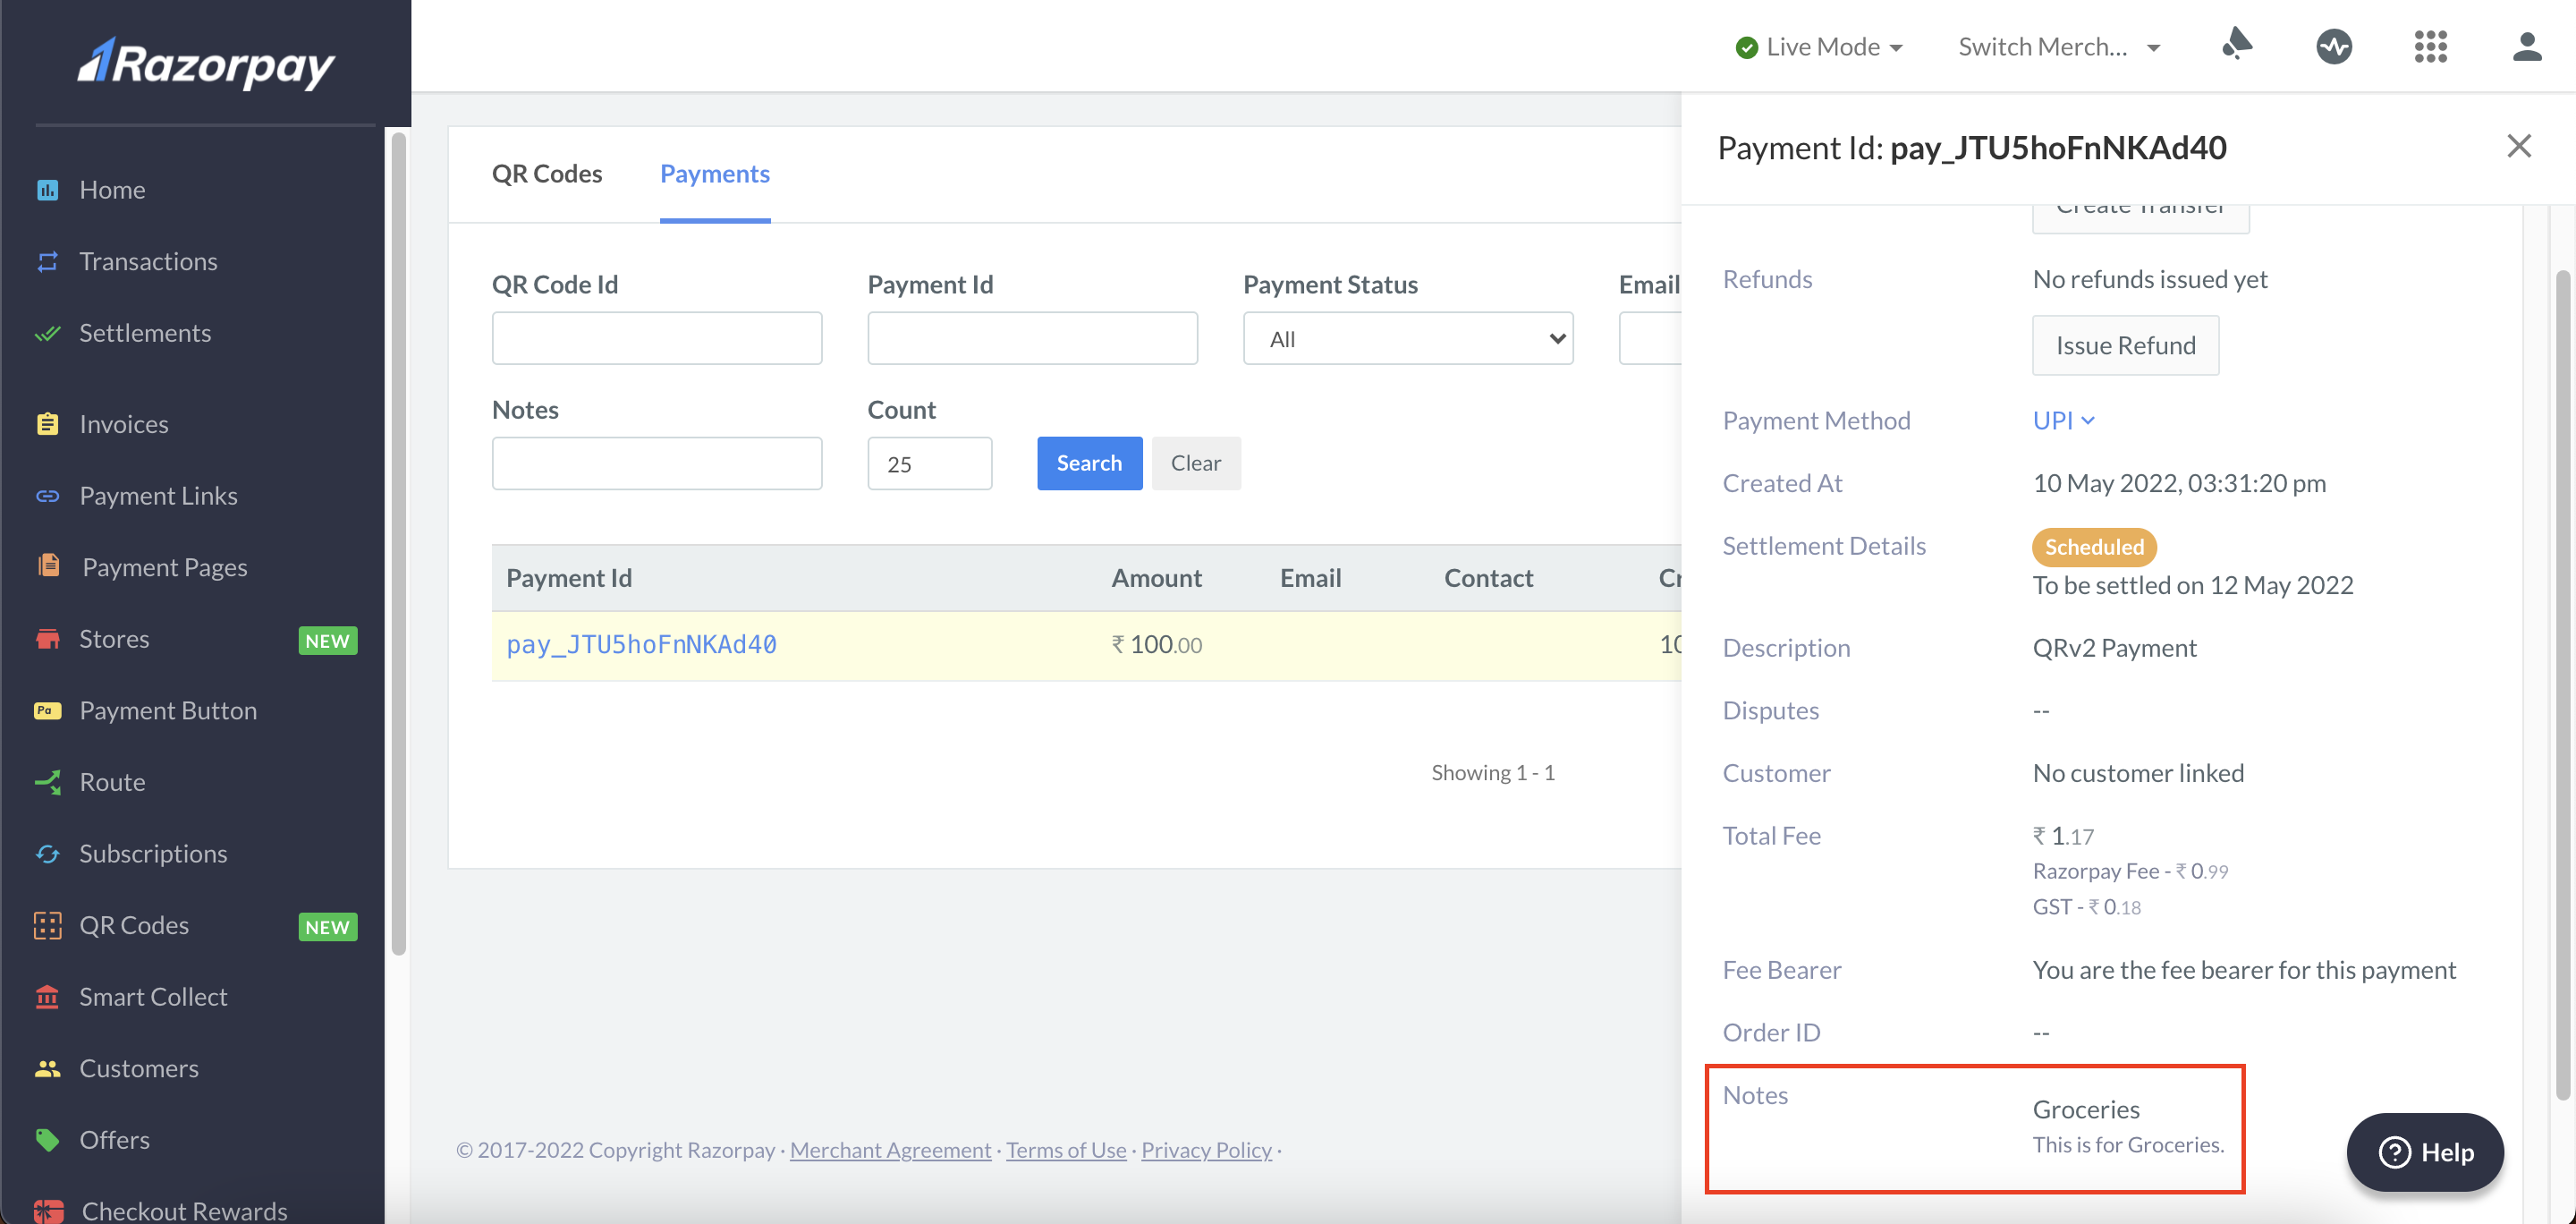
Add Internal Note: Add notes for internal reference.
-
This helps with reconciliation and will be available in the payments reports for the payments captured via QR.
-
-
-
Click Create QR Code.
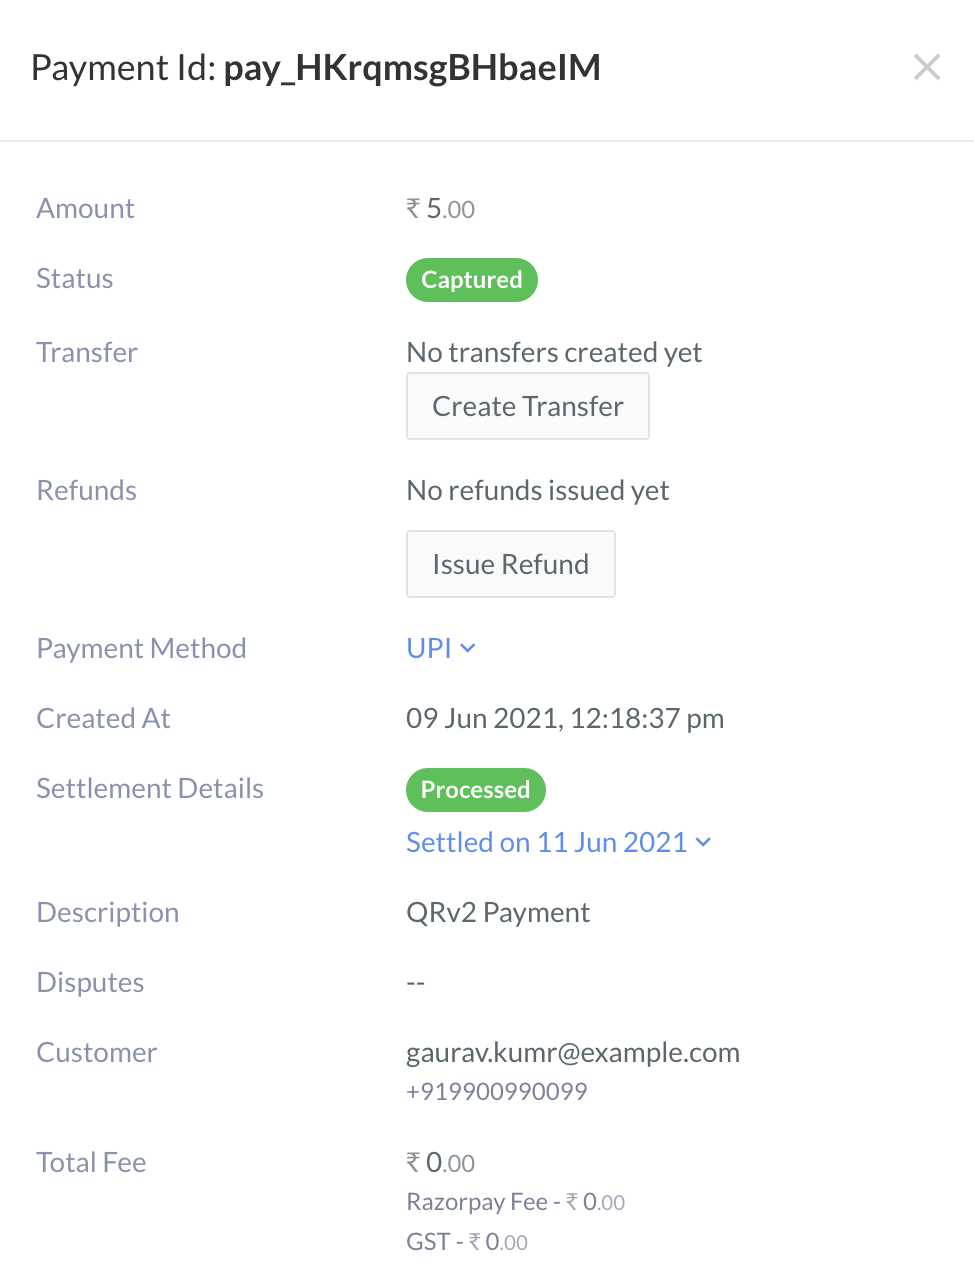
The QR code is created.

You can download and share the QR code image with you customers. The QR code appears in the list.
Create a New Customer While Creating QR Code🔗
You can create a customer while creating a QR code.
To create a customer:
-
Click View Advanced Options.
-
In the Customers field, click +Add New.
-
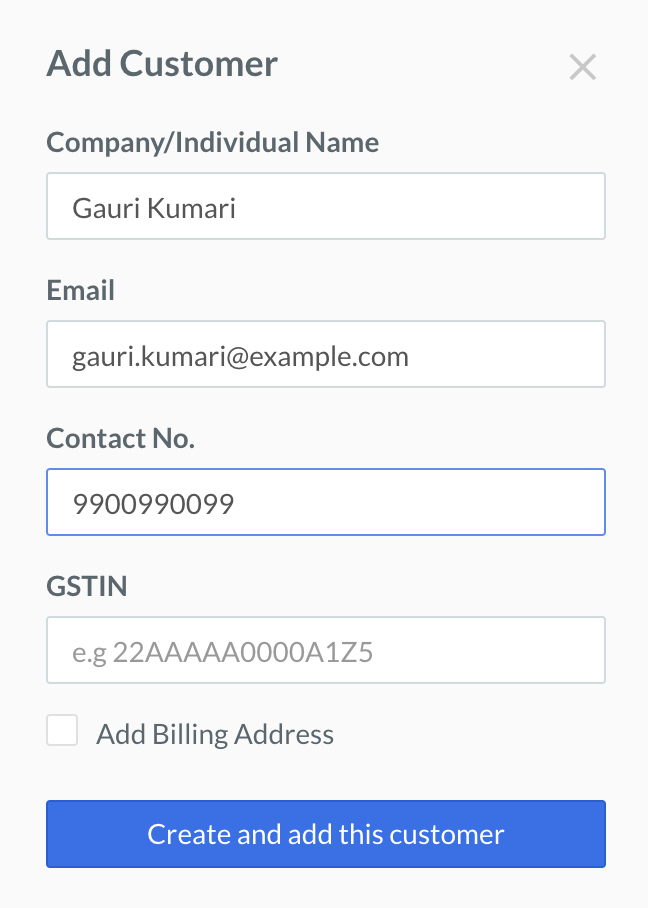
Specify details such as Company/Individual Name, Email and Contact No..
-
Click Create and add this customer.
The details of the newly created customer are auto-populated on the QR code. This customer name is also displayed under the Customers menu and you can create more QR codes for them in the future.
Know more about customers.