Authentication Transaction🔗
The authentication transaction amount is the first amount you charge on the customer's card. The authentication transaction can either be a token amount that is refunded to the customer or an upfront amount or the plan amount that is not refunded to the customer. Based on your business needs, you can decide on the authentication transaction amount.
Immediate Start Dates
In the case of immediate start dates, the authentication transaction amount is not refunded and invoices are generated in all the three scenarios.
The table below explains what authentication amount is collected from customers for various combinations of start date and upfront amount.
Start Date | Upfront Amount | Authentication Amount |
|---|---|---|
Immediate | Plan Amount | |
Future | ₹5 (auto refunded) | |
Immediate | Yes | Upfront Amount + Plan Amount |
Future | Yes | Upfront Amount |
You can collect the authentication transaction in one of the following ways:
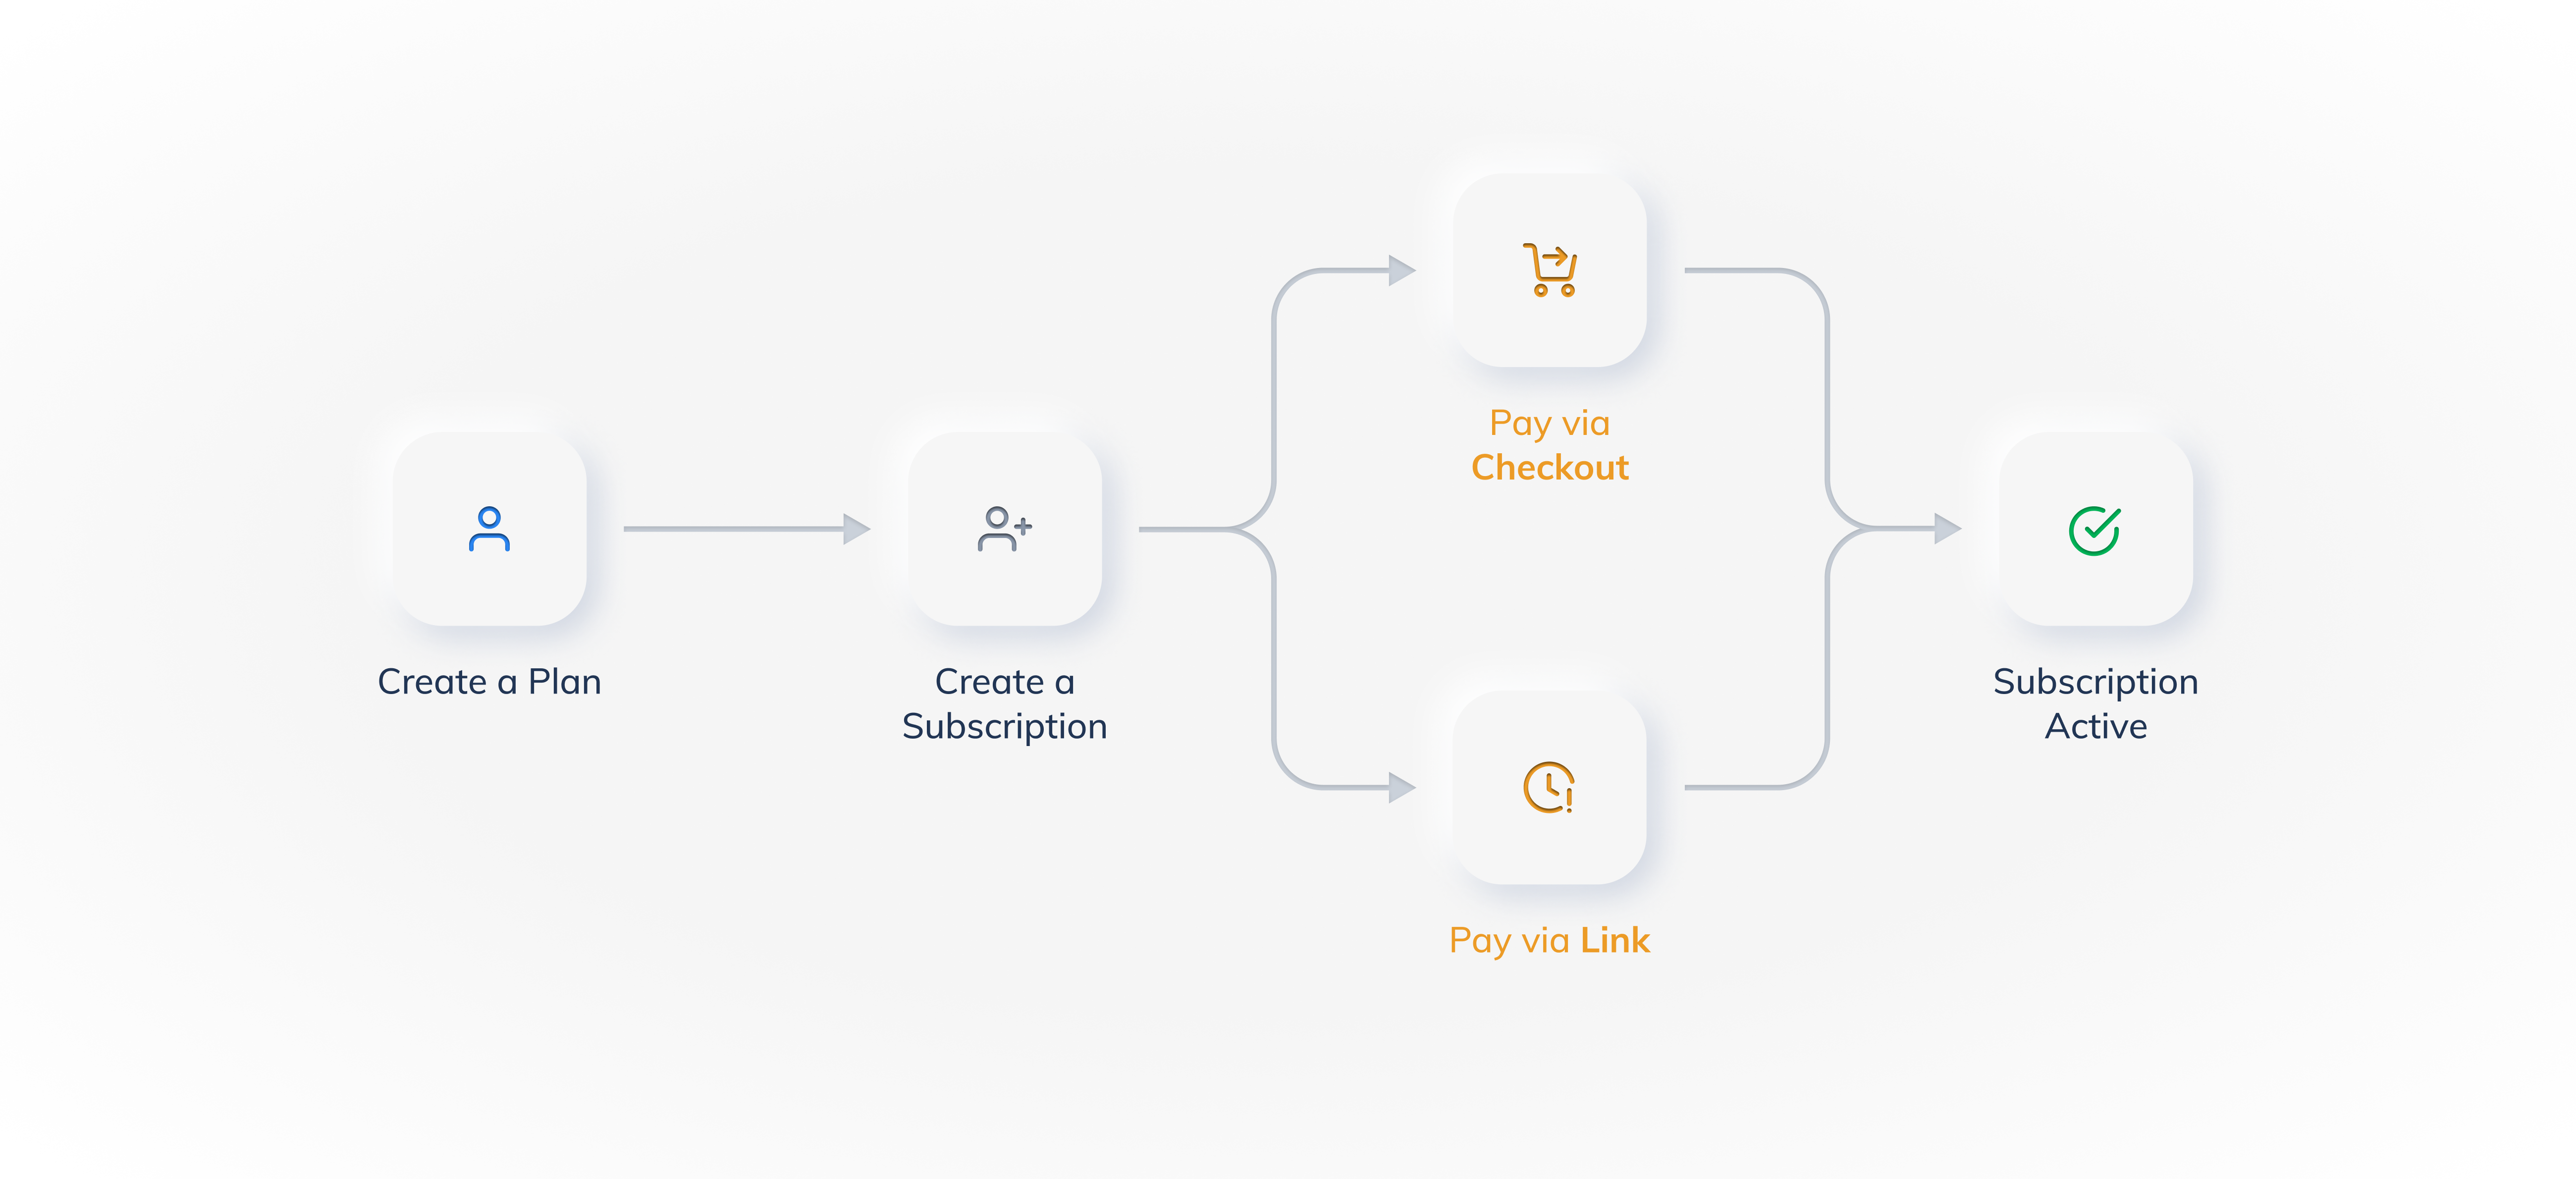
Subscriptions via Checkout🔗
Handy Tips
You can integrate Razorpay Subscriptions to your checkout only using APIs.
You can integrate the Razorpay Subscription service with your Razorpay Checkout Form on your website or application. Customers can select their desired Subscription Plan on your website or application and proceed to make the authentication payment using Razorpay's Checkout.
Subscriptions Flow via Checkout🔗
- Create a Plan.
- The customer selects the Plan from your website or application.
- After the customer selects a Plan, a Subscription is created in Razorpay and the
subscription_idreceived in the response, is passed on to the Razorpay Checkout via the checkout options. - On the Checkout form, the customer makes the payment using the card details.
- This acts as an authentication transaction. On a successful payment, a customer is created and linked to the Subscription.
- Automated charges on the Subscription are now made as per the schedule that you defined while creating the plan.
Know about integrating Razorpay Subscriptions in your checkout.
Subscriptions via Links🔗
You can create a custom Subscription for a customer and send a Subscription link to them. Customers click the link and are taken to a checkout page hosted by Razorpay where they make the authentication payment via Razorpay's checkout page. There is no need to host the link on your website or application.
Subscriptions Flow via Links🔗
- Create a Plan.
- You create a Subscription link by:
- Selecting a Plan.
- Adding an upfront amount and add-ons, if any.
- Adding customer details.
- The Subscription link is sent to the customer via email and/or SMS.
- The customer click the link and is taken to the Razorpay Checkout form.
- The customer enters the card details and clicks Pay to make the payment. This acts as an authentication transaction. On a successful payment, a customer is created and linked to the Subscription.
- Automated charges on the Subscription are now made as per the schedule that you defined while creating the plan.
Know more about Subscription Links.