Accept recurring payments on your Magento site using the Razorpay Subscription for Magento plugin.
You can now accept recurring payments on your Magento site using the Razorpay Subscriptions for Magento. This plugin is built on the Razorpay Subscriptions product and offers seamless integration, allowing you to create and sell subscription services on your website.
Click the below button to download the Magento plugin.
Razorpay Subscription Plugin has a very quick and customer-friendly integration.
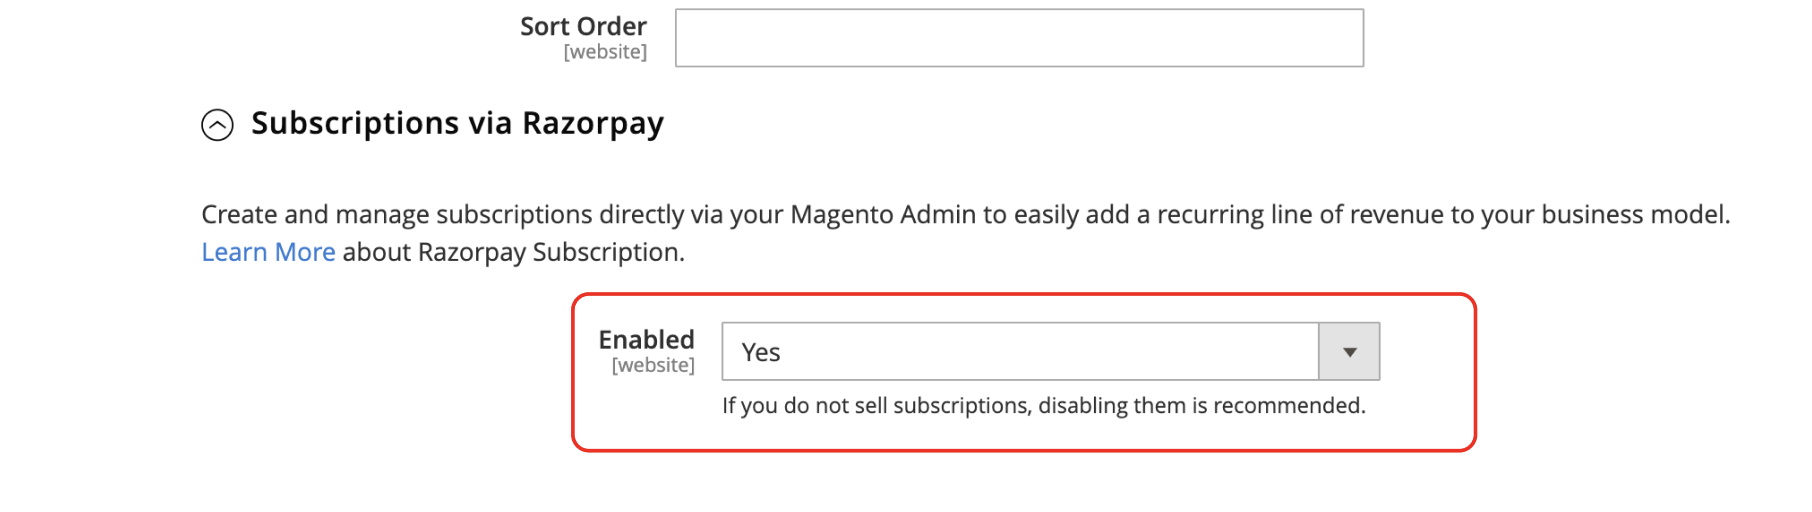
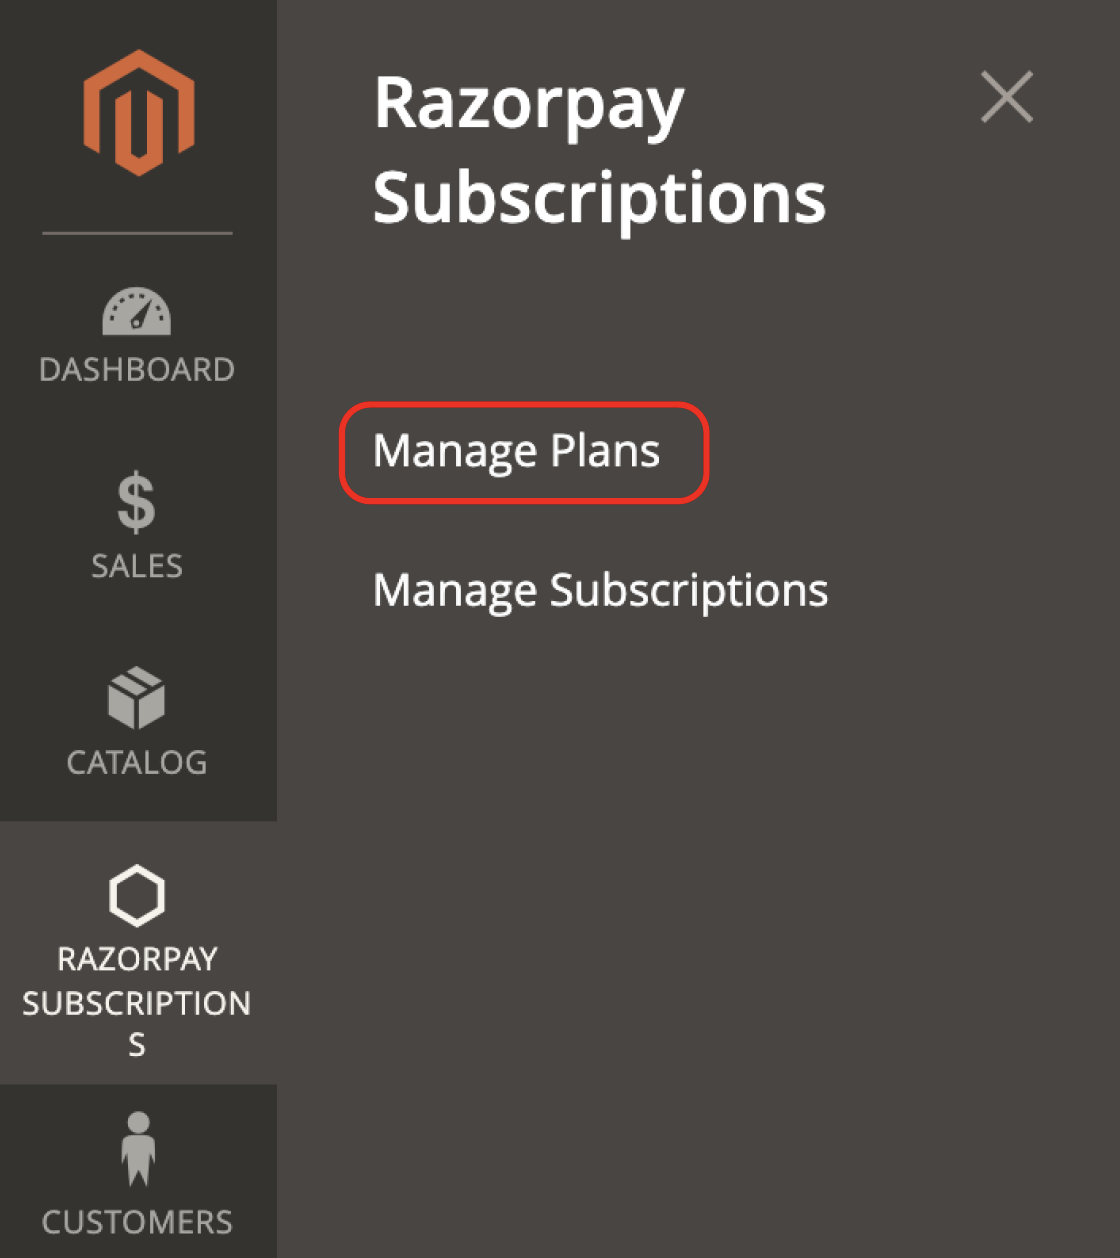
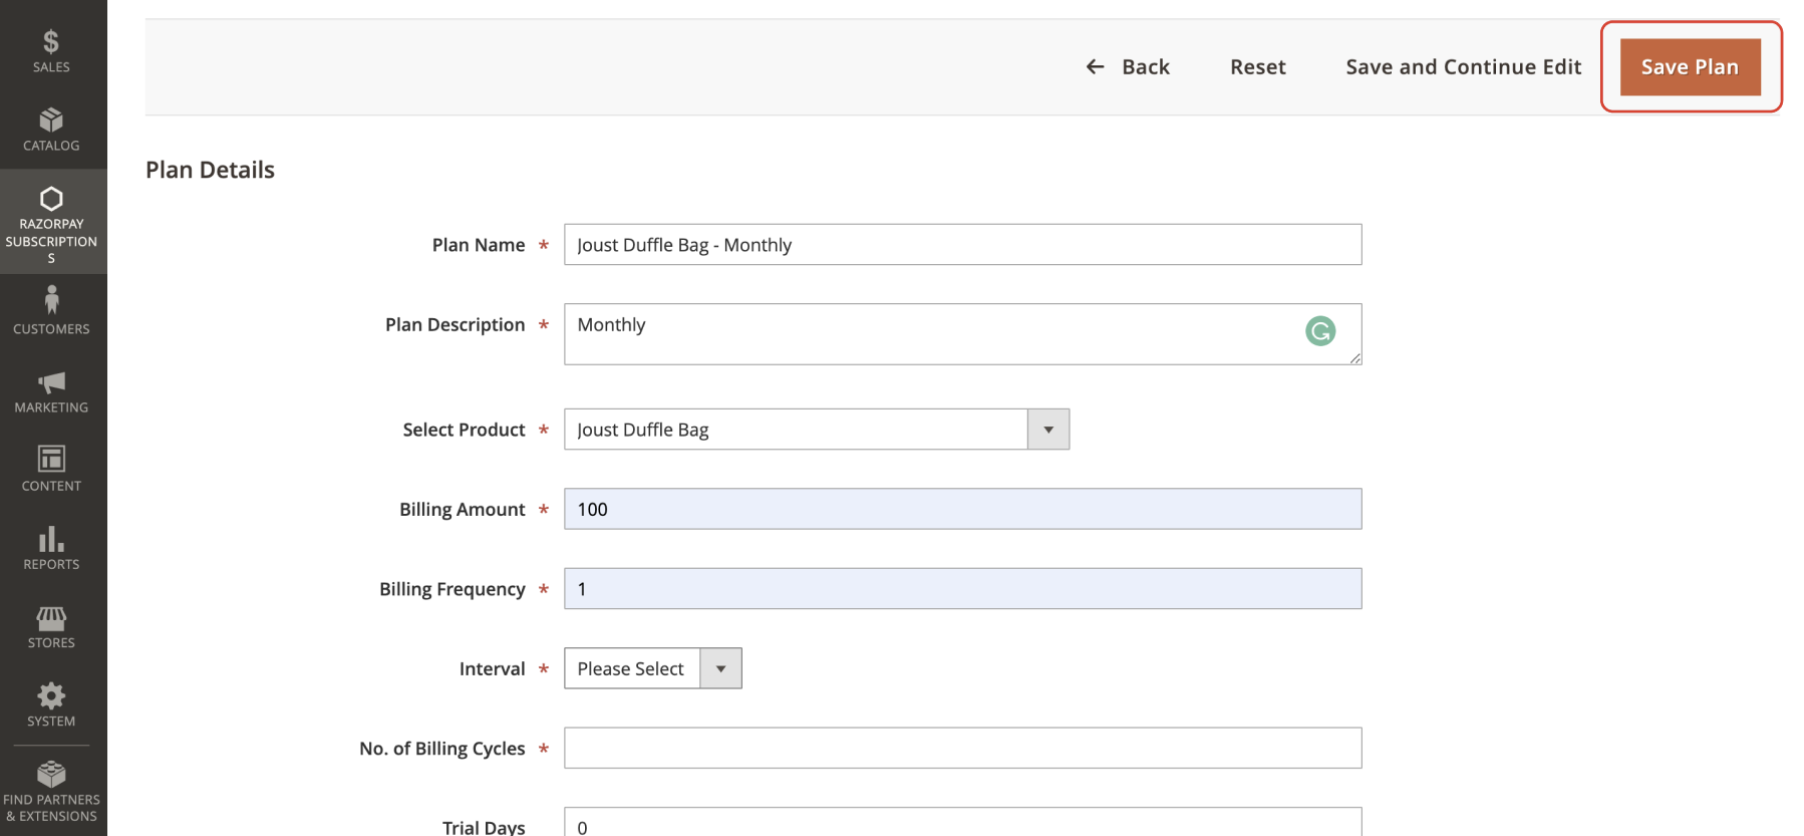
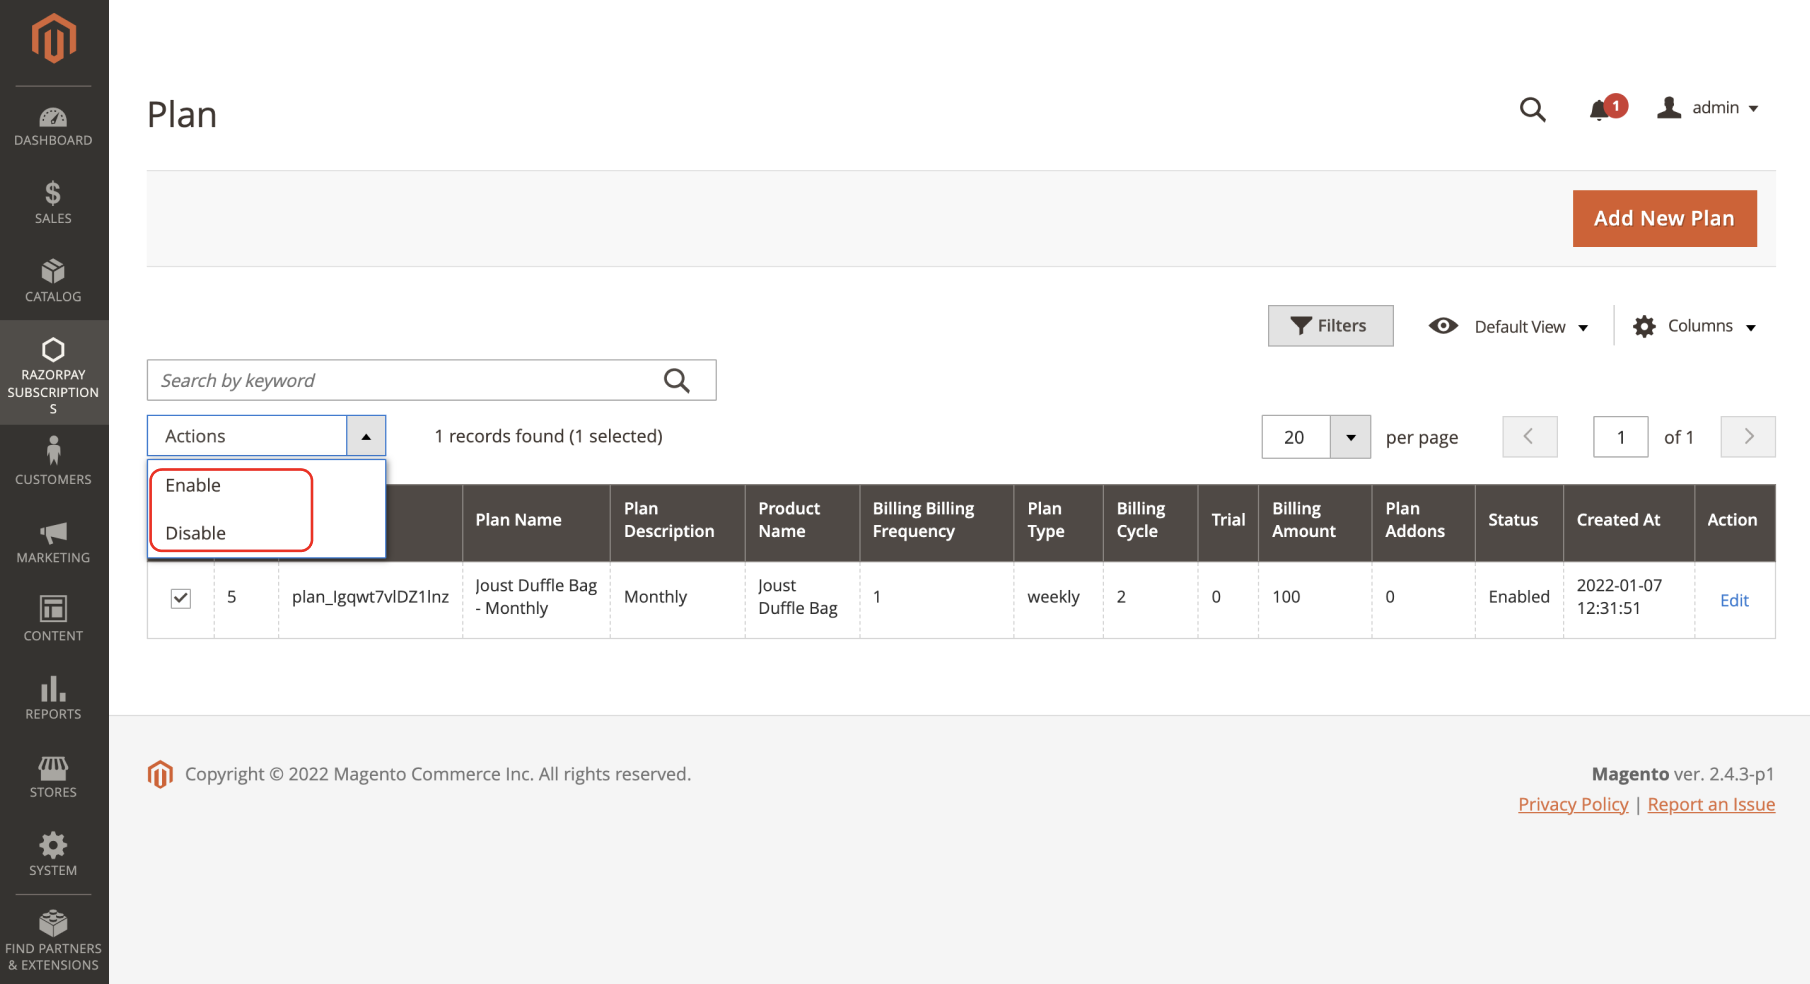
There is no need to create Plans or Subscriptions using the Razorpay Dashboard or Razorpay APIs. All this can be done easily from your Magento Dashboard.
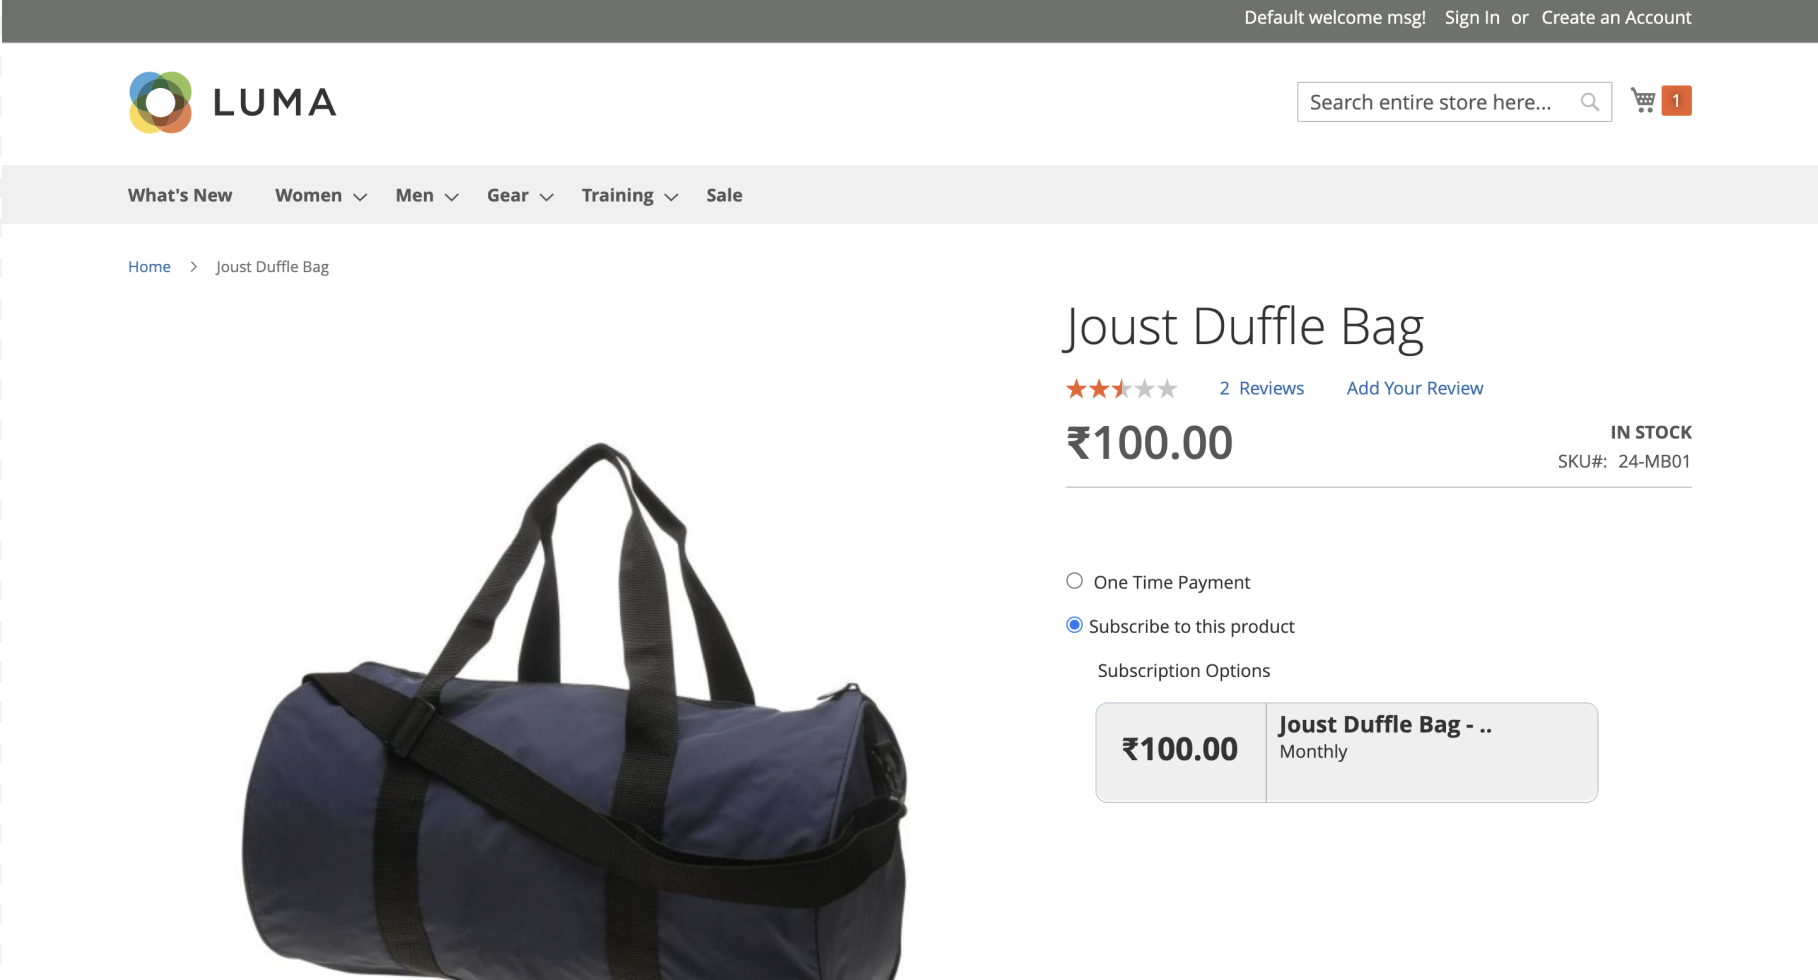
Customers are not redirected from your website to make payments.
You can accept recurring payments using Razorpay Subscription Plugin on your Magento website itself via Credit Card, Debit Card, Netbanking and UPI payment methods.
Watch this video to learn how to generate API keys from the Razorpay Dashboard.
Navigate to Razorpay Dashboard → Subscriptions and click Next and Get Started.
Razorpay Subscriptions is based on the existing Razorpay payment flow process. If you are new to Razorpay, we recommend you to understand this flow before you read further.
You can install the extension on your Magento store using the Composer Package Manager.
Composer is an application-level package manager for the PHP programming language that provides a standard format for managing dependencies of PHP software and required libraries.
To install the Razorpay module using the Composer Package Manager:
Go to your installation root directory of Magento and execute the following command.
You can set up a webhook from your Razorpay Dashboard and configure separate URLs for live and test mode.
Handy Tips
For details of available events and sample payloads, refer to the Webhook Events section.
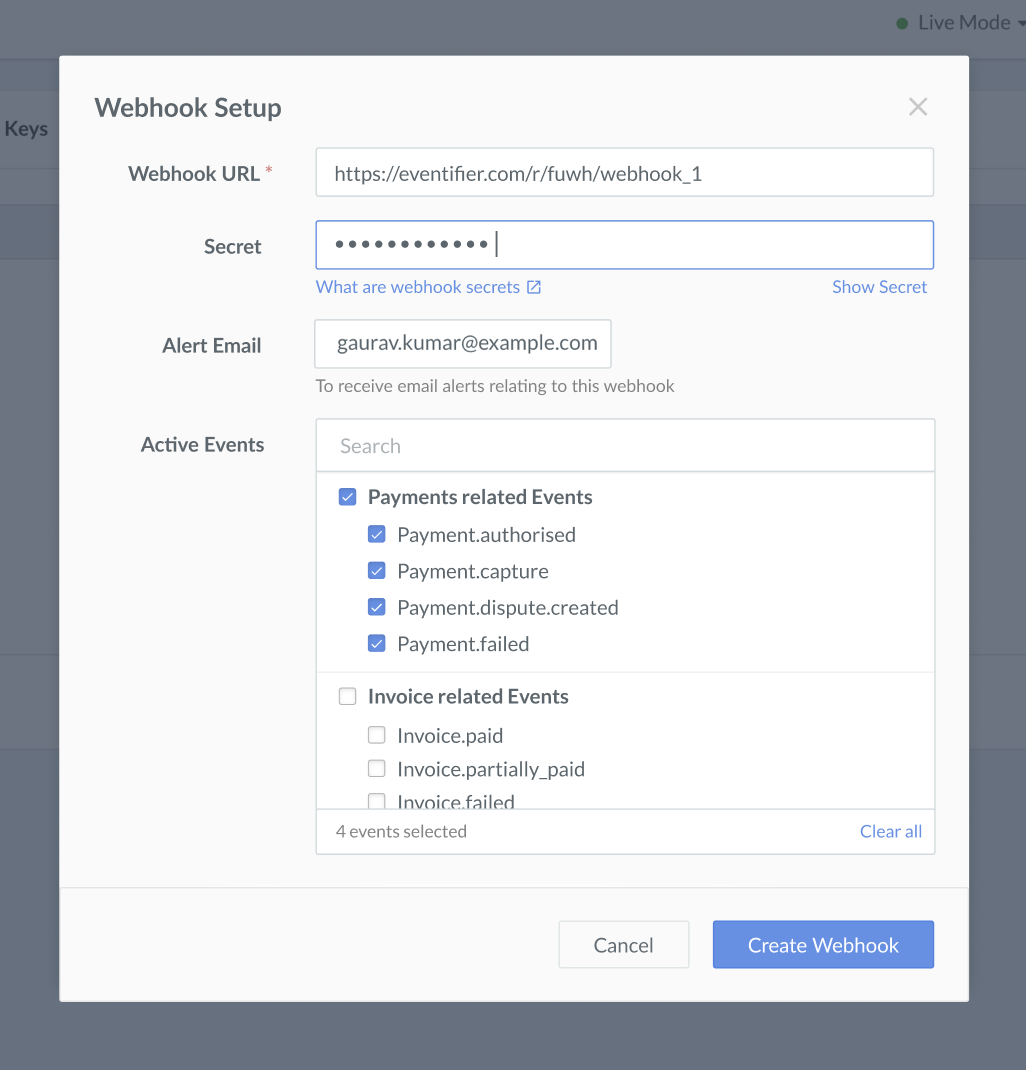
Enter the URL where you want to receive the webhook payload when an event is triggered. We recommended using an HTTPS URL.
Handy Tips
You can set up to 10 URLs to receive Webhook notifications. Webhooks can only be delivered to public URLs. If you attempt to save a localhost endpoint as part of a webhook setup, you will notice an error. Know more about testing Webhooks on an application running on localhost.
Enter a Secret for the webhook endpoint. The secret is used to validate that the webhook is from Razorpay. Do not expose the secret publicly. Know more about how to validate webhooks.
Handy Tips
When setting up the webhook, you will be asked to specify a secret. Using this secret, you can validate that the webhook is from Razorpay. Entering the secret is optional but recommended. The secret should never be exposed publicly.
The webhoook secret does not need to be the merchant secret key provided by Razorpay.
In the Alert Email field, enter the email address to which the notifications should be sent in case of webhook failure. You will receive webhook deactivation notifications to this email address.
Select the required events from the list of Active Events.
Click Create Webhook.
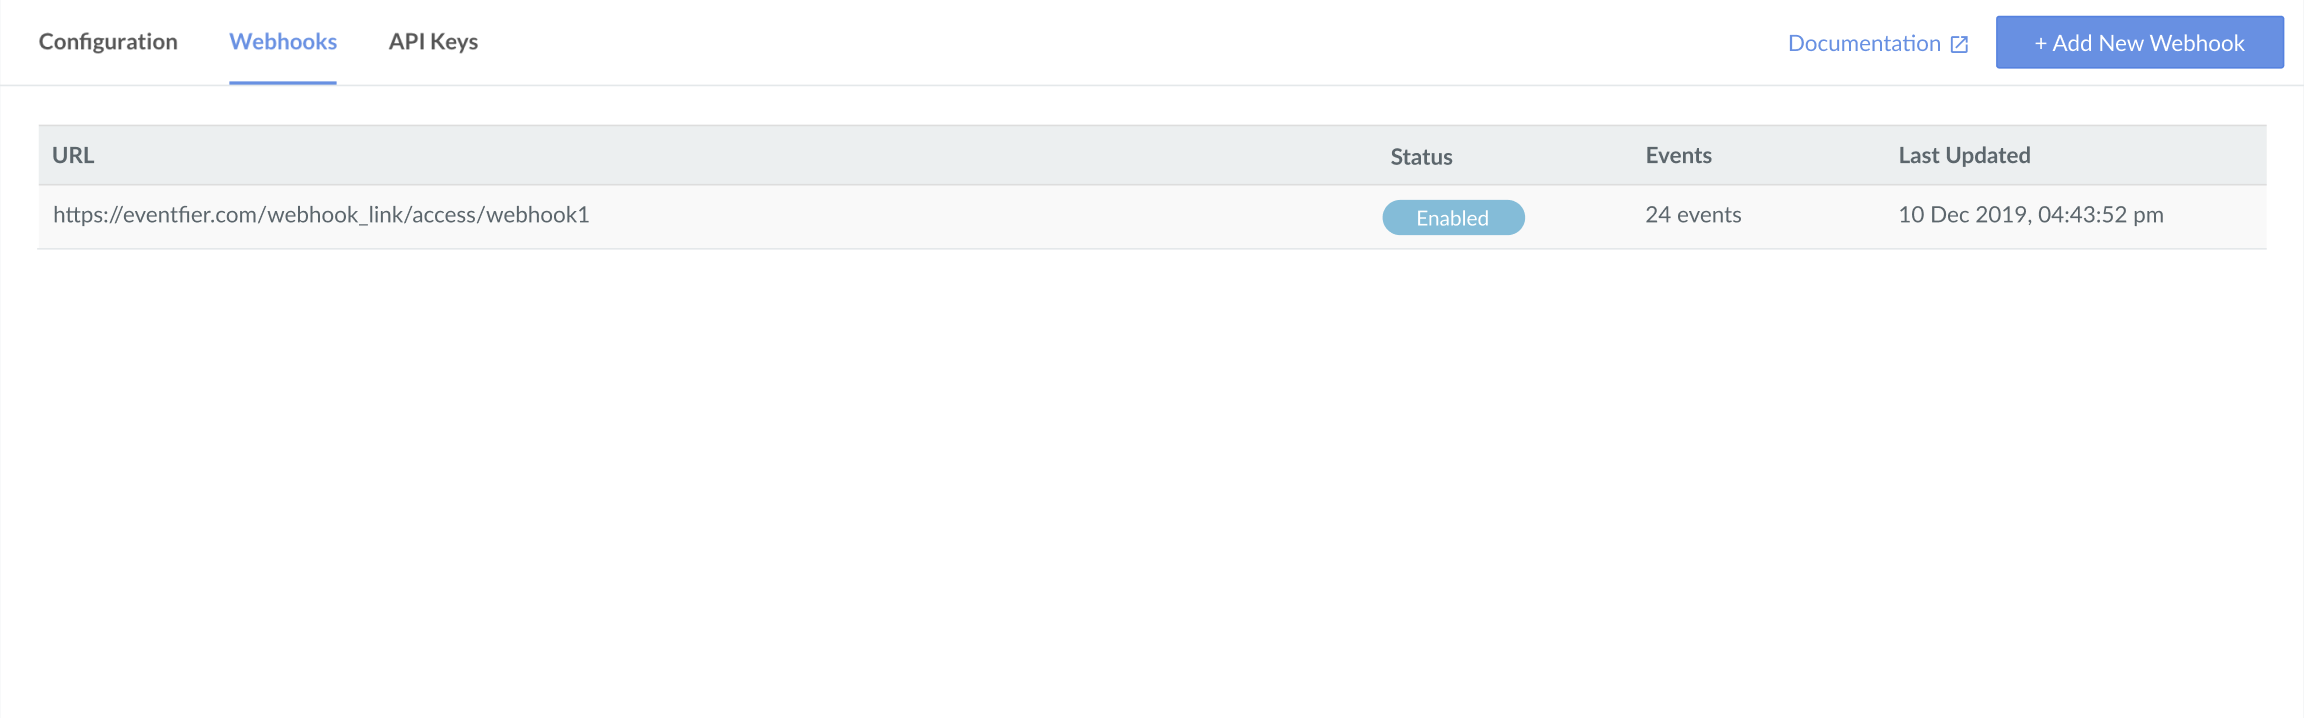
After you set a webhook, it appears on the list of webhooks.
You can click Edit to make changes to the webhooks.