Configuration

Manage notifications, Checkout themes, payment capture and more under the Configuration tab on the Razorpay Dashboard.


You can use the Configuration tab to perform the following operations:

Change Checkout Theme🔗

Following are the customizations you can do on the Checkout page:

Change Color on Checkout Page🔗

To change color on the Checkout page:

  1. In the Theme Color field, enter the HEX code of your brand color. Alternatively, click on the color box and enter the RGB code.
  2. Click Save.

Click Choose File to upload your company logo.

Handy Tips

  • The logo file size should not exceed 1MB.
  • Upload a square image of minimum dimensions 256x256 px.

Select Default Language🔗

The customers can view the Checkout page in their preferred language.

If the customer does not specify a language, the default language will be used on the checkout page. To select the default checkout language:

  1. Use the drop-down list to view the language options.
  2. Select the default language. For example, English.
  3. Click Save.
customise checkout theme

Enable Flash Checkout🔗

About Flash Checkout🔗

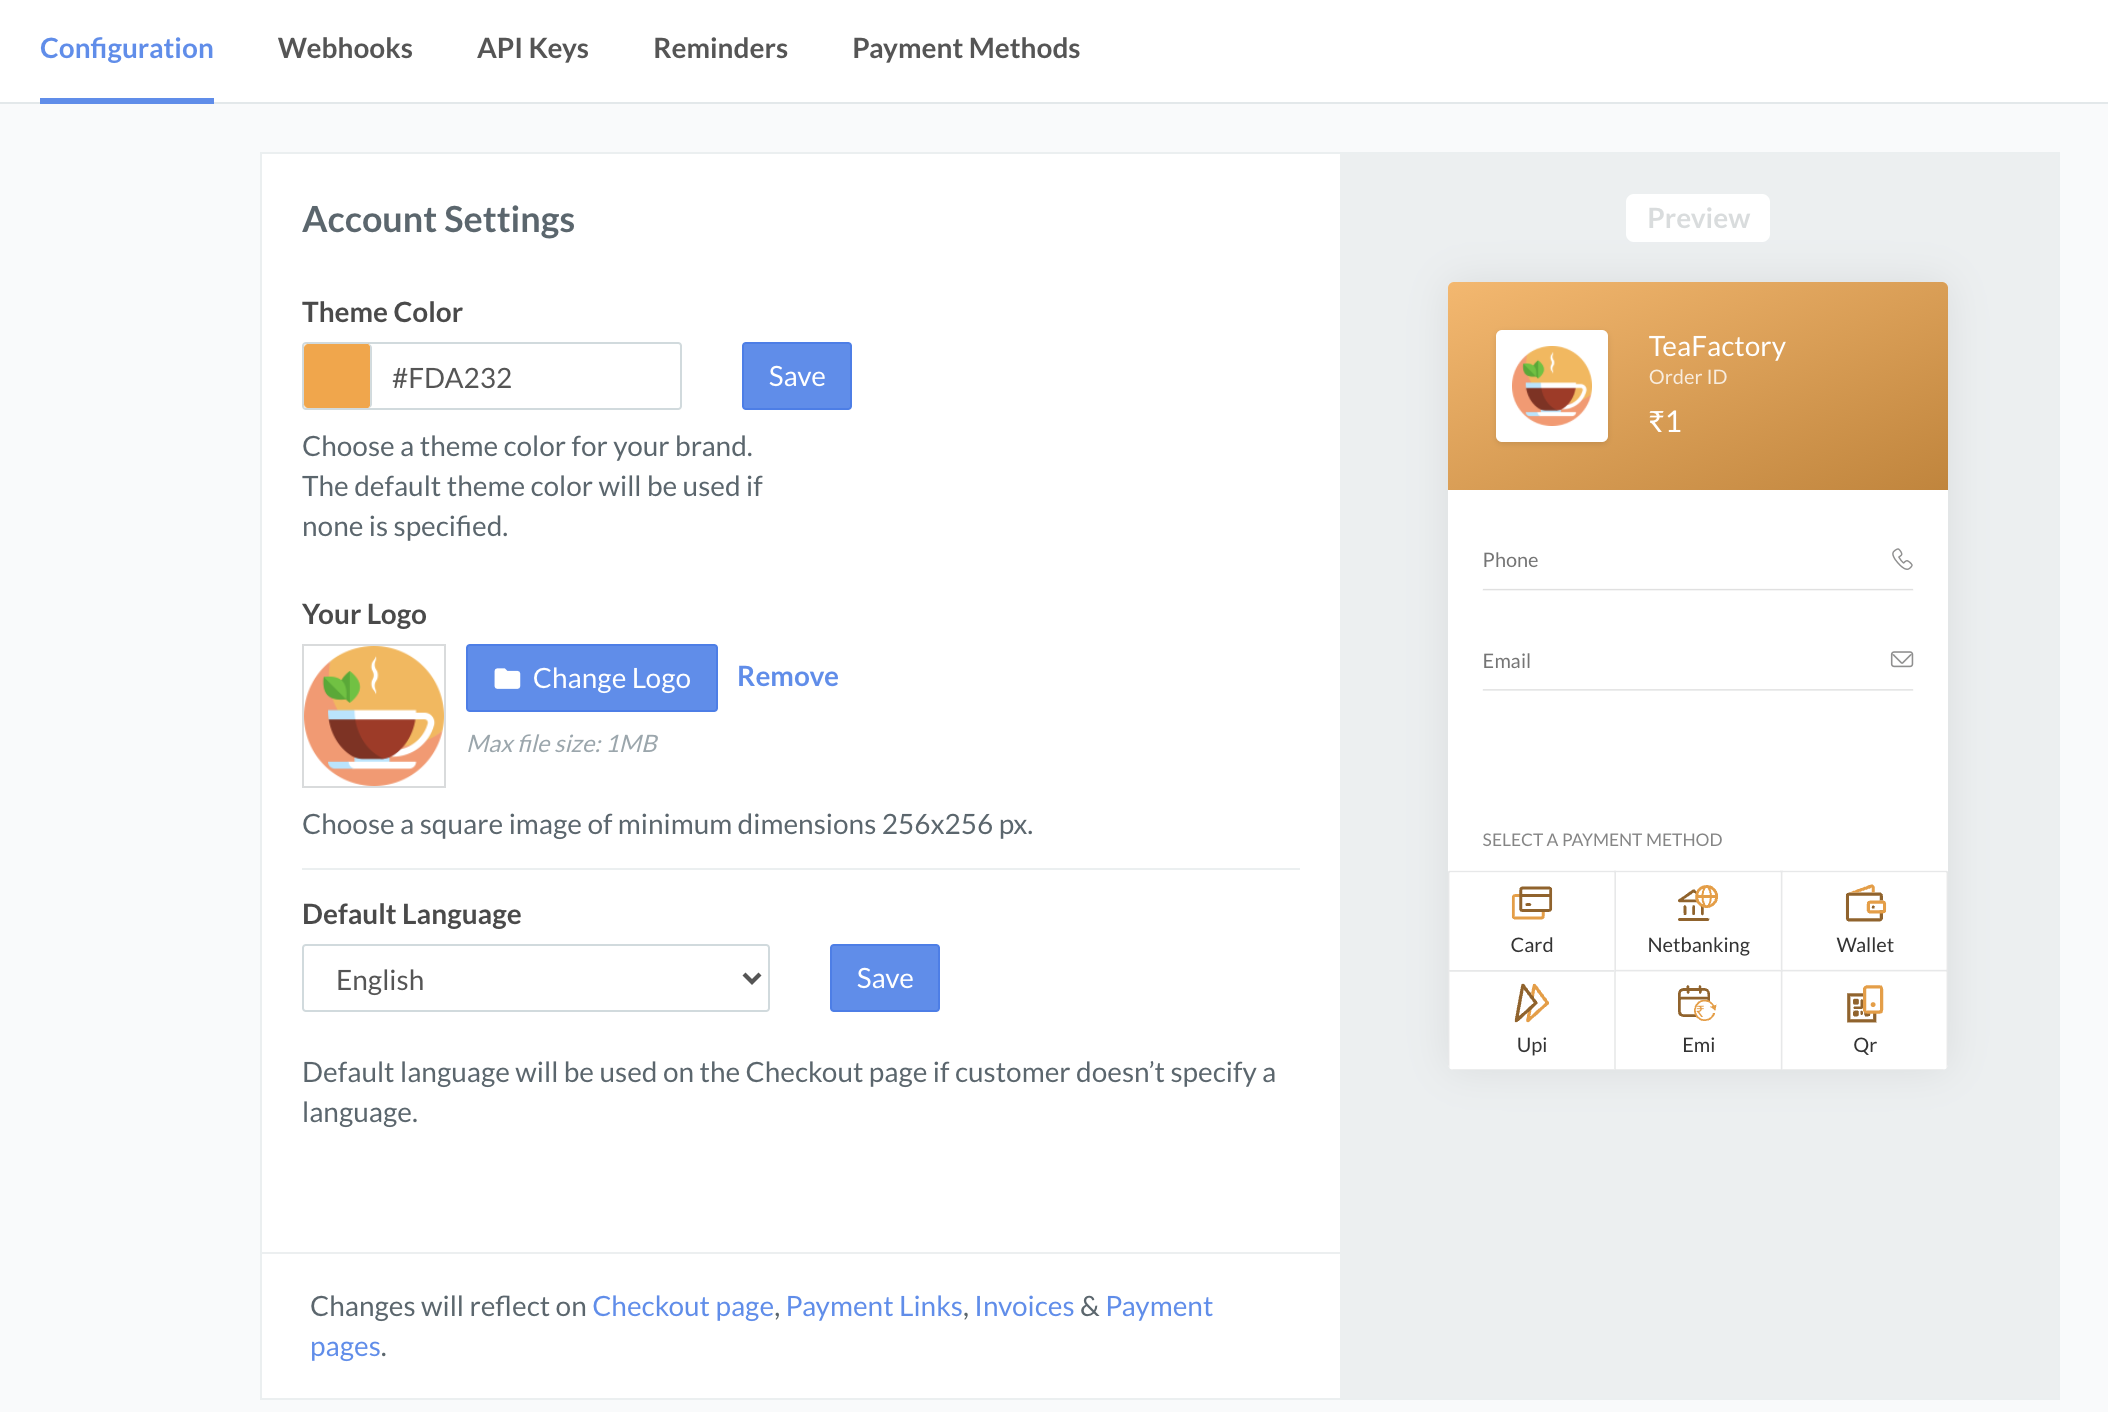
Flash Checkout is the easiest way to allow your customers to securely save their credit and/or debit card details with Razorpay, thereby reducing transaction time.

Customers need to authenticate themselves only once on their mobile devices. Razorpay is PCI-DSS compliant. All the card information is securely saved on our servers.

After the one-time authentication, customers' saved cards are available to accept payments online via Razorpay. This allows for much simpler and faster transactions.

You can enable or disable flash checkout from the Configuration tab. Flash checkout is enabled by default. Click Disable Flash Checkout to disable it.

Enable/Disable Flash Checkout🔗

Watch this video to see how to enable or disable Flash Checkout:

Manage Fee Bearer Model🔗

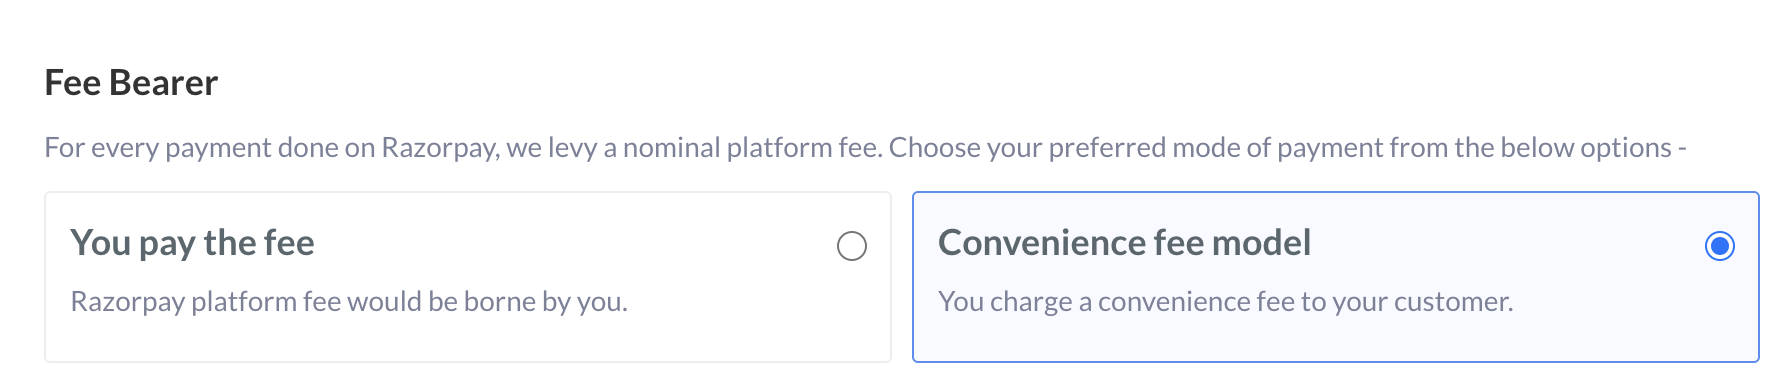
For every payment done using Razorpay, we levy a nominal platform fee. You can choose to charge a Convenience Fee to your customers for the use of technology infrastructure. Convenience Fees are seamlessly added at Razorpay Checkout without disrupting the checkout experience for your customers. In case a refund is initiated, your customers receive the Convenience Fees along with the actual payment amount. To manage fee bearer model:

  1. Log into the Razorpay Dashboard.

  2. Navigate to Settings → Configurations.

  3. Select the Convenience Fee Model option on the Settings → Fee Bearer section of the Razorpay Dashboard.

    Customer

Know more about this feature.

Manage Email Notifications🔗

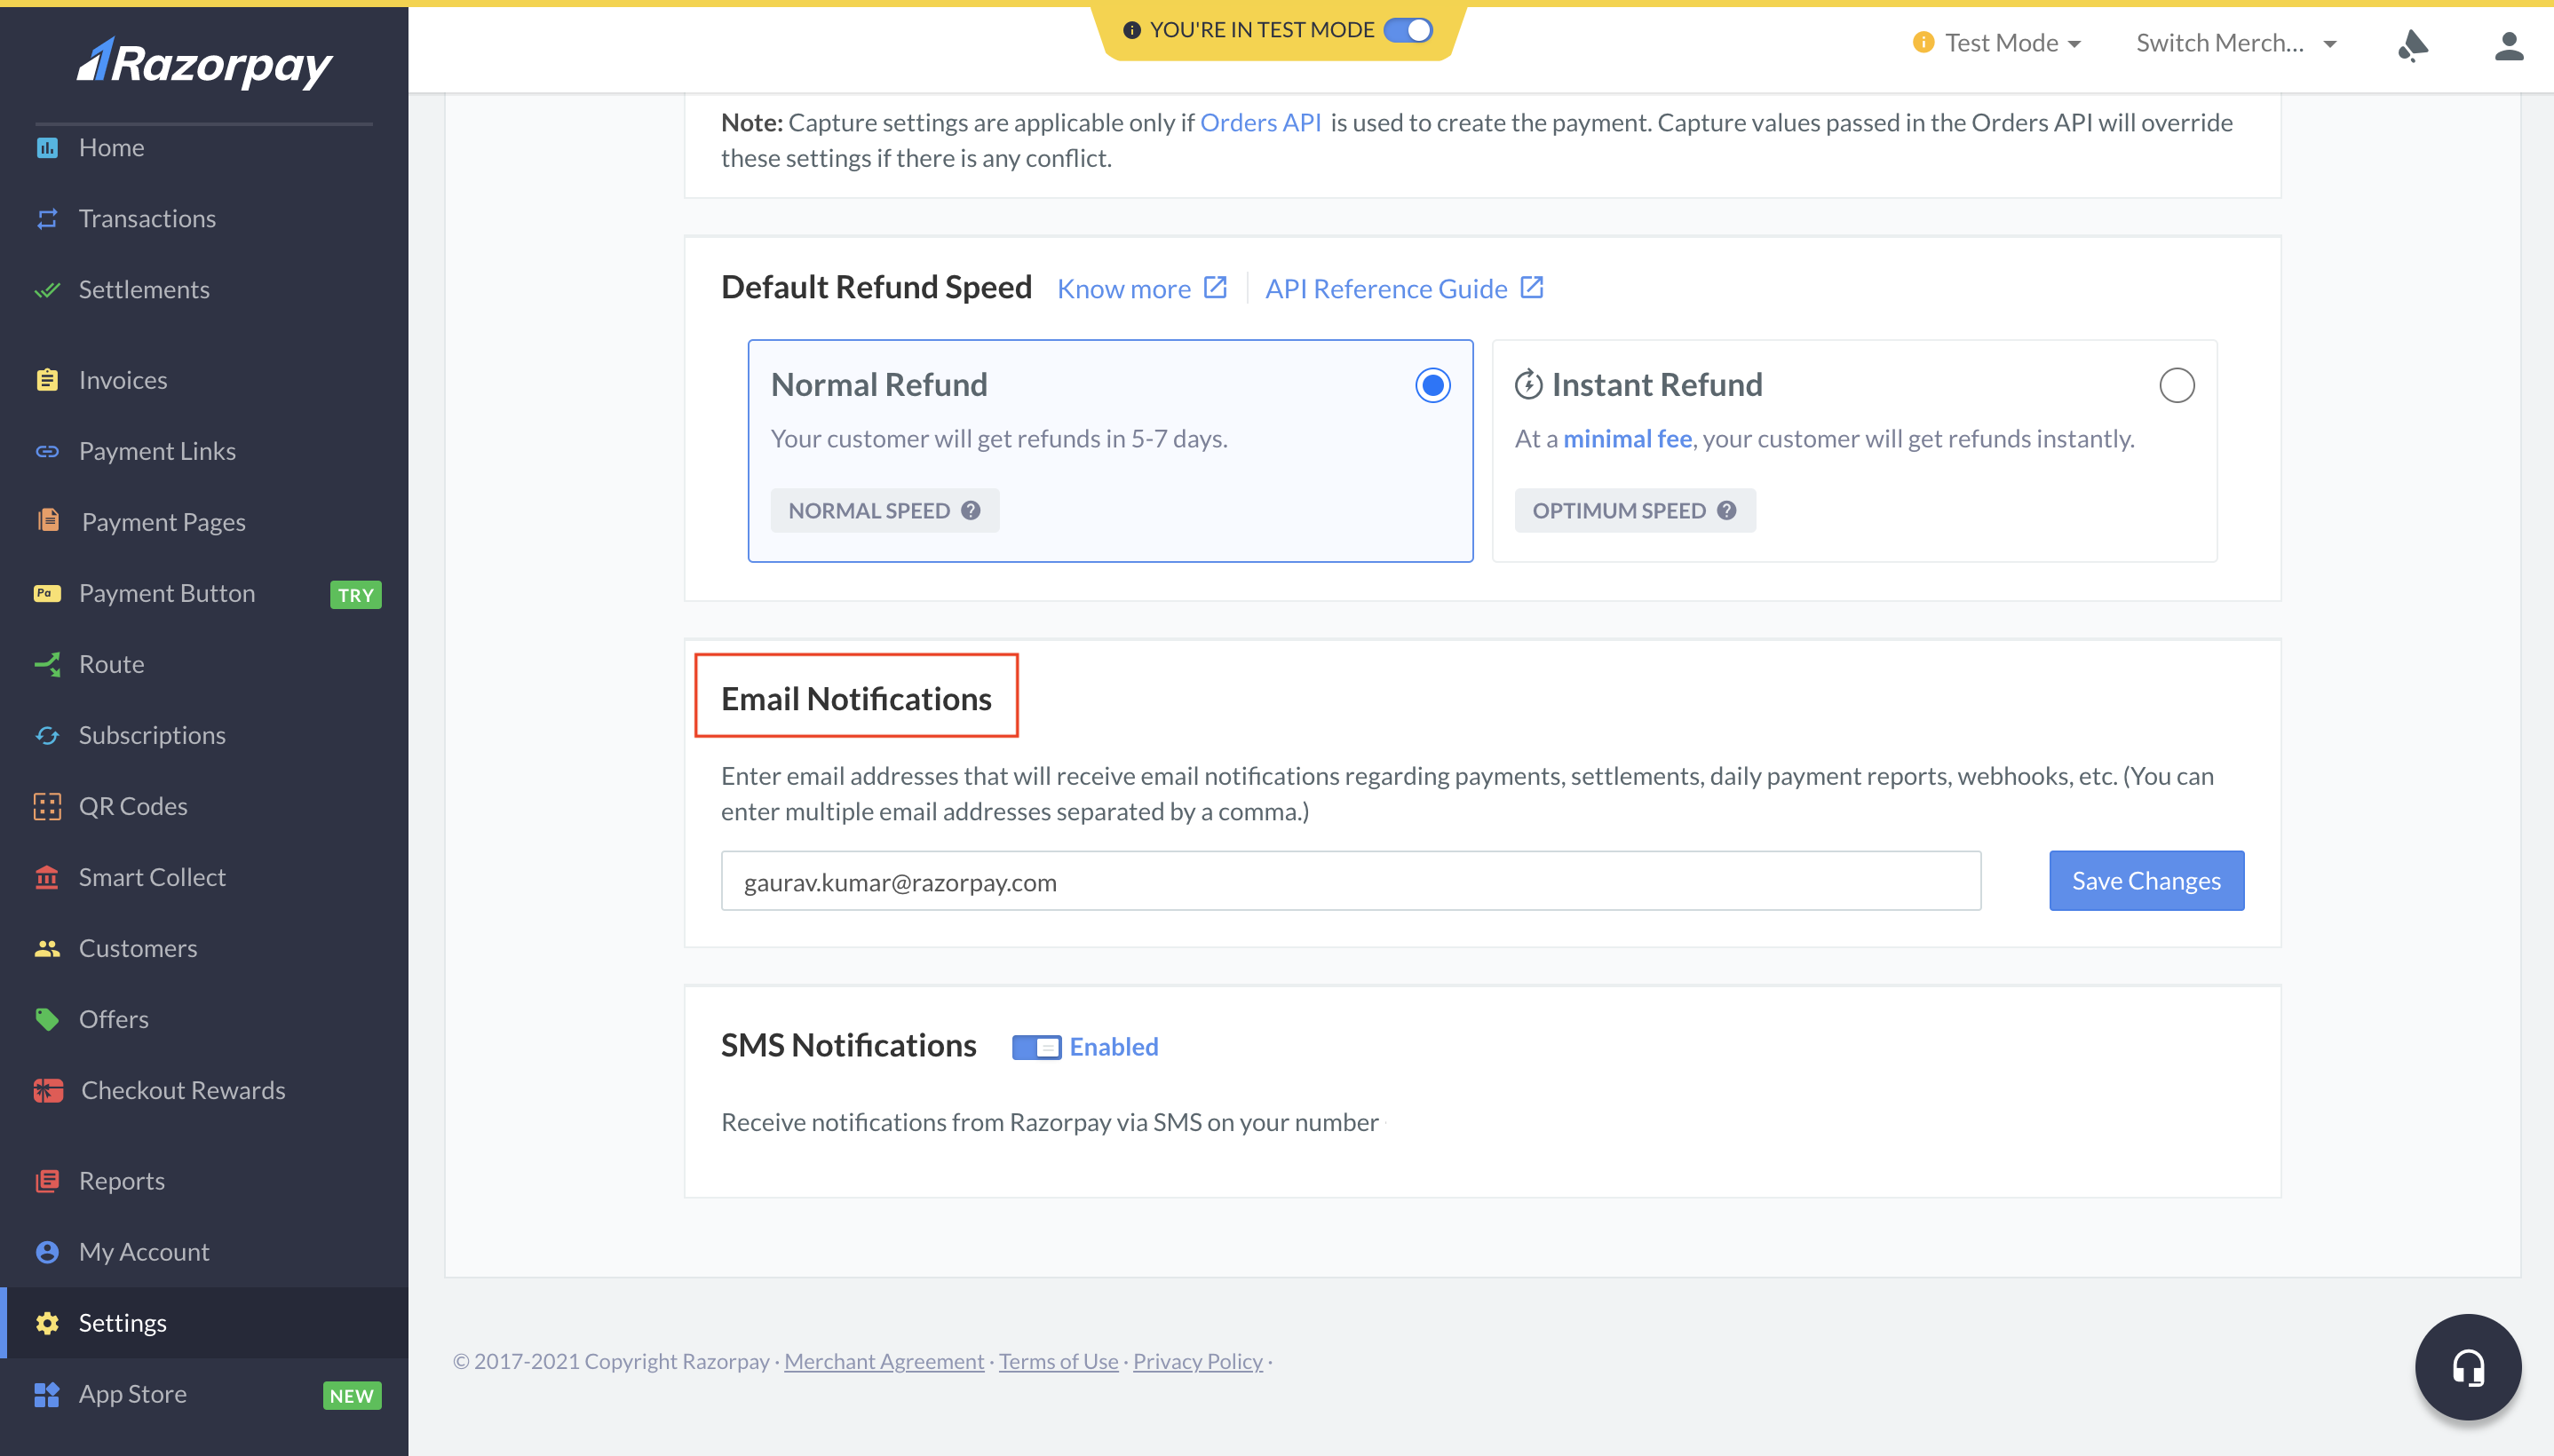
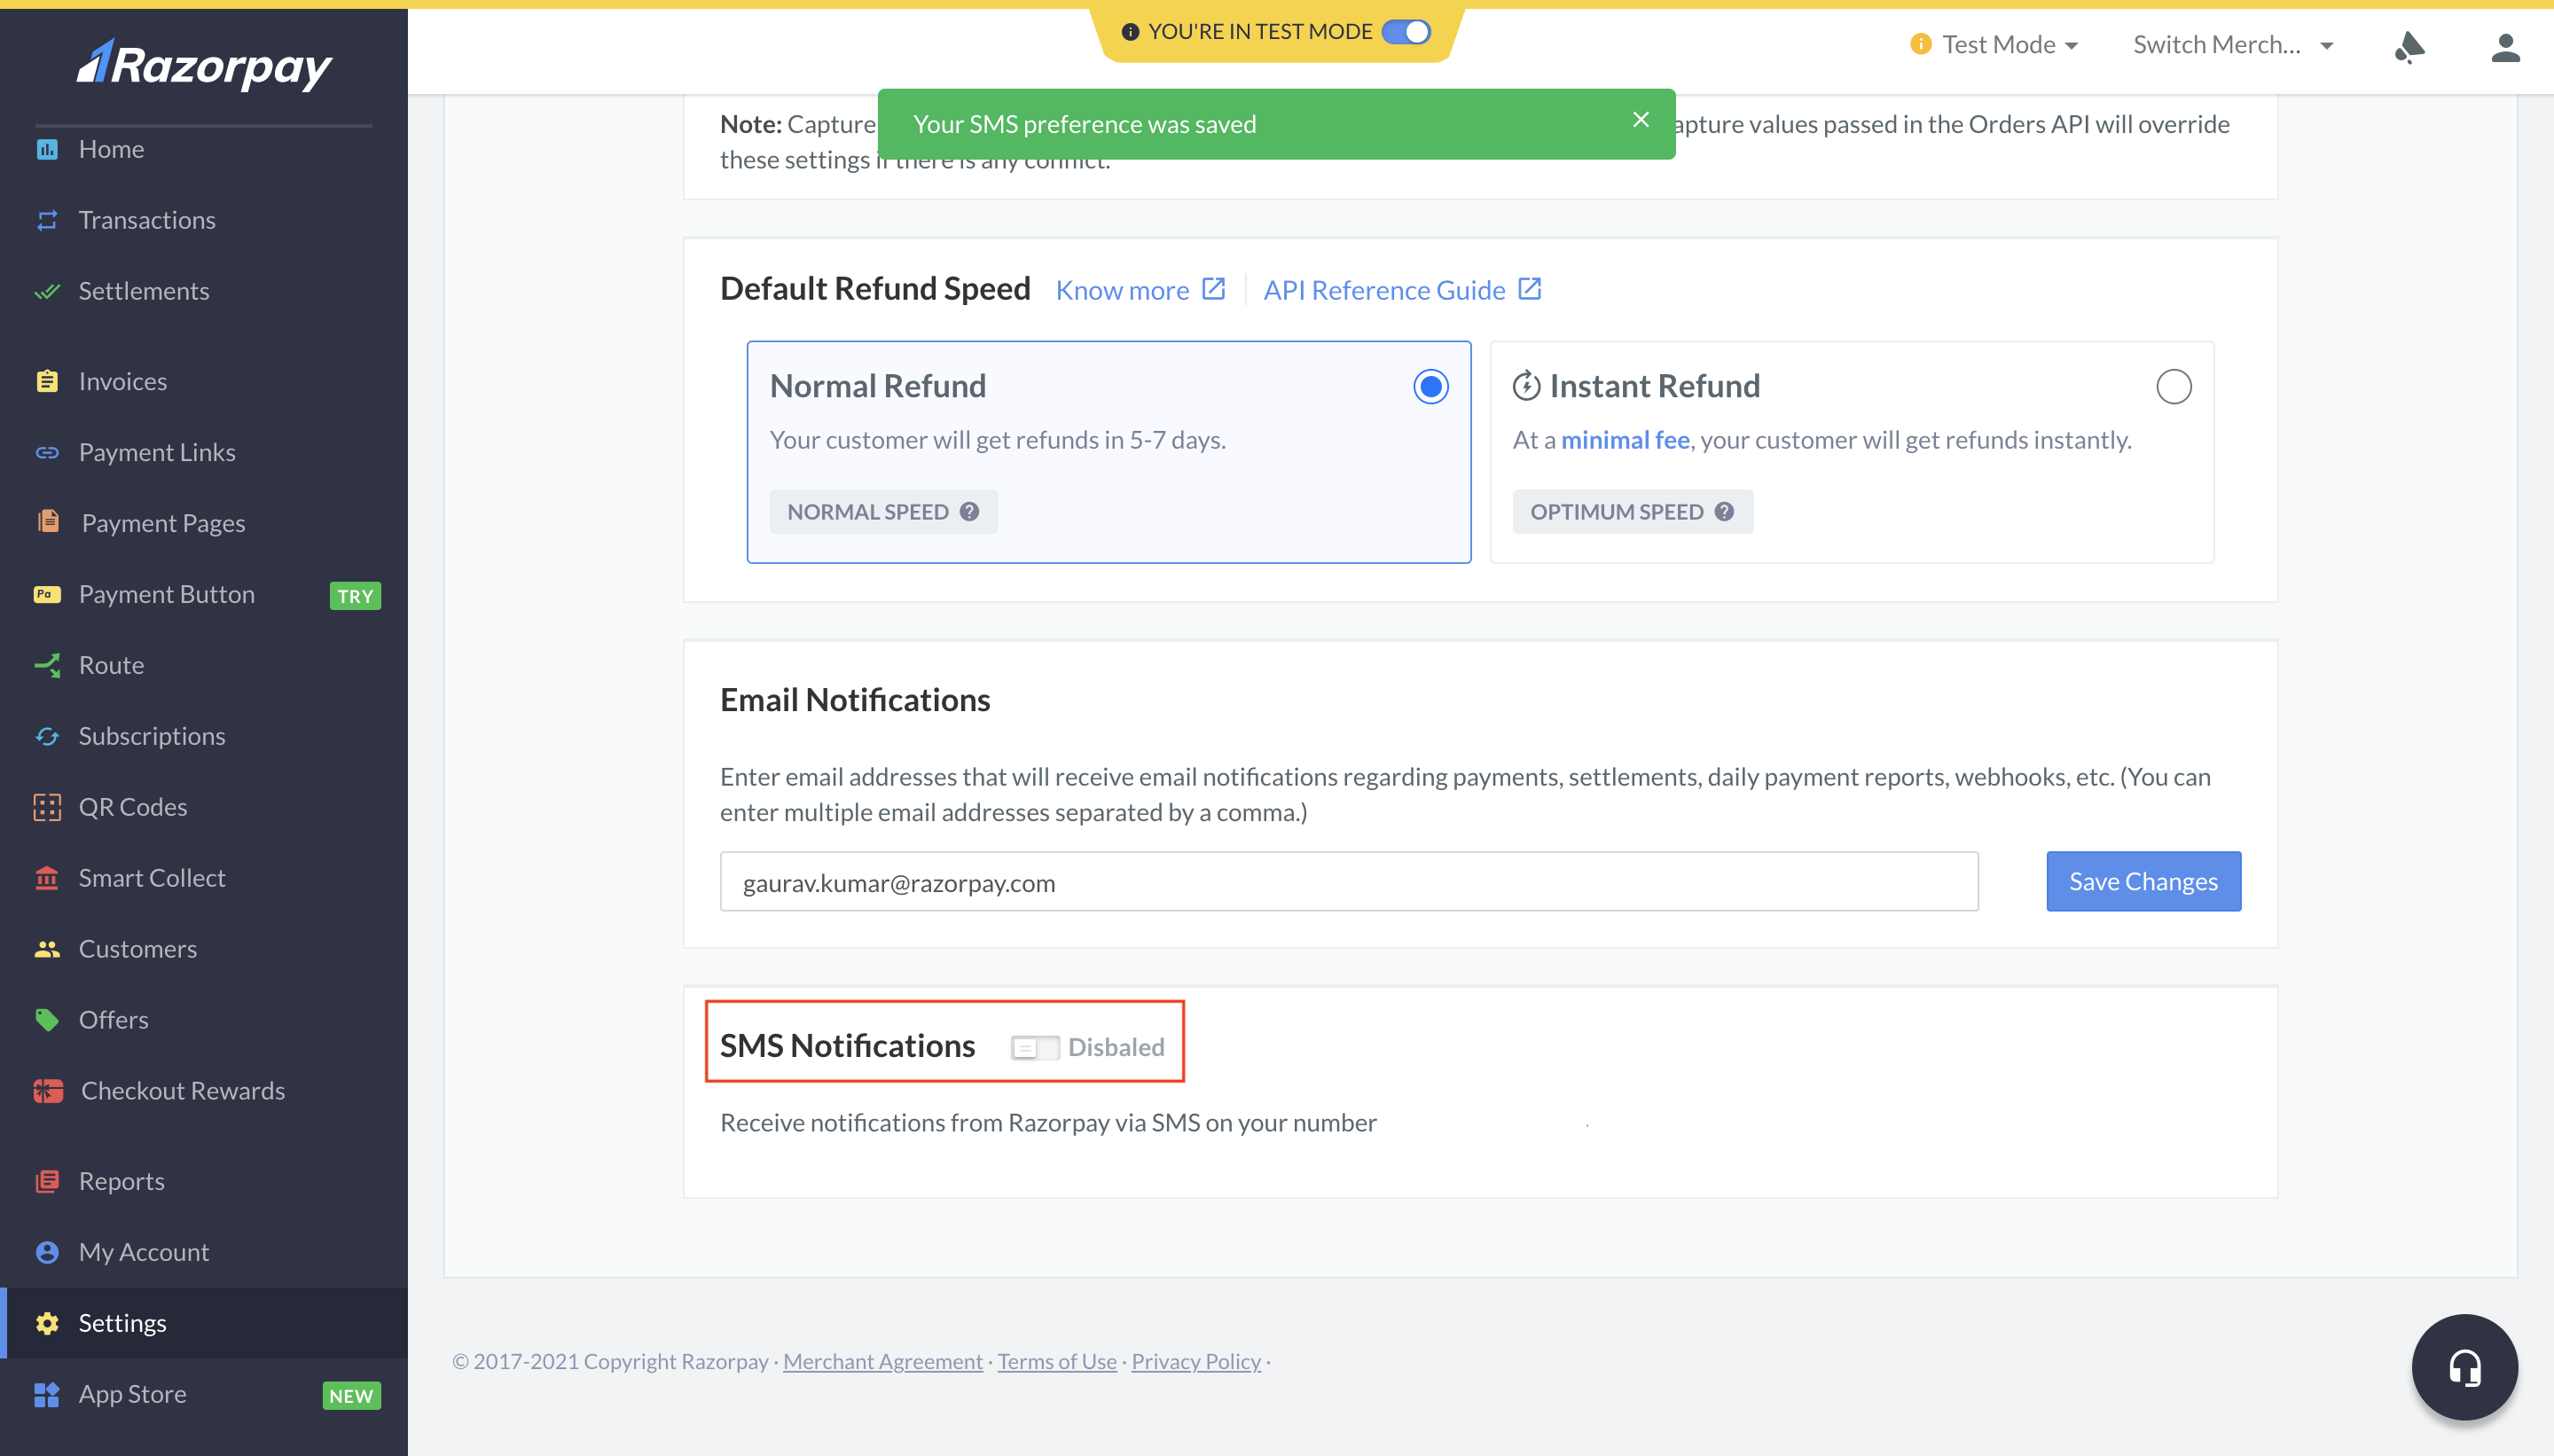
You can configure the email addresses to receive email notifications like payments received, daily payment reports and webhooks. You will also receive an email notification for both successful and failed settlements.

Handy Tips
Settlement emails will be sent to the email addresses provided on the Dashboard. Know more about Settlements.

To enable email notifications:

  1. Log into the Razorpay Dashboard.
  2. Navigate to Settings → Configurations.
  3. Enter email addresses under Email Notifications. If you want to enter multiple email addresses, separate them by a comma.
Manage Email Notifications

Manage SMS Notifications🔗

You can enable SMS Notifications to receive SMS notifications for successful and failed settlements.

To enable SMS notifications:

  1. Log into the Razorpay Dashboard.
  2. Navigate to Settings → Configurations.
  3. Enable SMS Notifications.
Manage SMS Notifications

Once enabled, you will start receiving notifications on the registered phone number.

By default, this feature is set to Enabled. You can disable it using the toggle button.

Manage SMS Notifications

Manage WhatsApp Notifications🔗

You can receive WhatsApp notifications regarding settlements, account configuration changes and more on your registered contact number.

Handy Tips
This feature is available only to the owner user role.

You can enable this feature during the sign up process or later from the Razorpay Dashboard.

To enable WhatsApp notifications:

  1. Log into the Razorpay Dashboard.
  2. Navigate to Settings → Configurations.
  3. Enable WhatsApp Notifications.
Manage WhatsApp Notifications

Once enabled, you will start receiving notifications on the registered number.

You can disable the WhatsApp notifications at any time on the Razorpay Dashboard.

Manage WhatsApp Notifications
×