Create Subscriptions via Links
Create a Subscription link from the Razorpay Dashboard.
If you do not have a website or app, you can still create and send Subscriptions to customers using a link. When the customer opens the link, they are taken to a checkout page hosted by Razorpay, where they make the *authorization payment. You can also use this feature to create and send custom Subscriptions to customers.
Subscriptions via Links Flow🔗
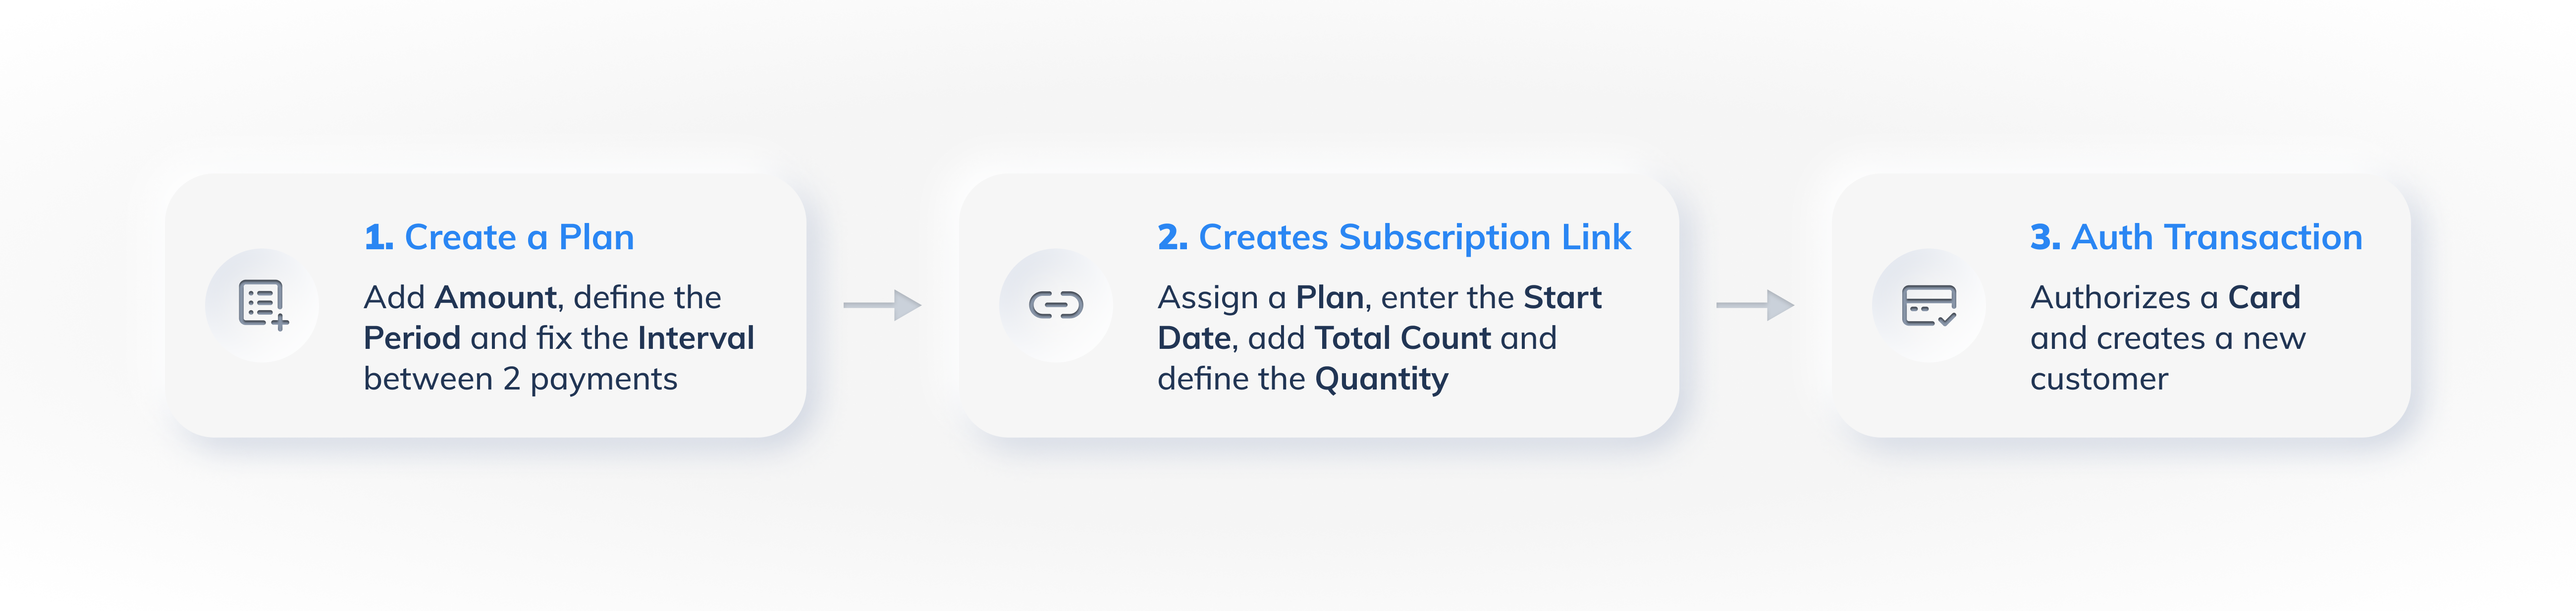
To create a Subscriptions link from the Dashboard, you need to:
After collecting the authentication transaction, you can create add-ons, if required.
Create a Subscription Link From Dashboard🔗
Watch this video to see how to create Subscription Links.
To create a subscription link:
- Log into the Razorpay Dashboard and click Subscriptions in the left menu.
- Click + Create New Subscription. The Create Subscription screen displays.
- Select the required plan from the Select Plan dropdown.
- Select the Subscription Start Date.
Trial Period:
To create a trial period for your customers, all you need to provide is a future start date. The actual billing cycle automatically starts at the specified date, essentially creating a trial period. - Enter the Total Count. This defines how many times the customer should be charged (the number of billing cycles).
Note:
- If a customer is subscribing to a monthly plan on March 1st, 2019 for 2 years, the total count would be 24. The subscription would automatically move to the
completedstate on March 1st, 2021. - A subscription can continue for a maximum of 10 years. We do not support lifetime subscription.
- If a customer is subscribing to a monthly plan on March 1st, 2019 for 2 years, the total count would be 24. The subscription would automatically move to the
- Select the required offer from the Offer dropdown.
- Click Next.
- Select I want to add an upfront amount.
- Click the dropdown and click +Create New Item. The Add Upfront Amount screen appears in a pop-out window.
- Add the following details and click Save.
- Name
- Rate per unit
- Description (optional)
- You can add additional items using the Add New Item option.
- Click Next once you have added all items tagged as upfront amount.
Note:
- All the created add-on items display in the Select Item to Add dropdown.
- The upfront amount and add-ons will have the same currency as the plan, which can be in any of the supported currencies.
- Enter the customer's mobile number and/or email address.
- Select the Notify Customer check box if you want Razorpay to automatically send the Subscription Link to the customer via email to make the authorization payment.
- Set an expiry date for the link.
- Add internal notes, if required.
- Click Next once you have entered all the required details.
Note:
If the Notify Customer checkbox is not selected, Razorpay does not send the customer the subscription link to make the authorization payment. - Review the details and click Create Subscription Link to send the link to the customer.
Create a Subscription Link Using API🔗
You can create a Subscription Links using this API.
×![]()