Embed Payment Button on WordPress Website

Embed a Razorpay Payment Button on your WordPress website and accept payments from customers.


WordPress is one of the most popular Content Management Systems out there. You can quickly build a website using WordPress and embed the Razorpay Payment Button to accept payments from customers.

WordPress Homepage

WordPress Plan🔗

For Websites Hosted on Domain🔗

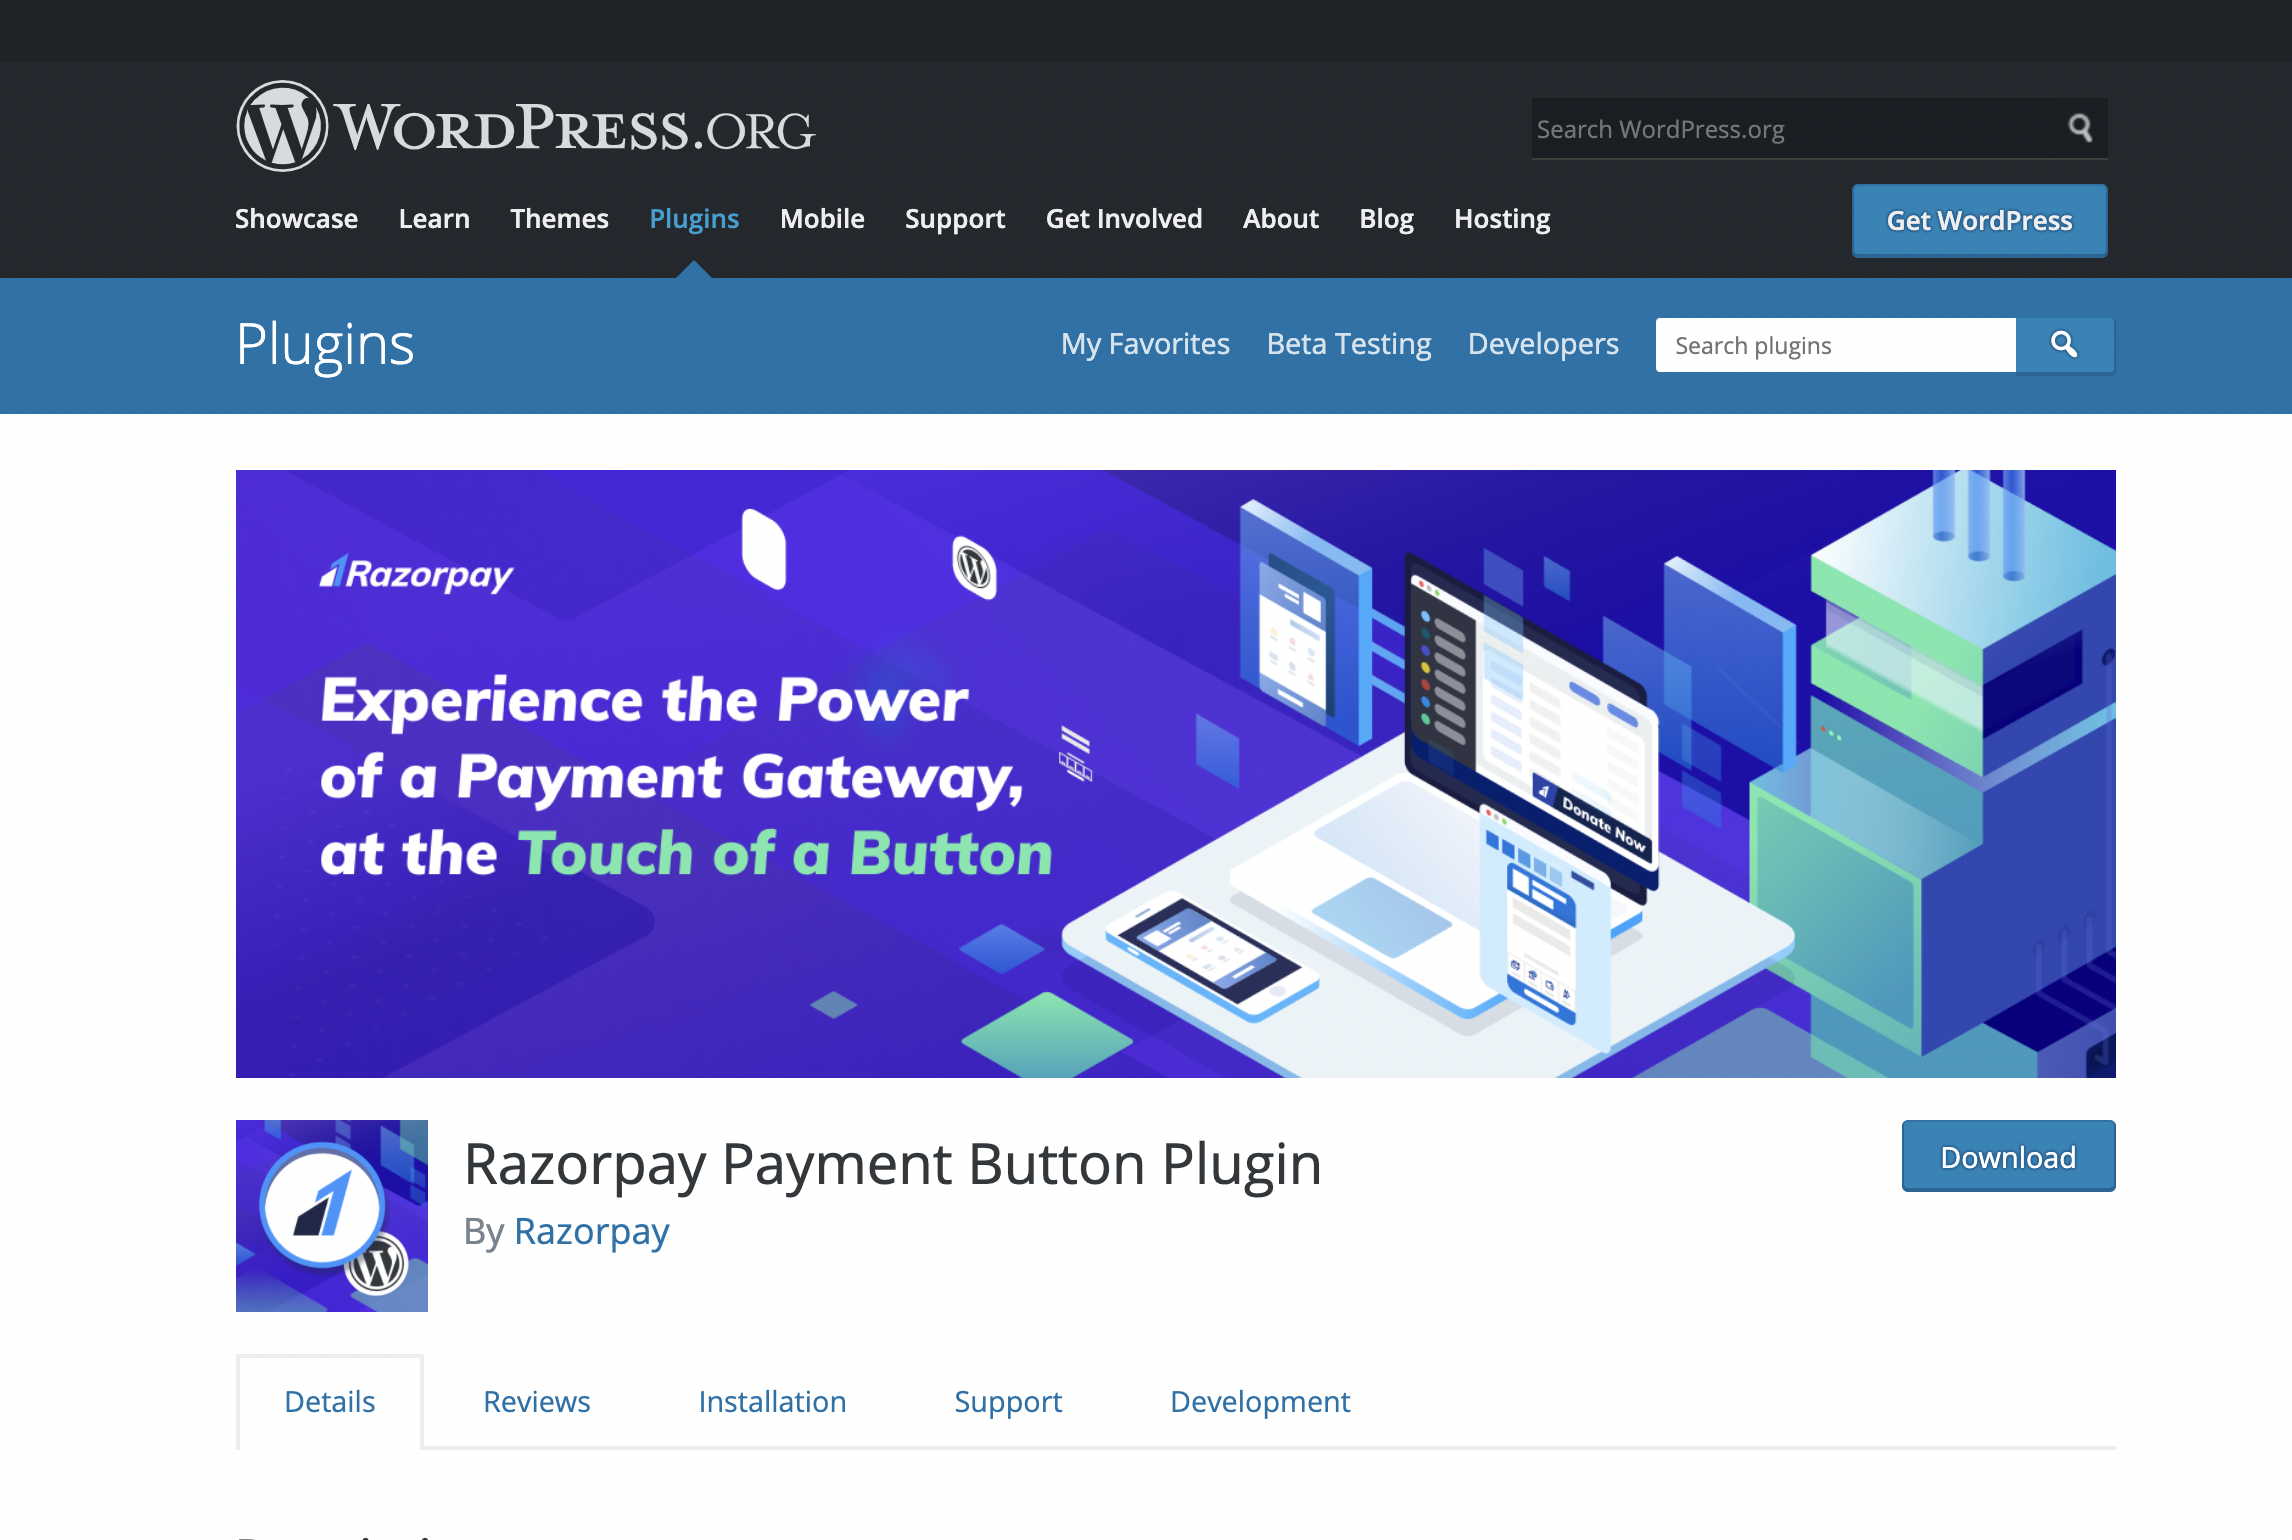
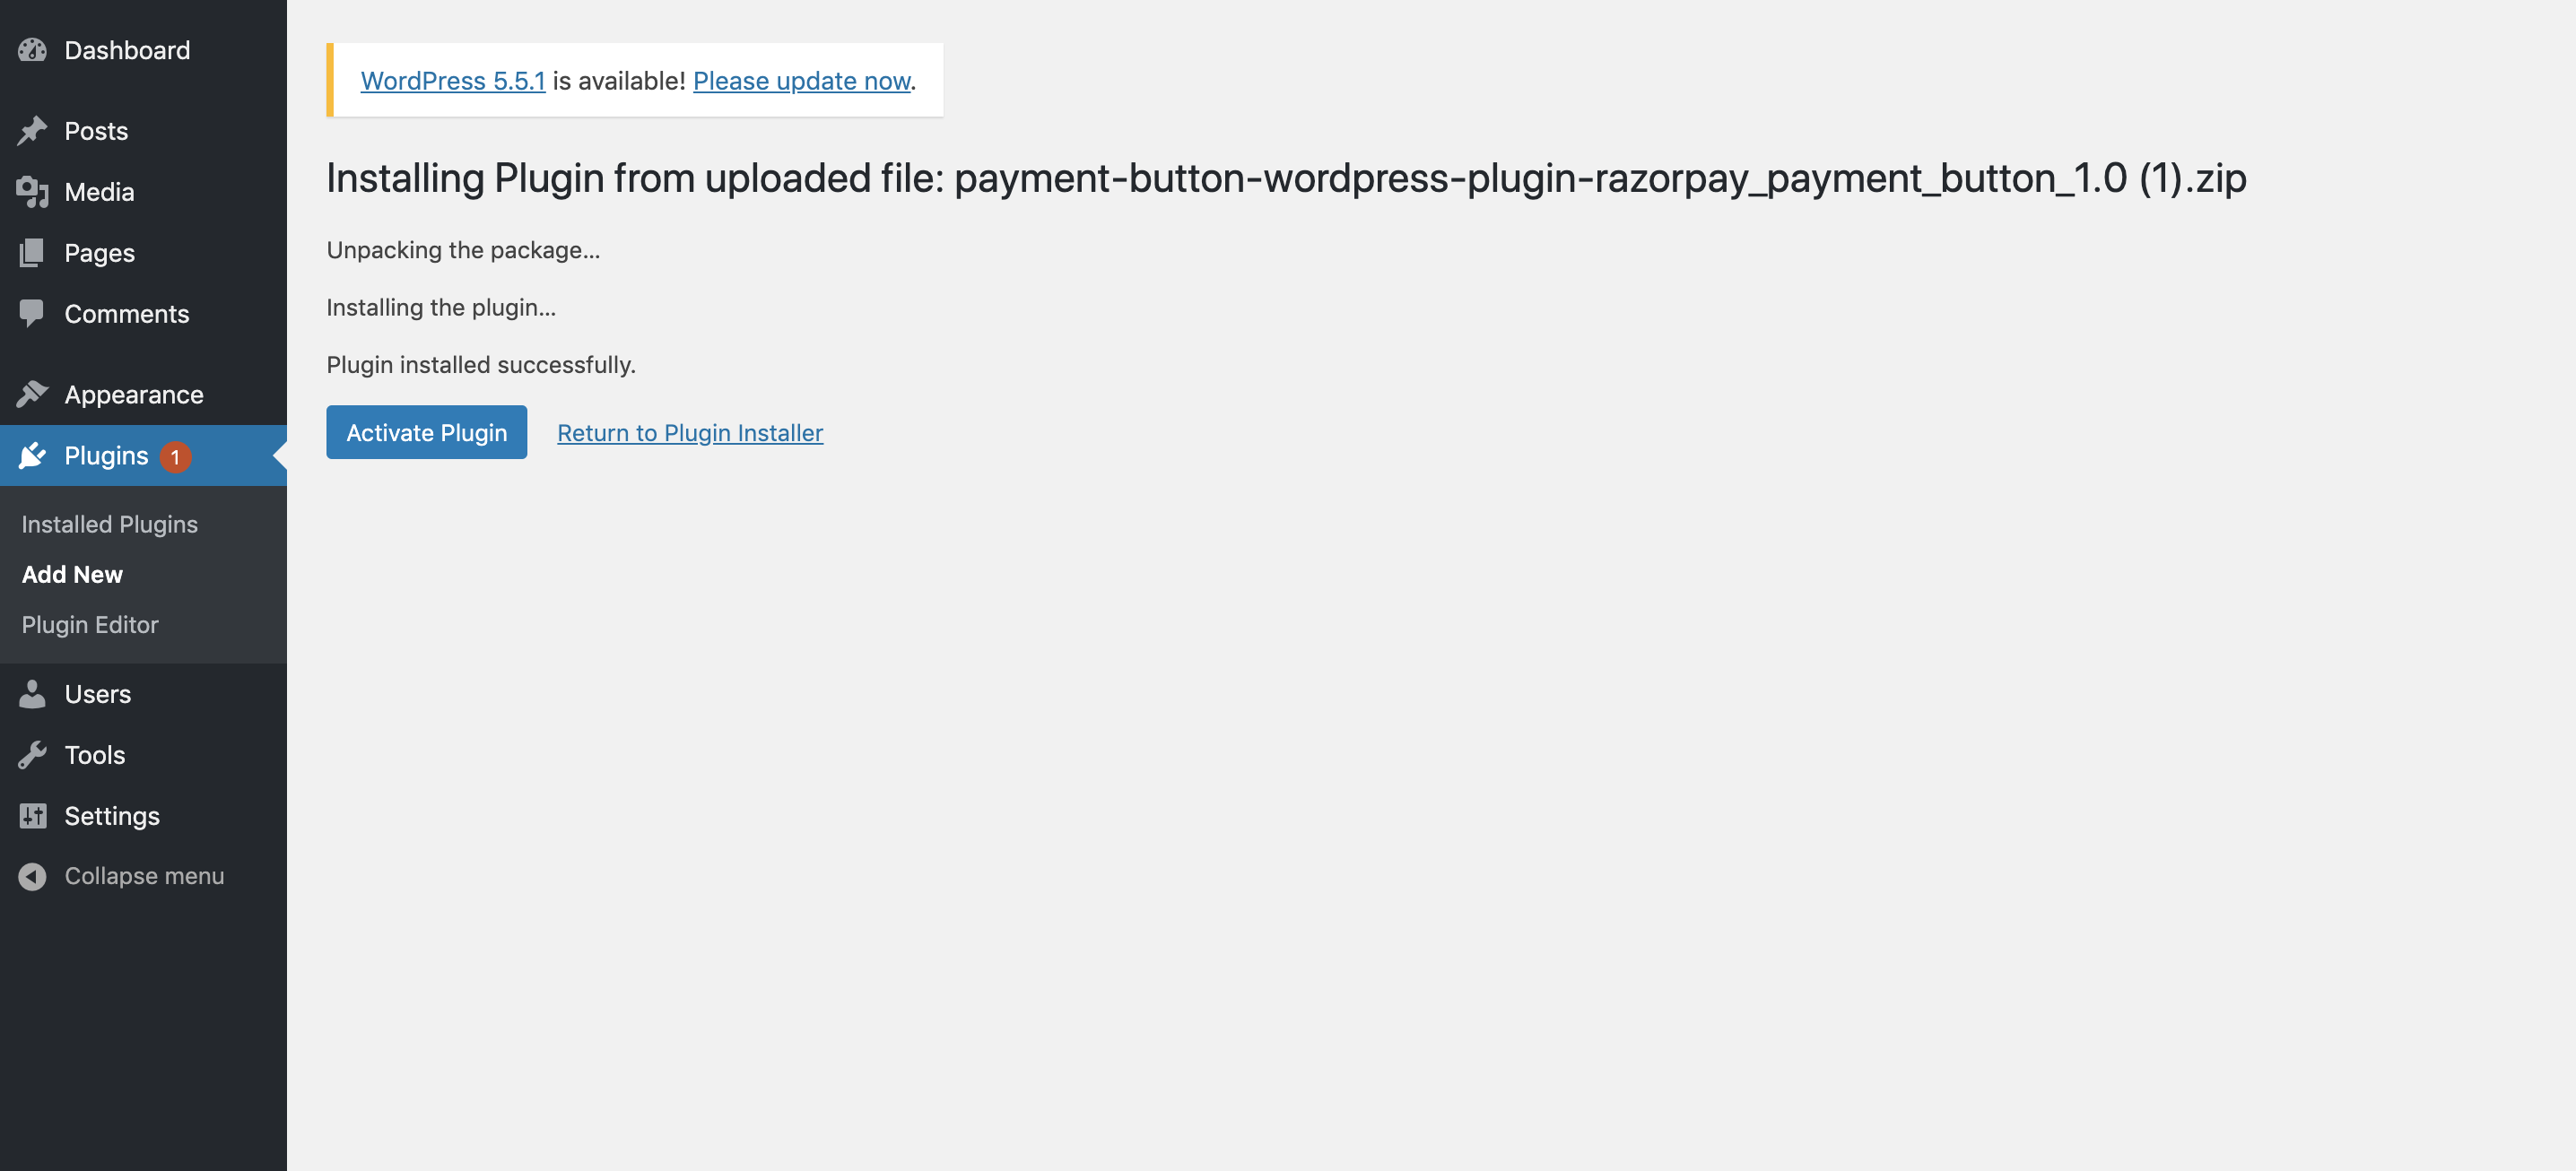
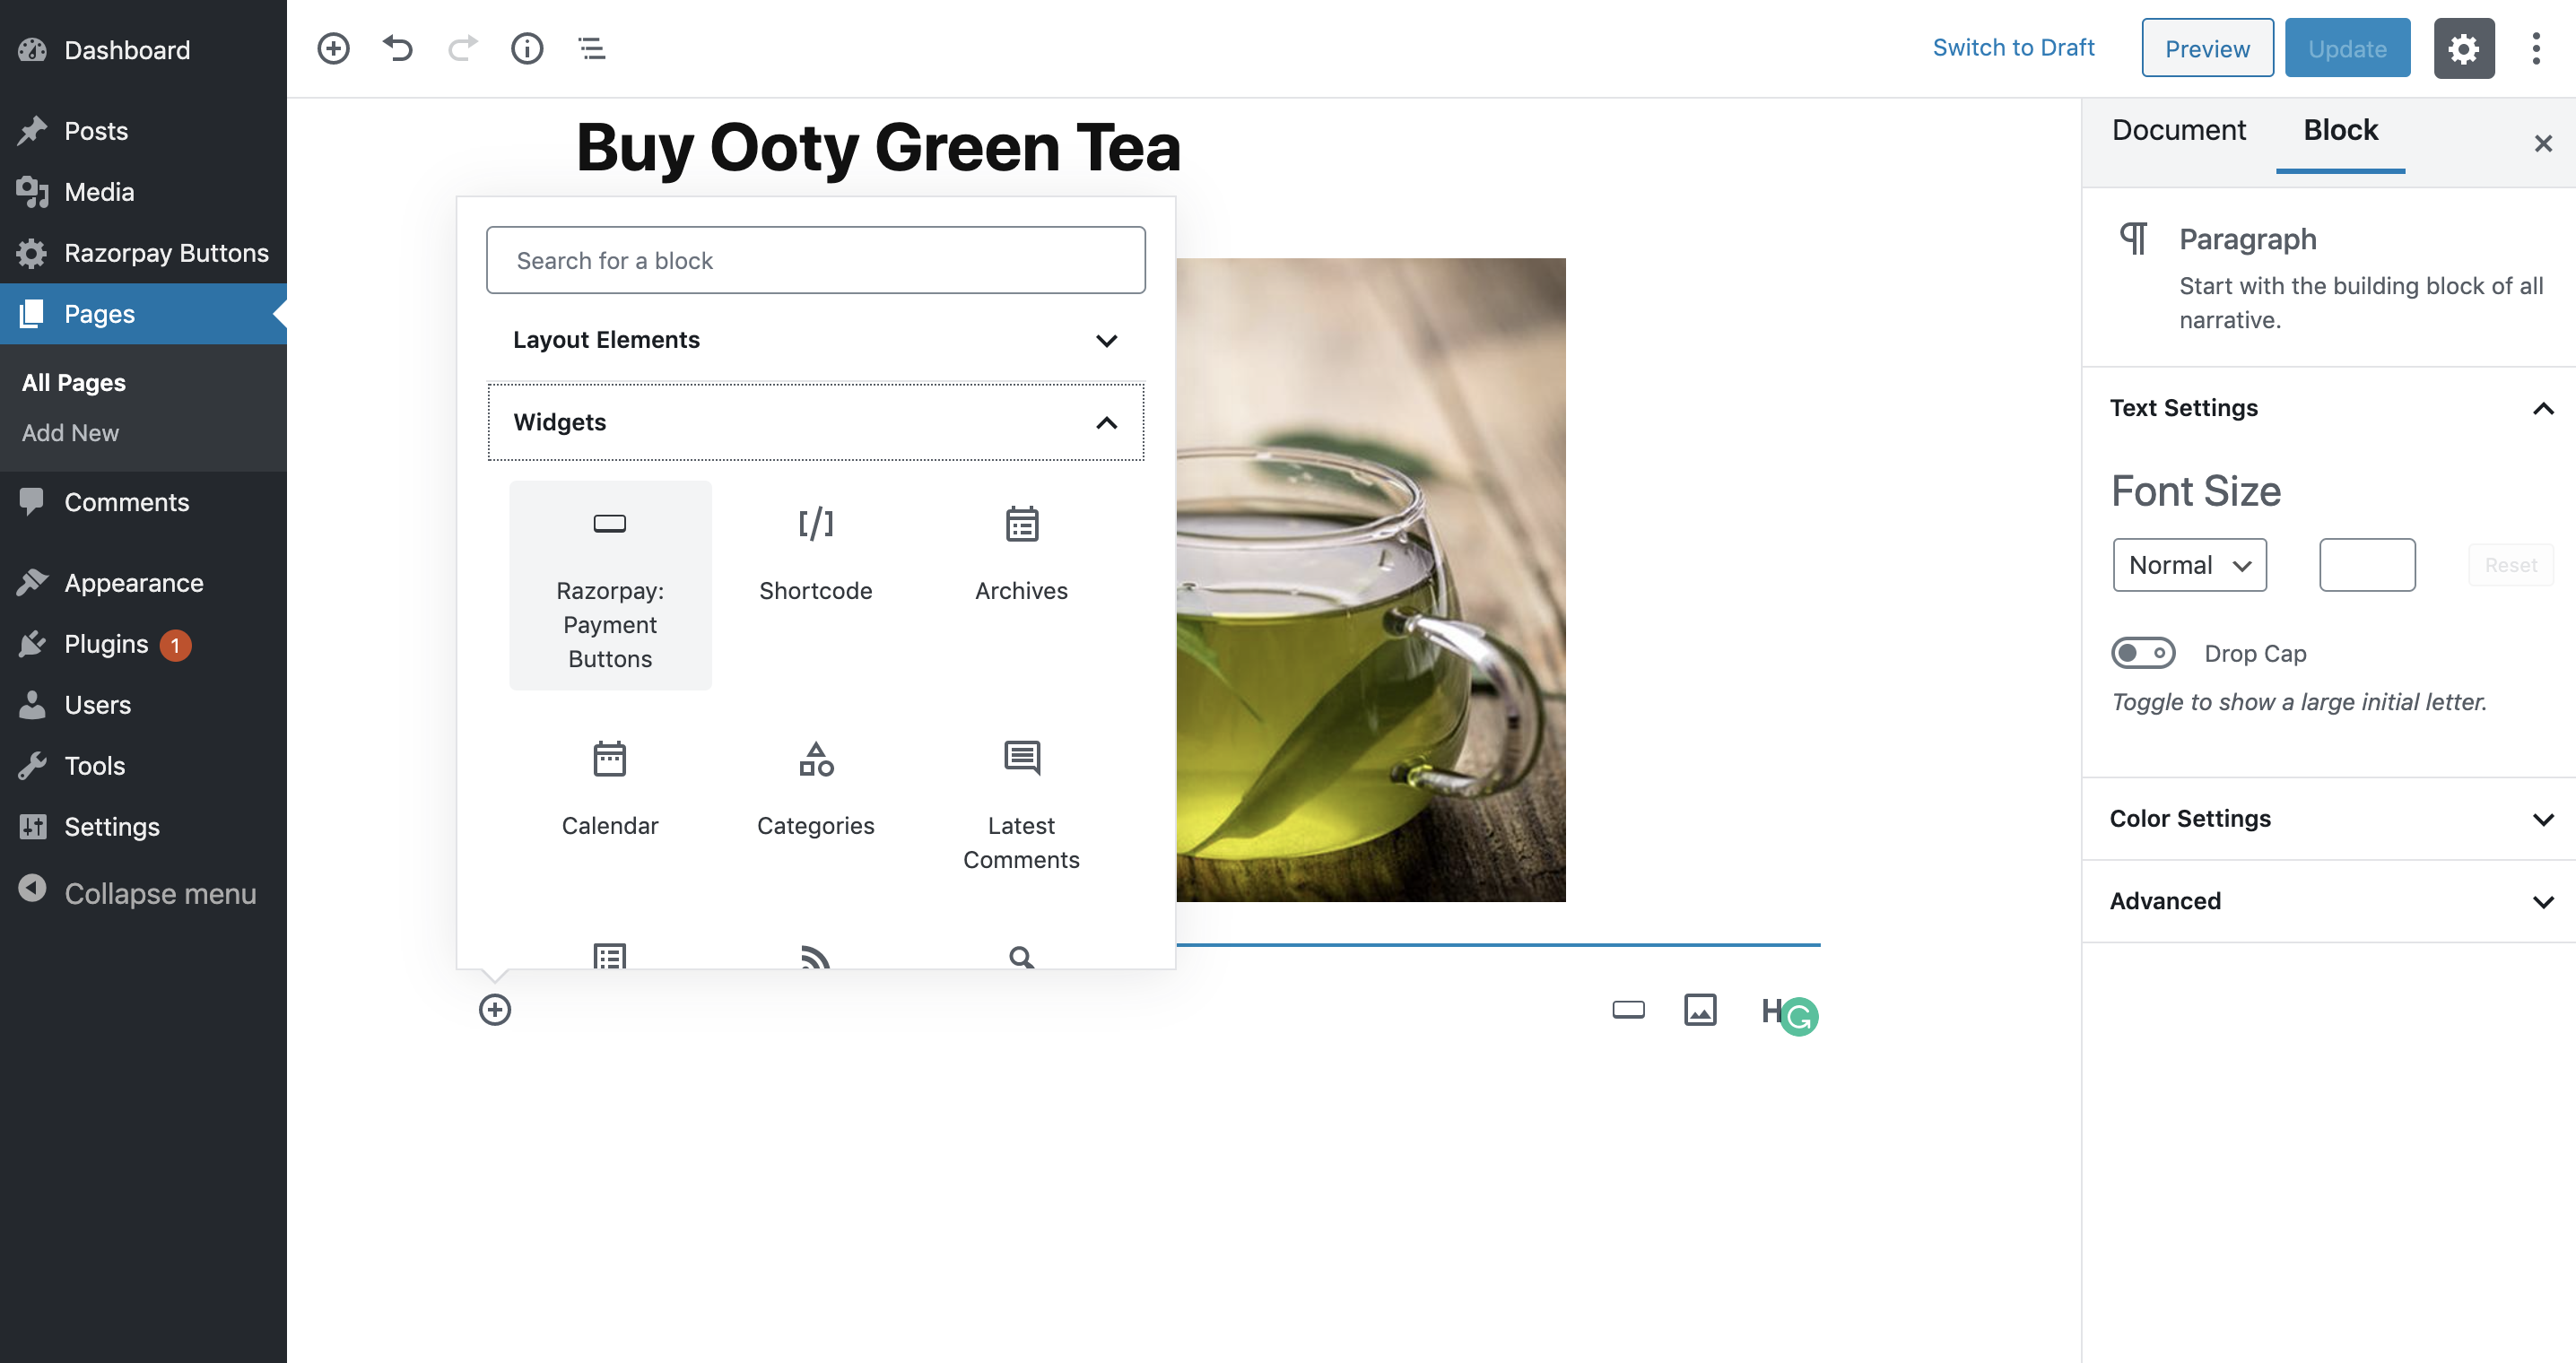
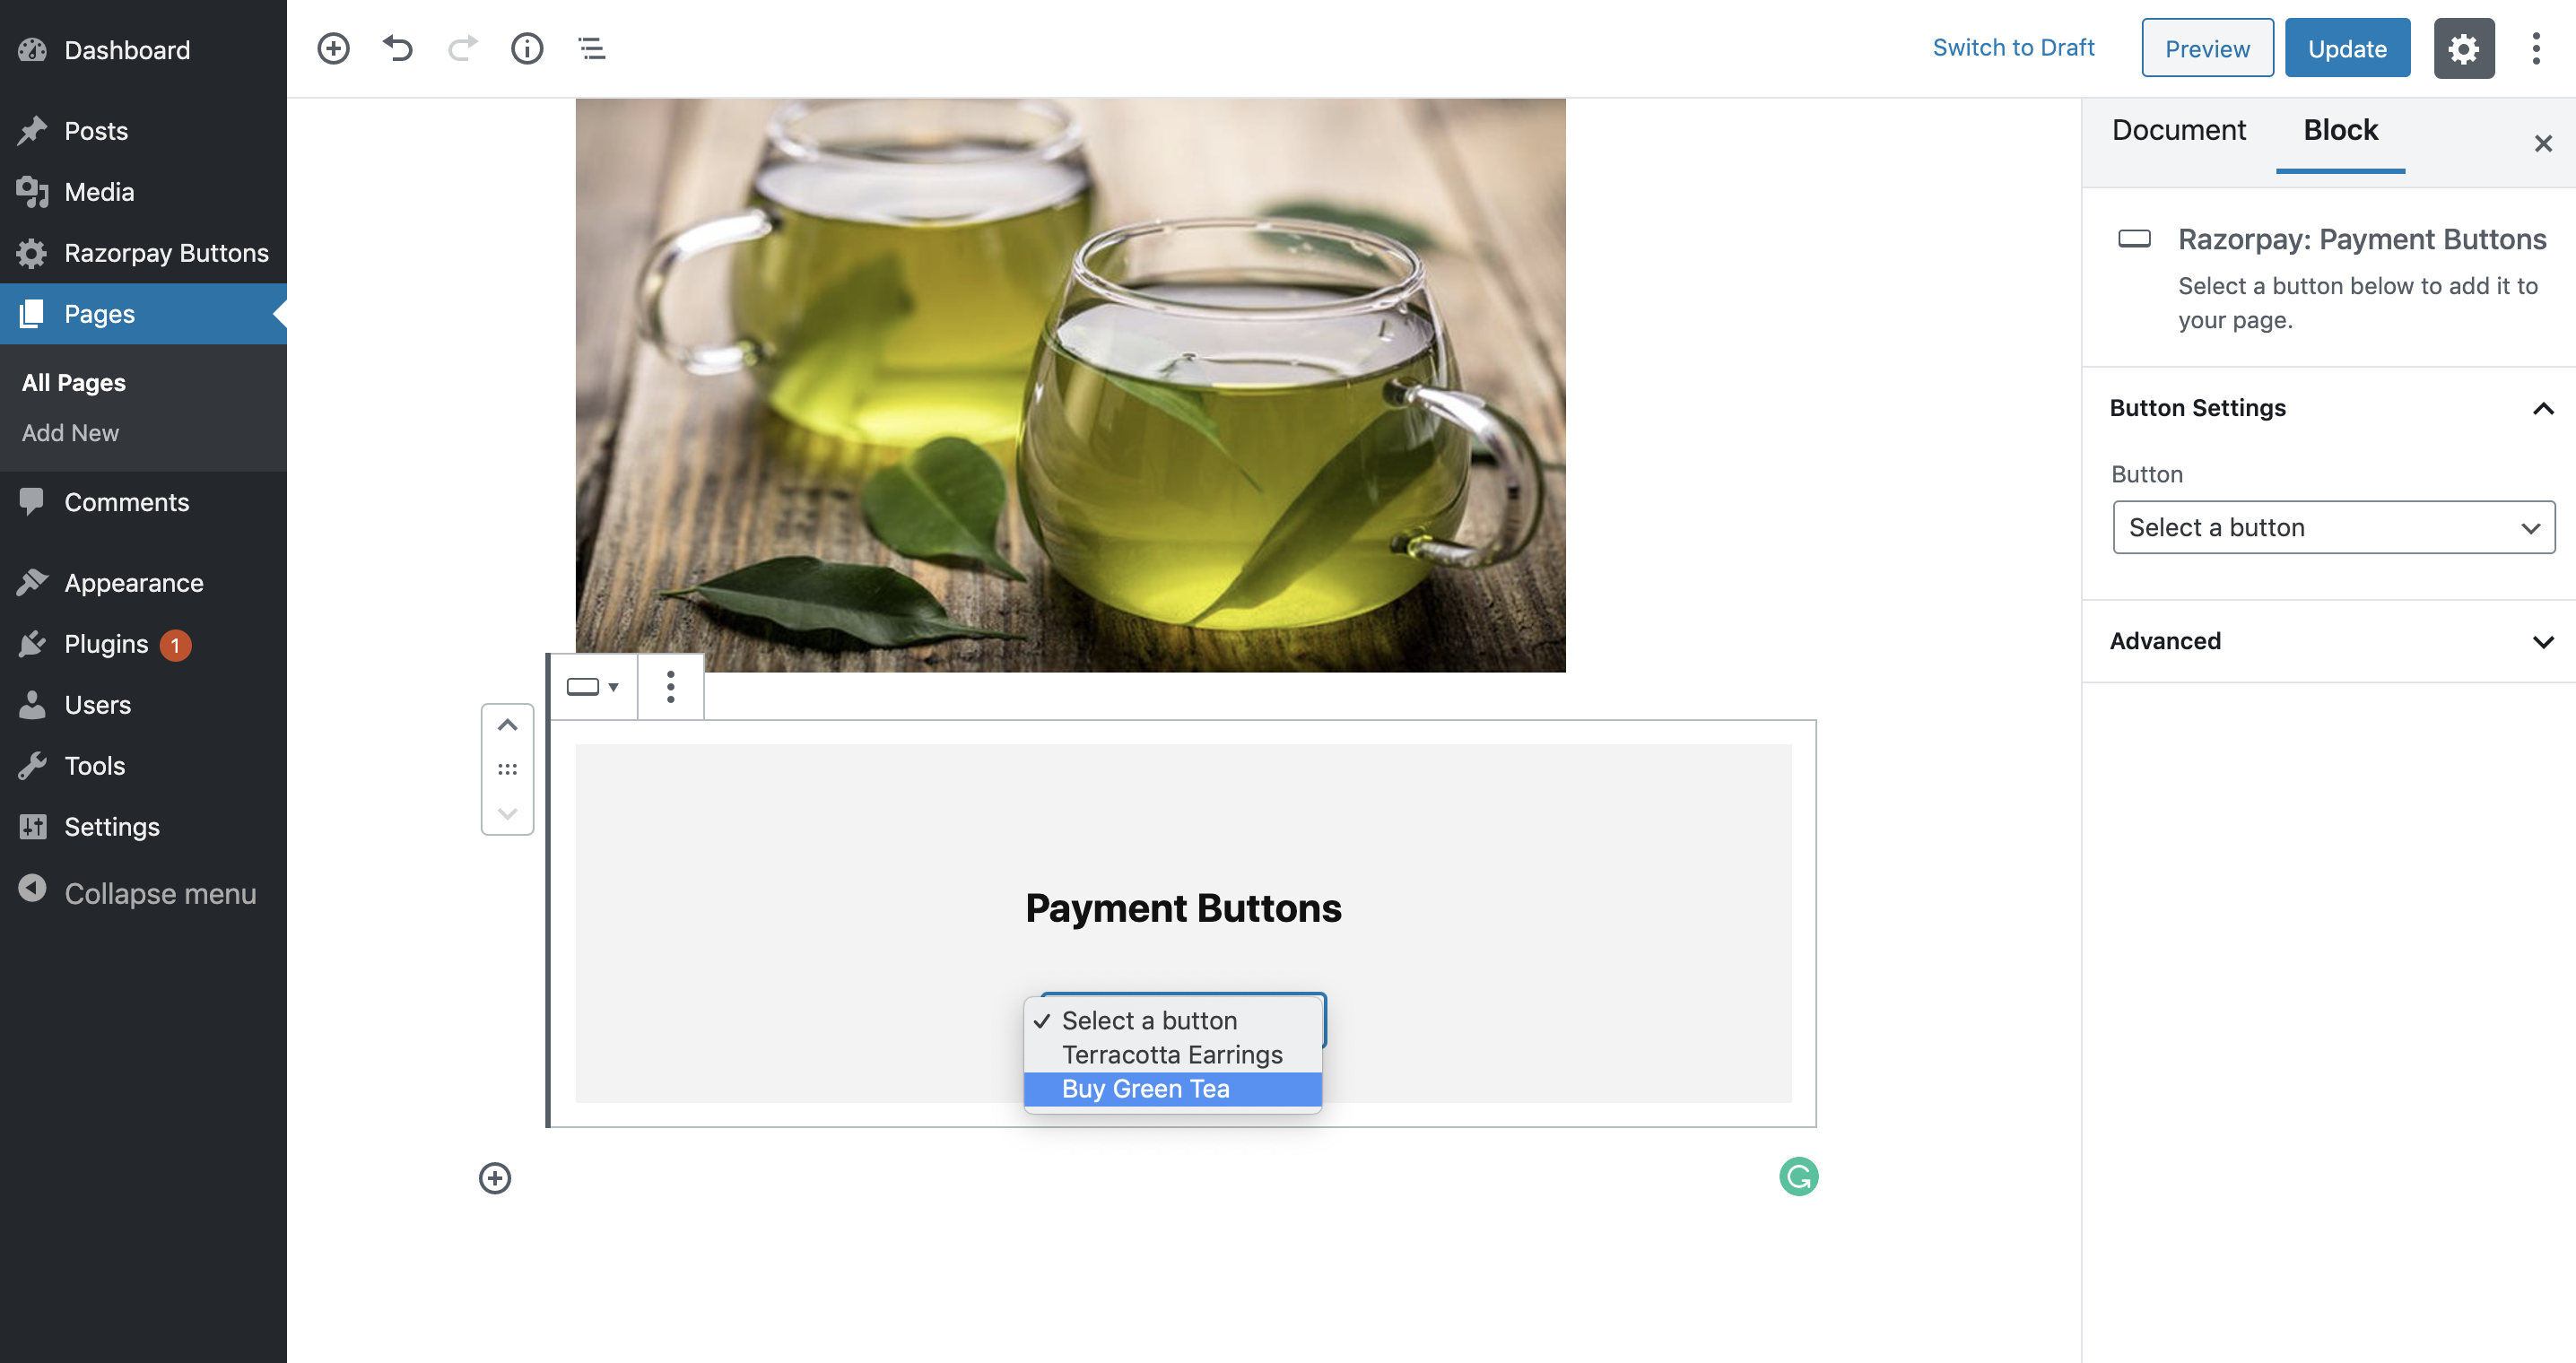
If you have built your website using www.wordpress.com, and are on a paid plan, you can directly install the Razorpay Payment Button Plugin from the WordPress Plugins store. Follow these steps to:

  1. Install the Razorpay Payment Button Plugin on your WordPress site.
  2. Create a Payment Button on Razorpay Dashboard.
  3. Embed the Payment Button on your WordPress site.

For Websites Hosted on Localhost🔗

If you are using WordPress with the free plan, you need to use MAMP to set up a local WordPress site and continue with the Payment Button implementation. Follow these steps to:

  1. Set up WordPress site locally on your system.
  2. Create a Payment Button on Razorpay Dashboard.
  3. Embed the Payment Button on your WordPress site.

Prerequisites🔗

  1. Download the Razorpay Payment Button WordPress Plugin.
  2. Create a Razorpay account.
  3. Navigate to Settings → API Keys and generate API keys in the test mode.

Add the API key details in the Razorpay Payment Button plugin settings.

Handy Tips

  • When testing: Generate the keys in Test mode.
  • To accept live payments: Generate the keys in Live mode and replace them in the Razorpay Payment Button plugin settings.

Steps🔗

Watch this video to see how to set up a Payment Button using Wordpress Plugin.

Step 1: Set Up WordPress Site Locally on Your System🔗

For Windows Users🔗

See: Installation Steps for Windows

For Mac Users🔗

To install WordPress on your Mac system:

  1. Download the latest version of MAMP and install it on your Mac system. This software enables you to manage your websites locally.

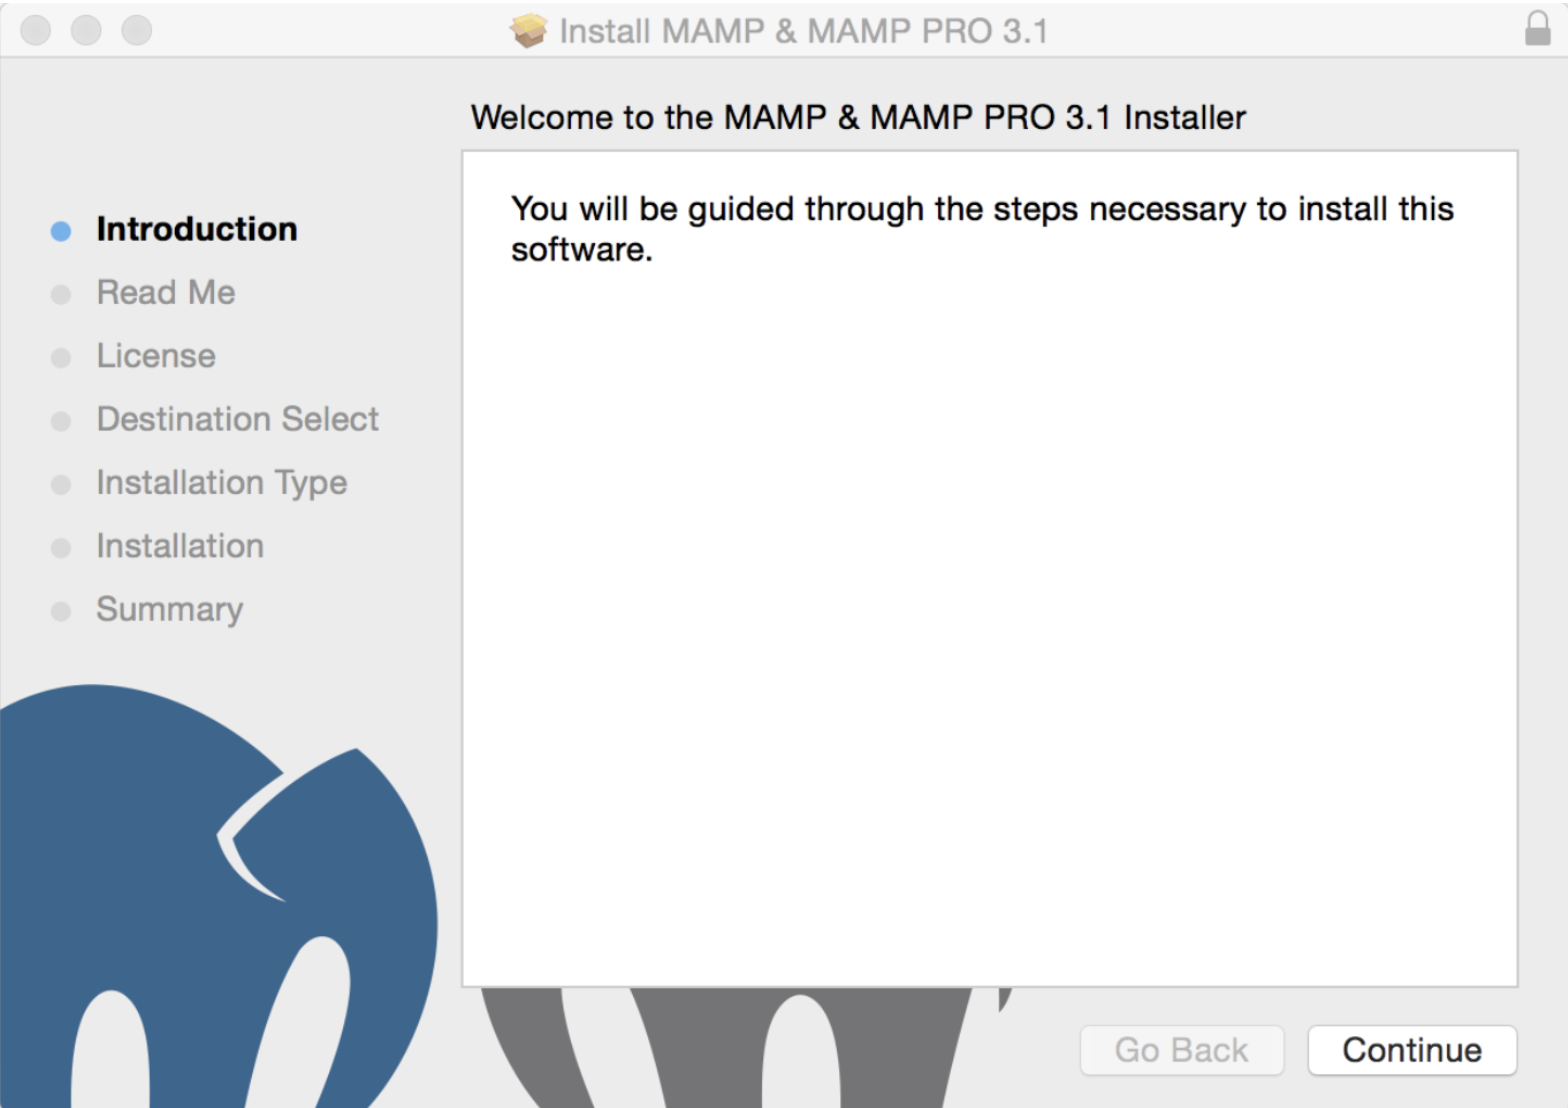
  2. Install the downloaded file using the wizard and save MAMP in your Applications folder.

    Install
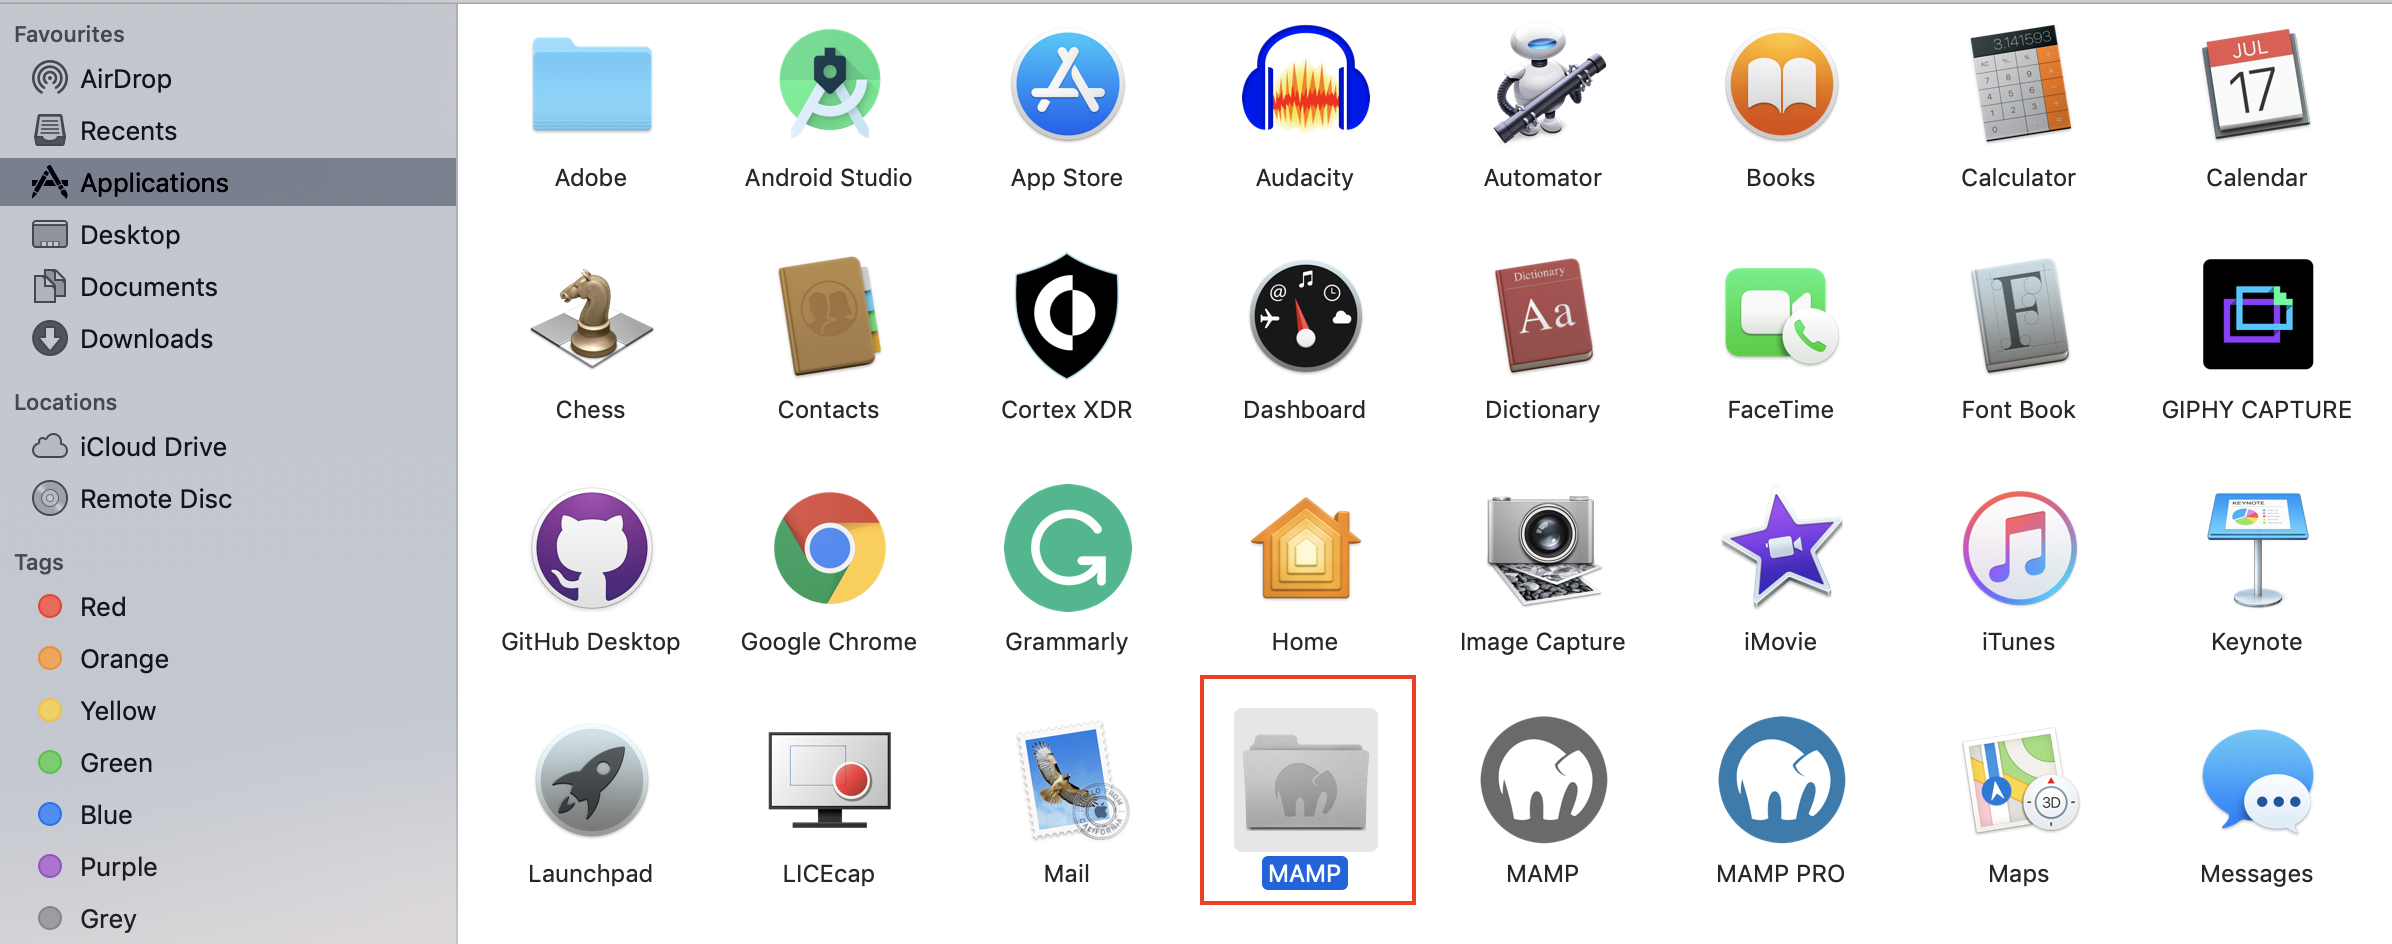
  3. Navigate to the MAMP folder.

    Navigate

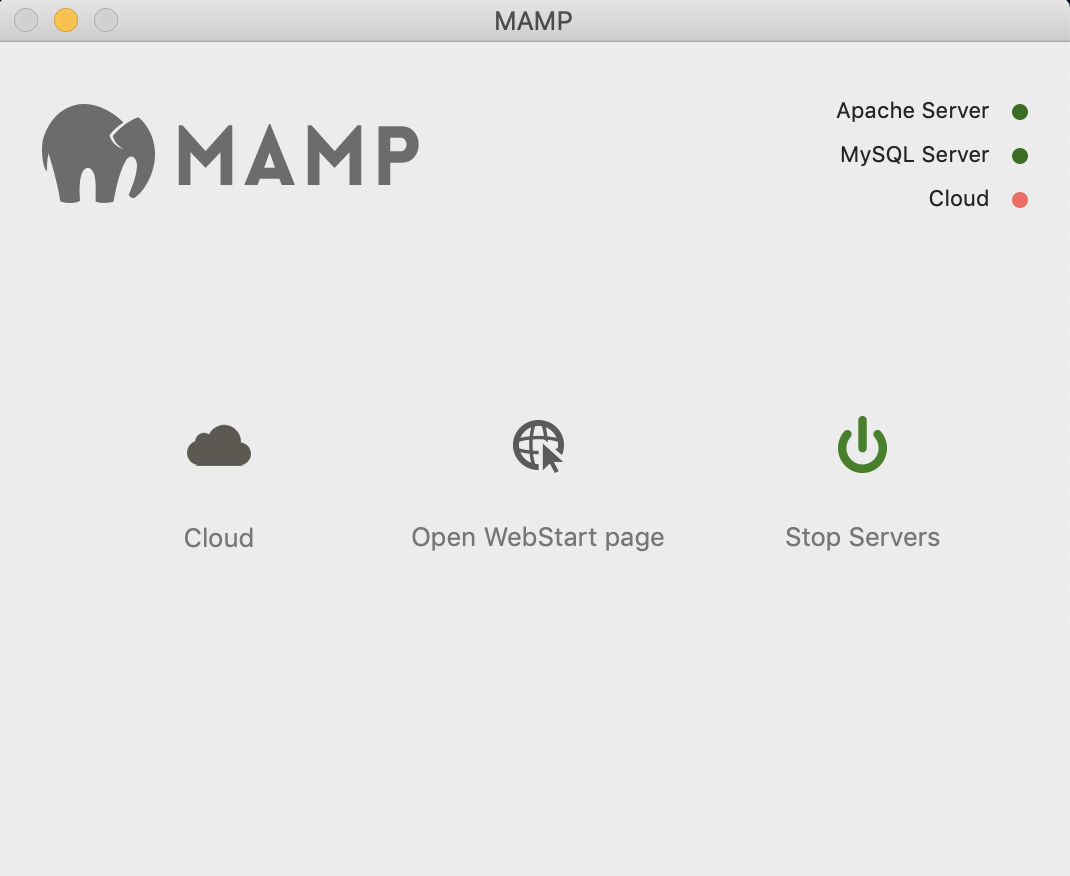
    In the folder, click the MAMP icon:


    Click
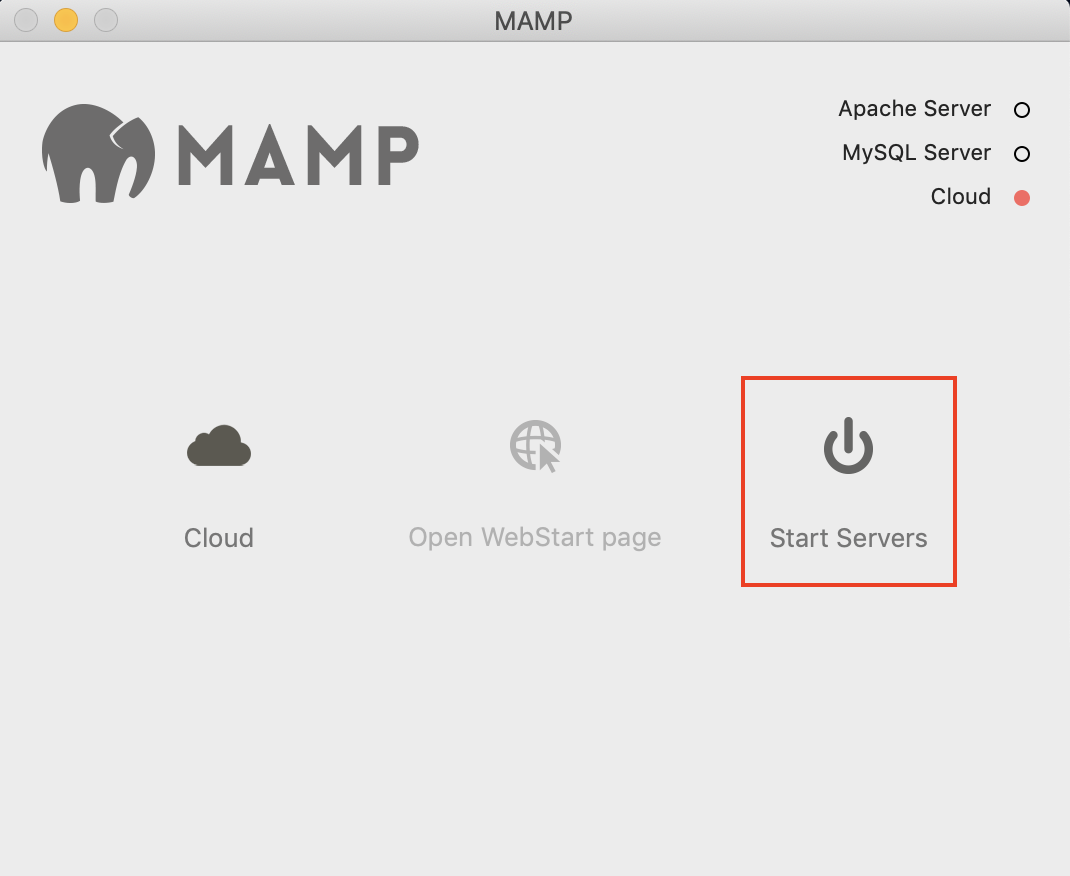
  4. Click Start Server to run the server on your system.

    Start

    The server status appears green once they are ready.

    Server
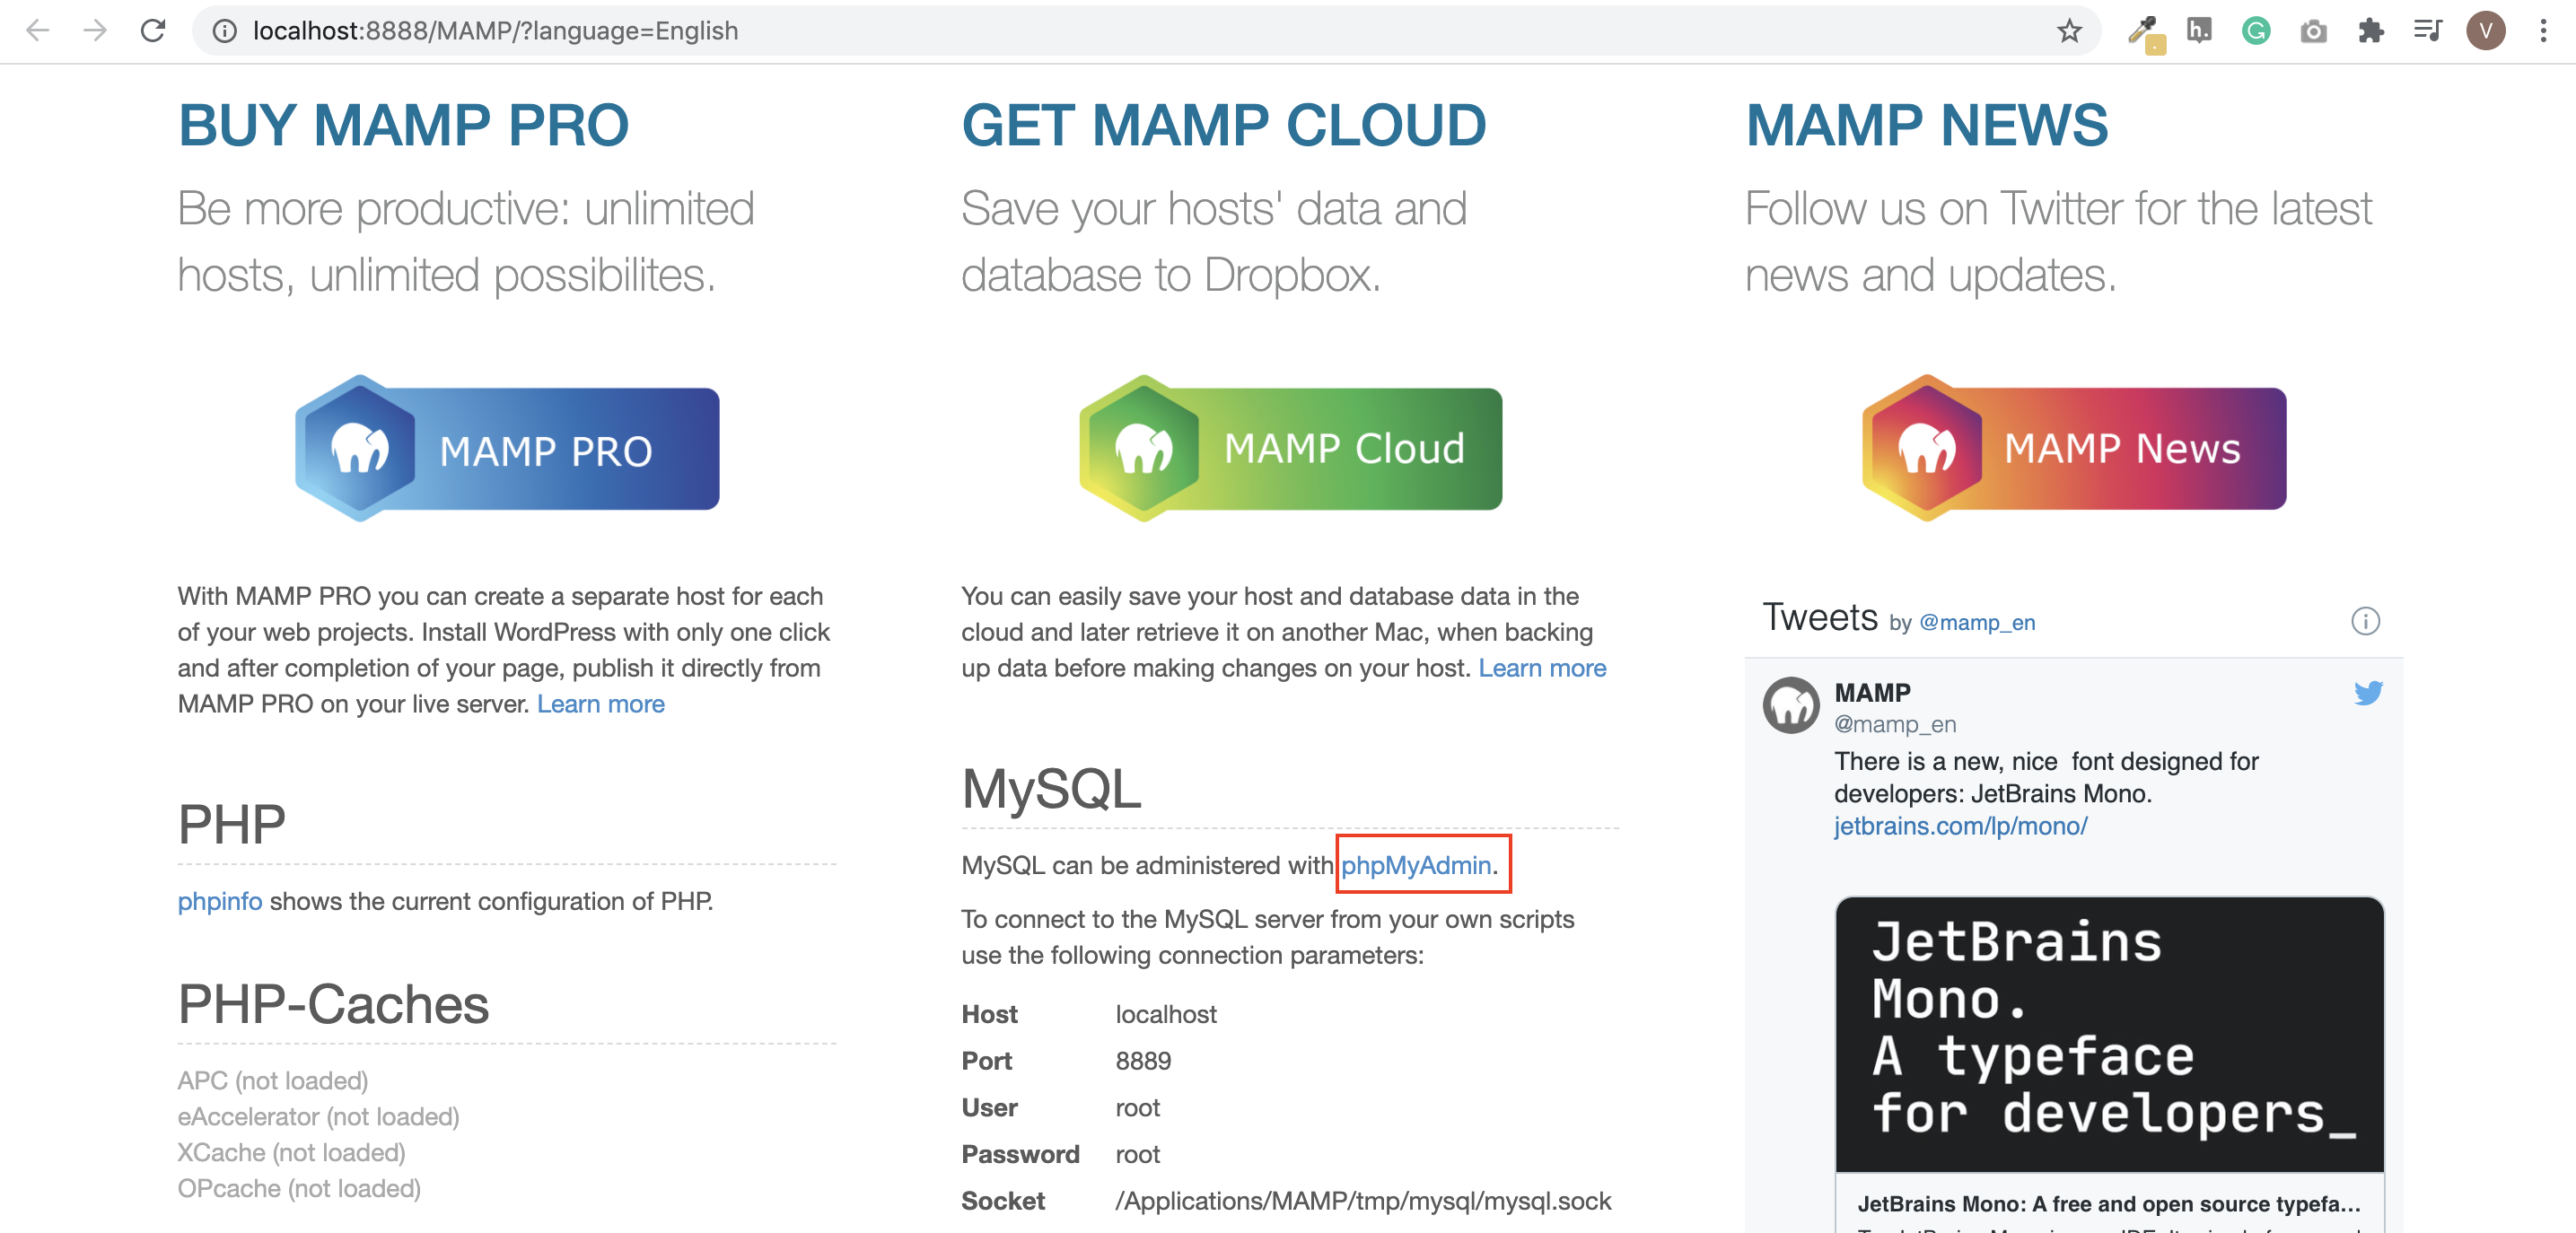
  5. Click Open WebStart Page. The server starts running on your browser as shown:

    Open
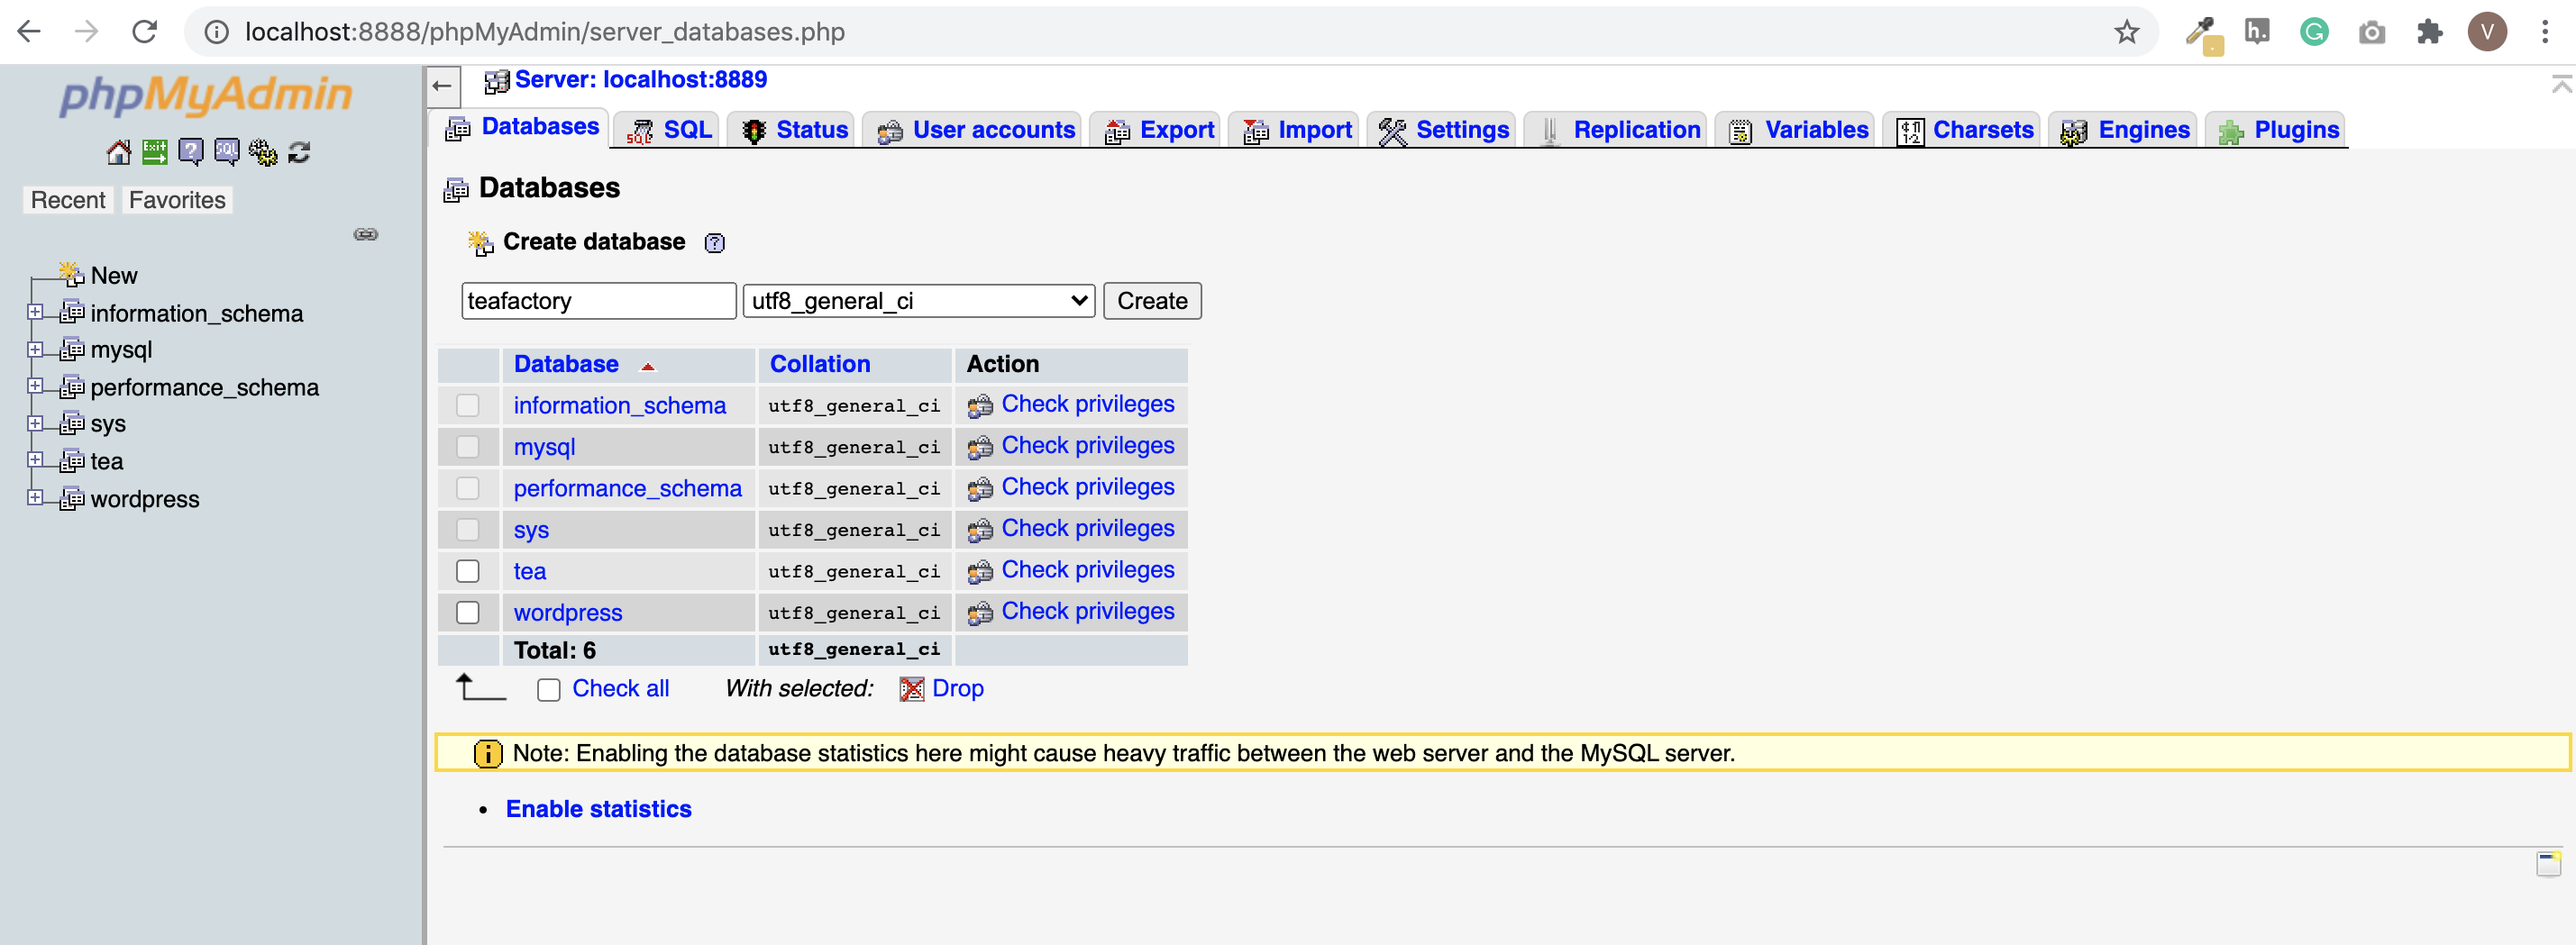
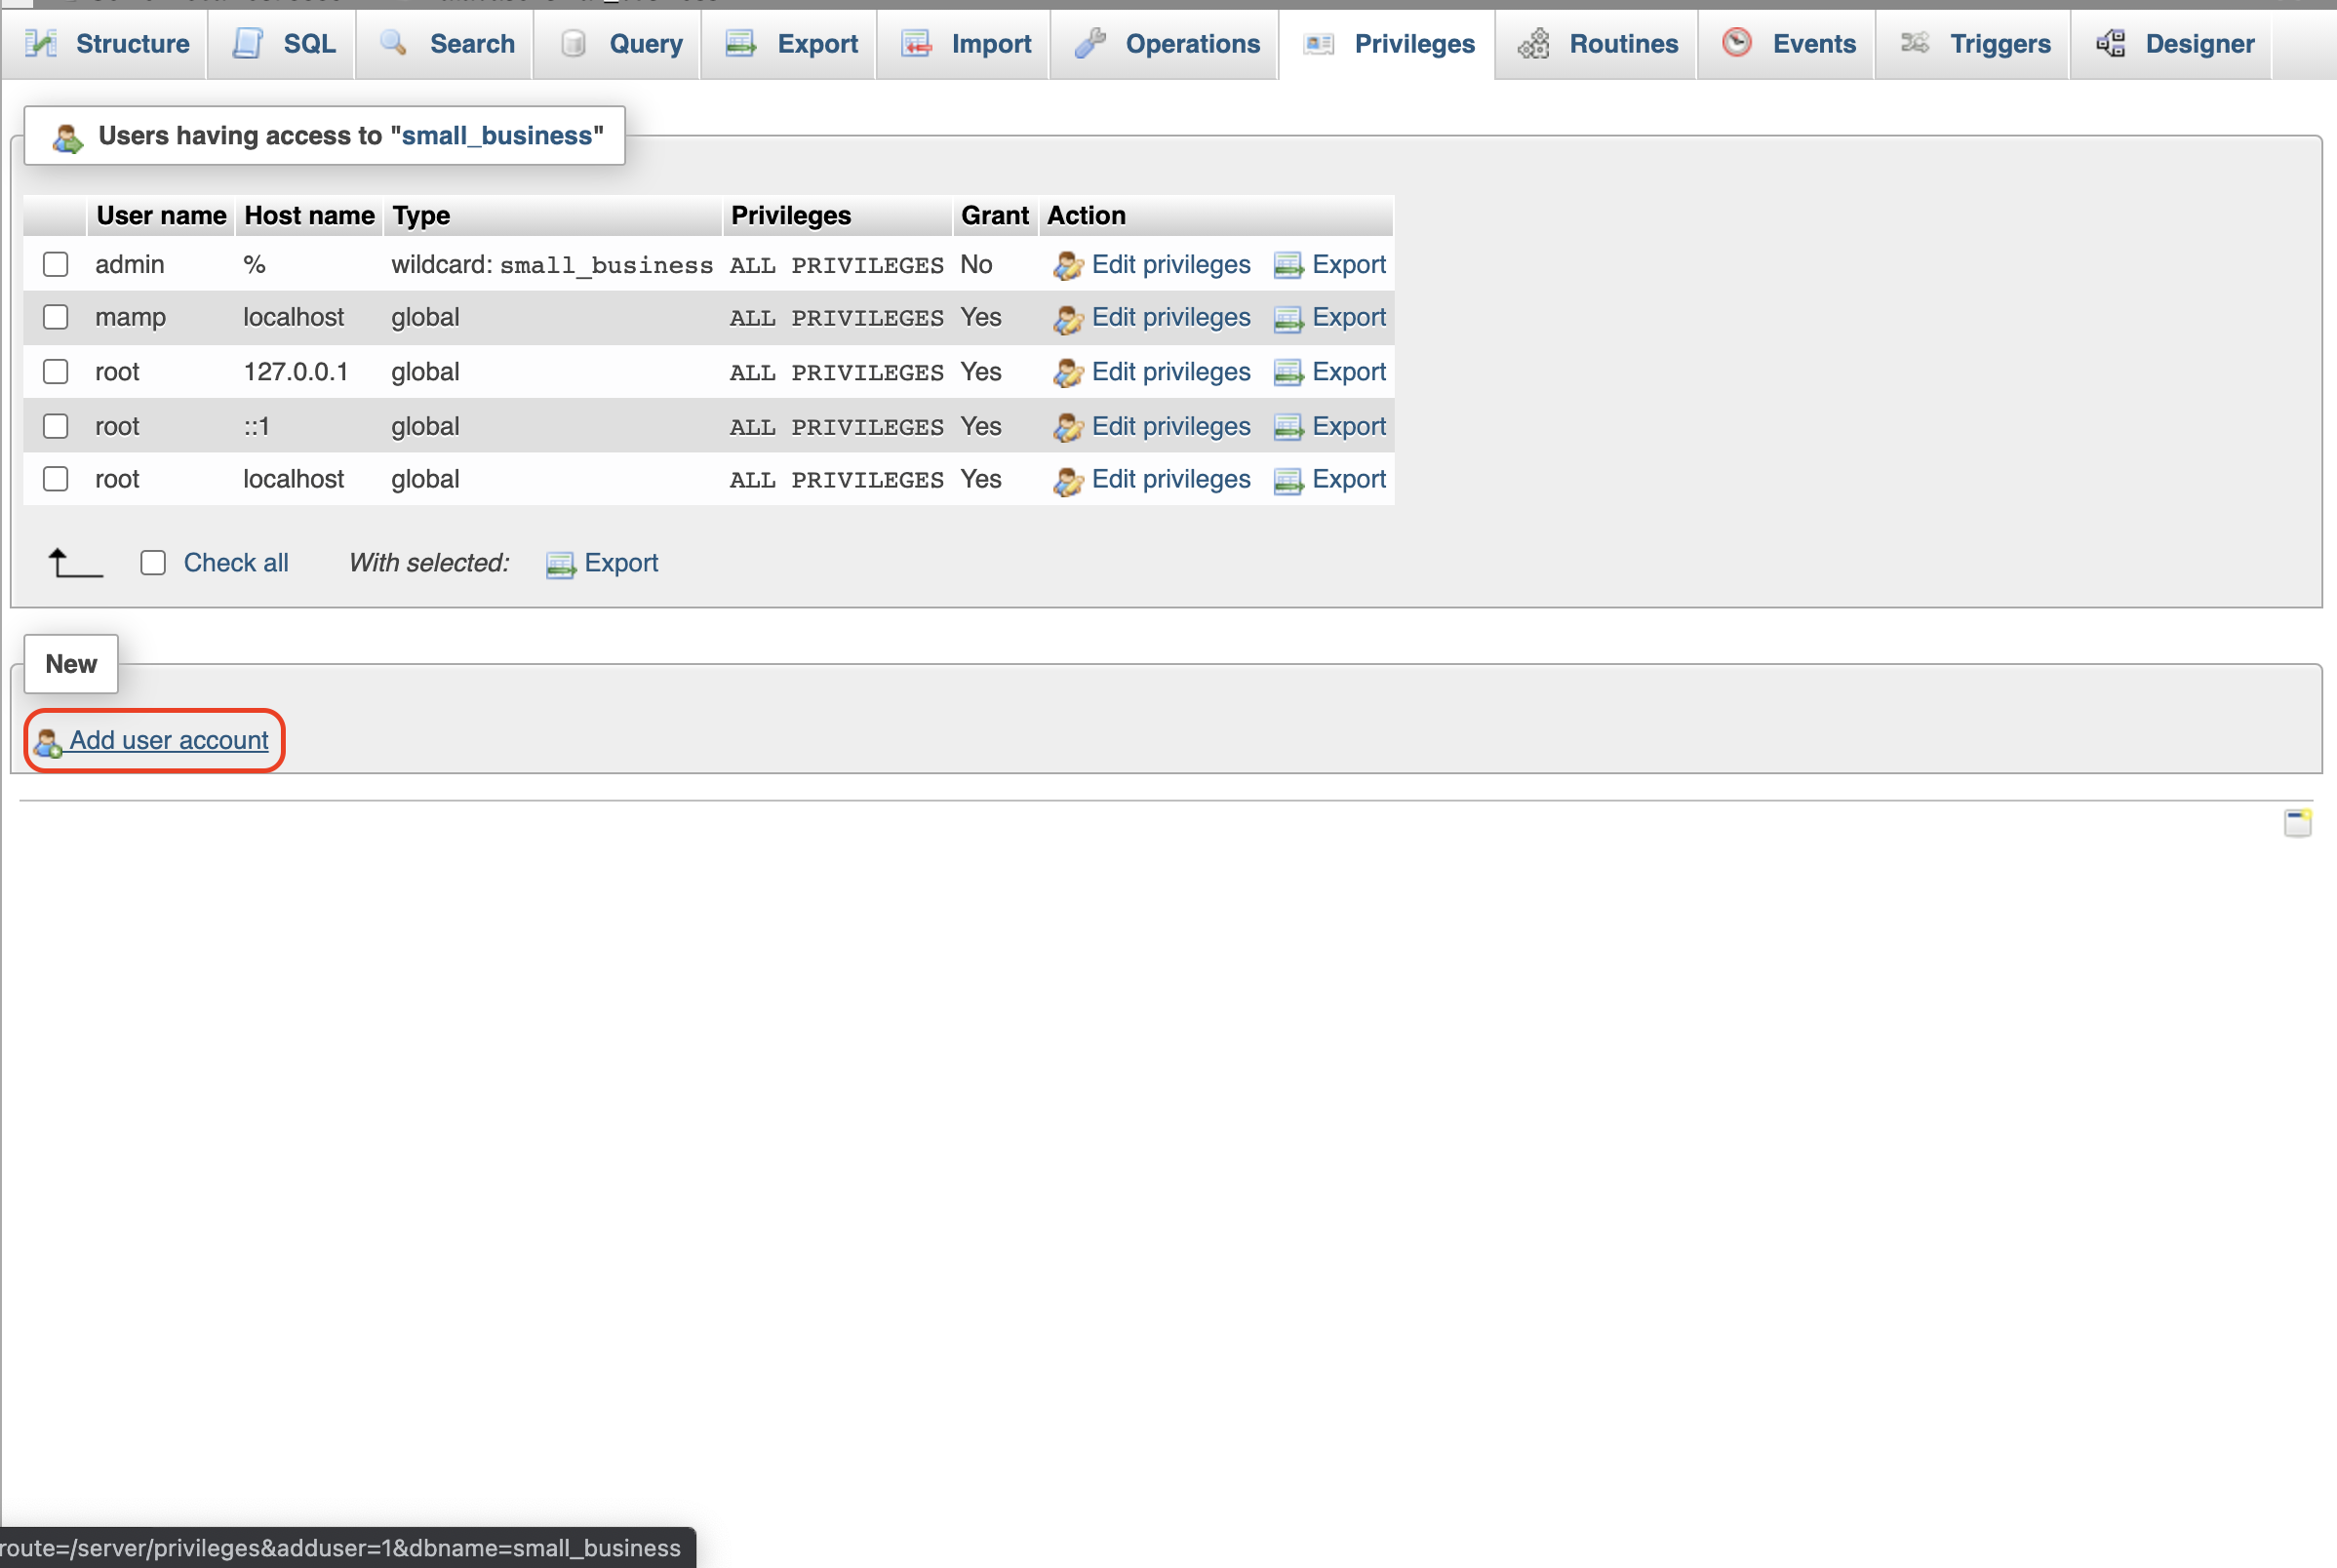
  6. We must set up a MySQL database for the WordPress website. This is done using phpMyAdmin.

    Setup

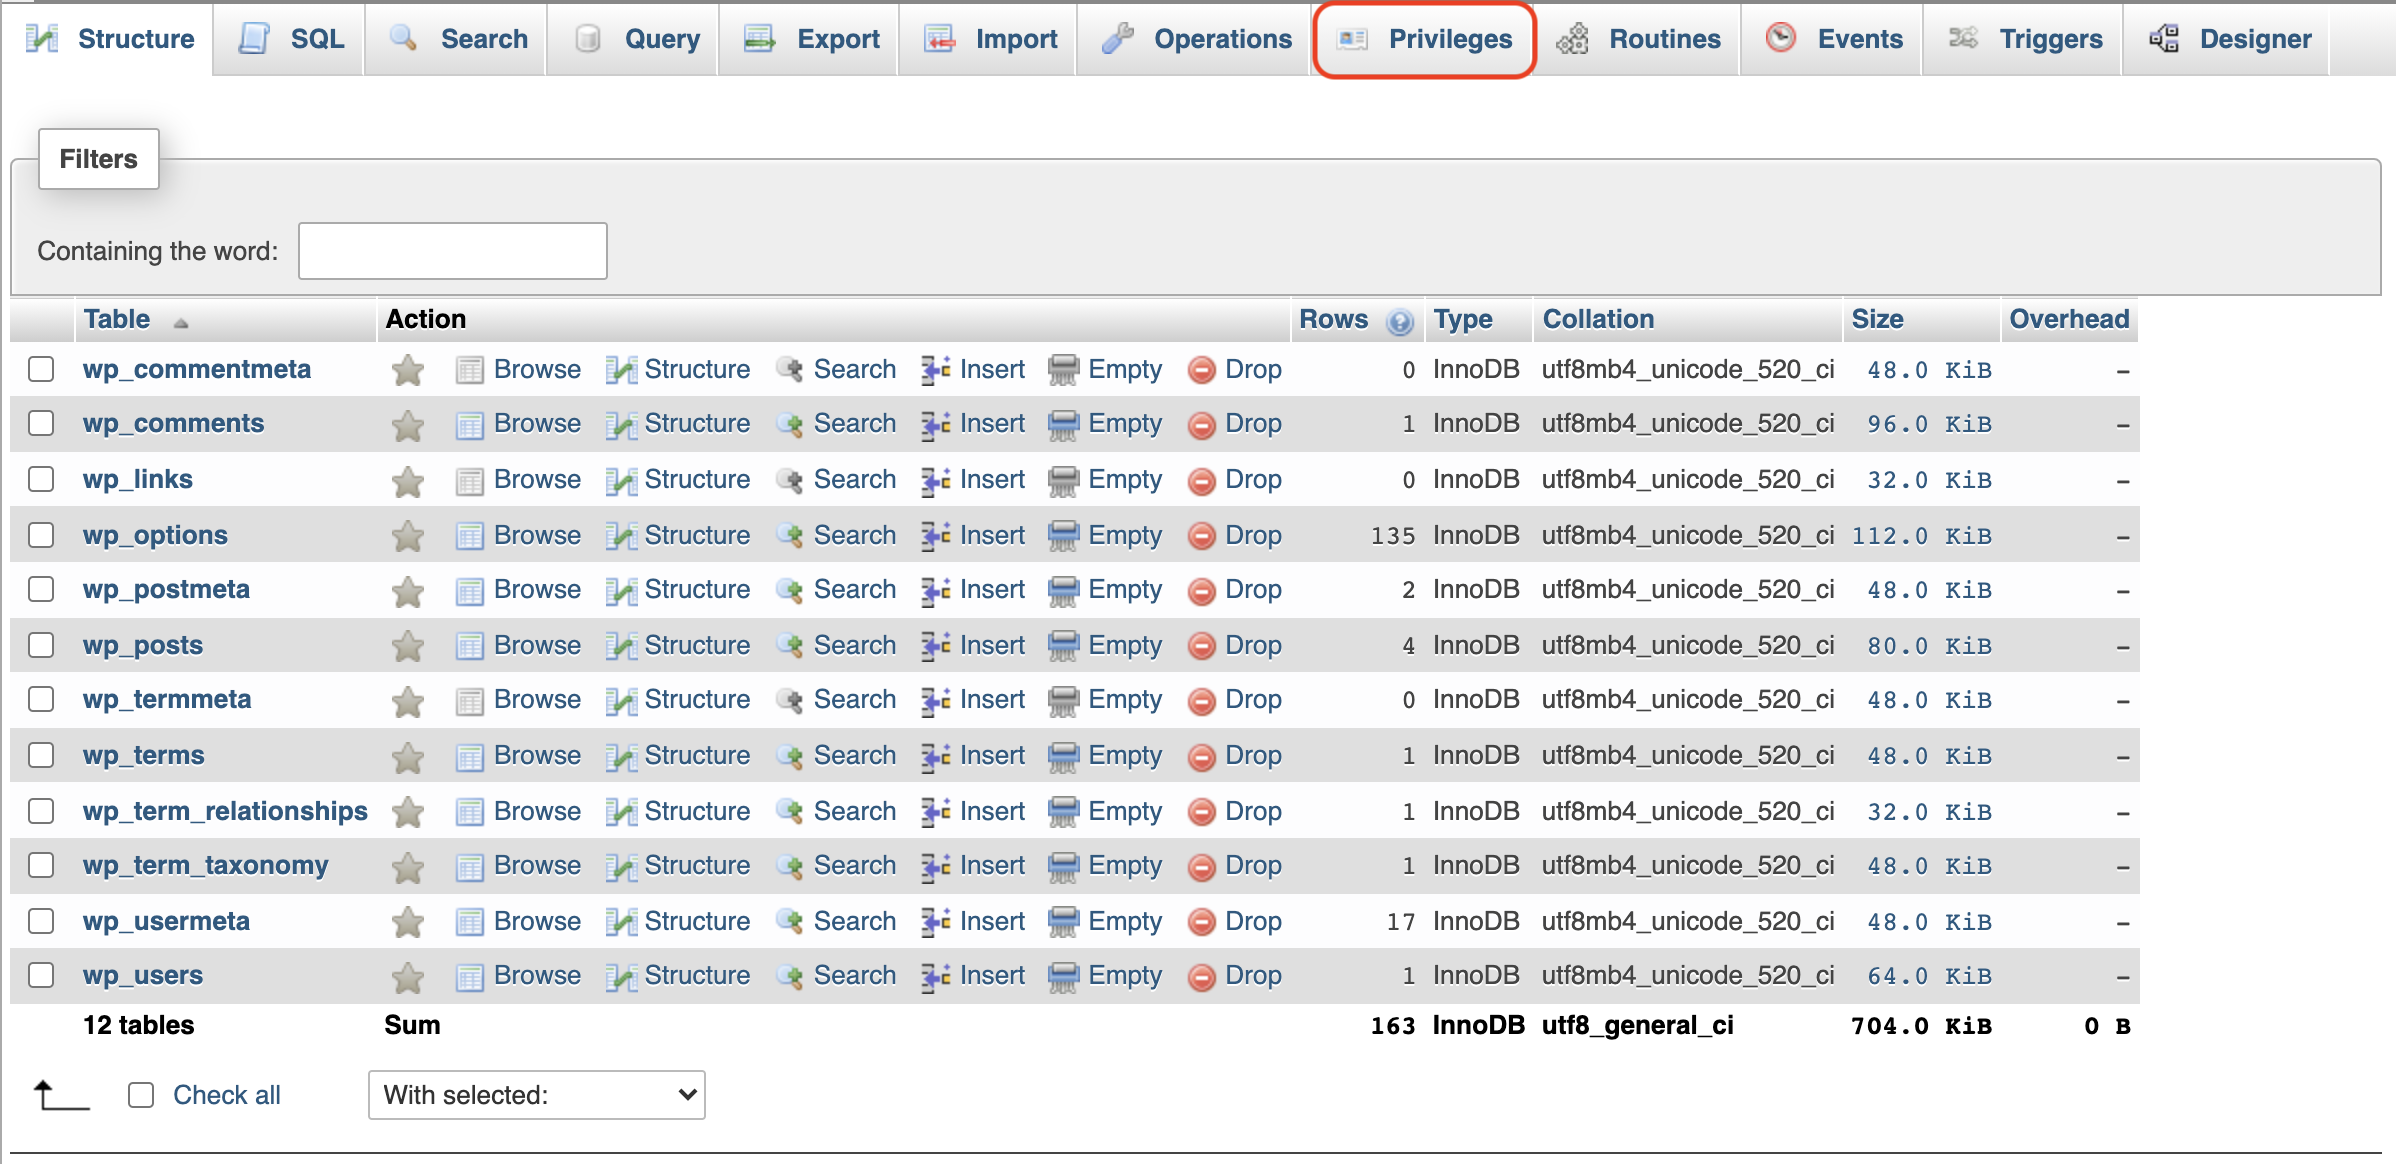
    a. Select the required database and click Privileges.

    Add

    b. Click Add user account.

    Add

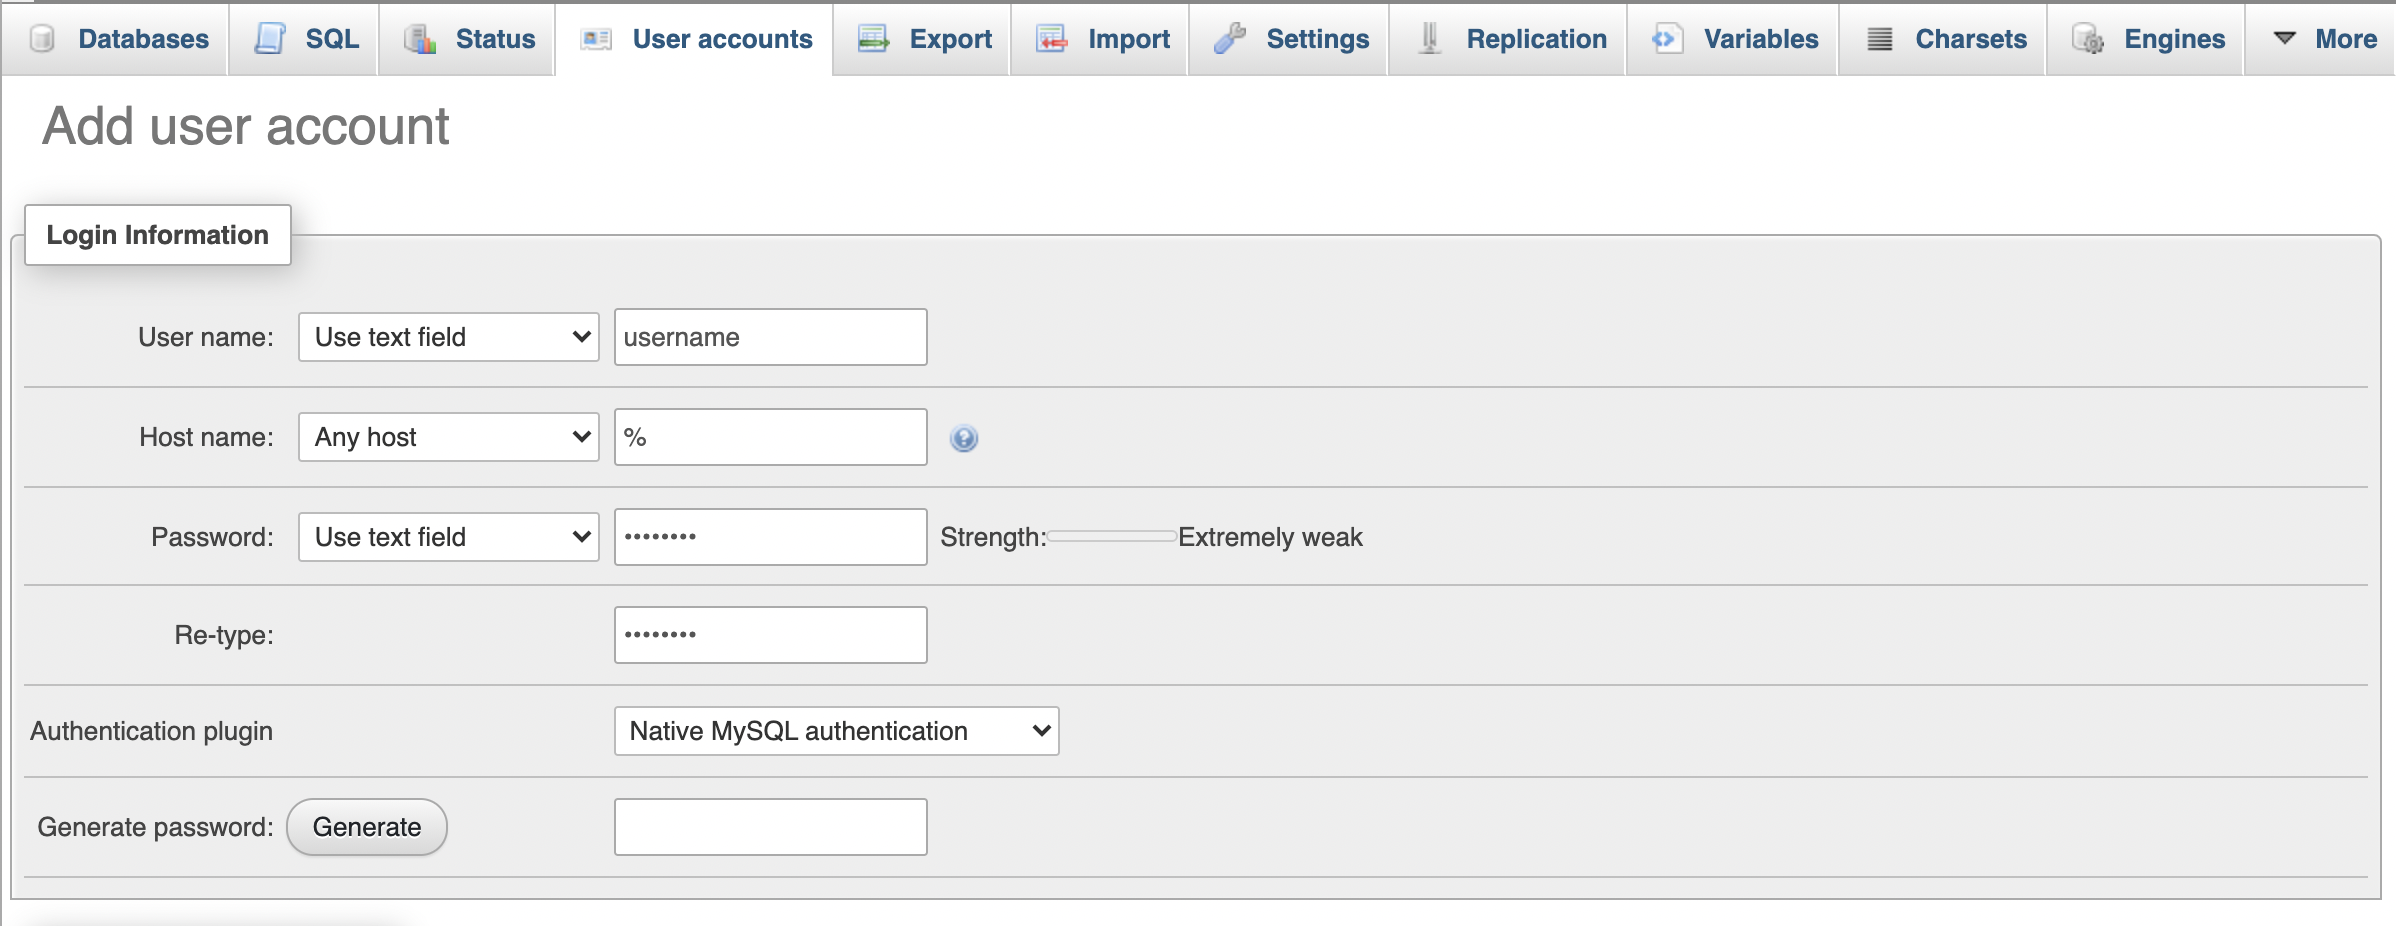
    c. Enter the username and password, same as the WordPress account login credentials.
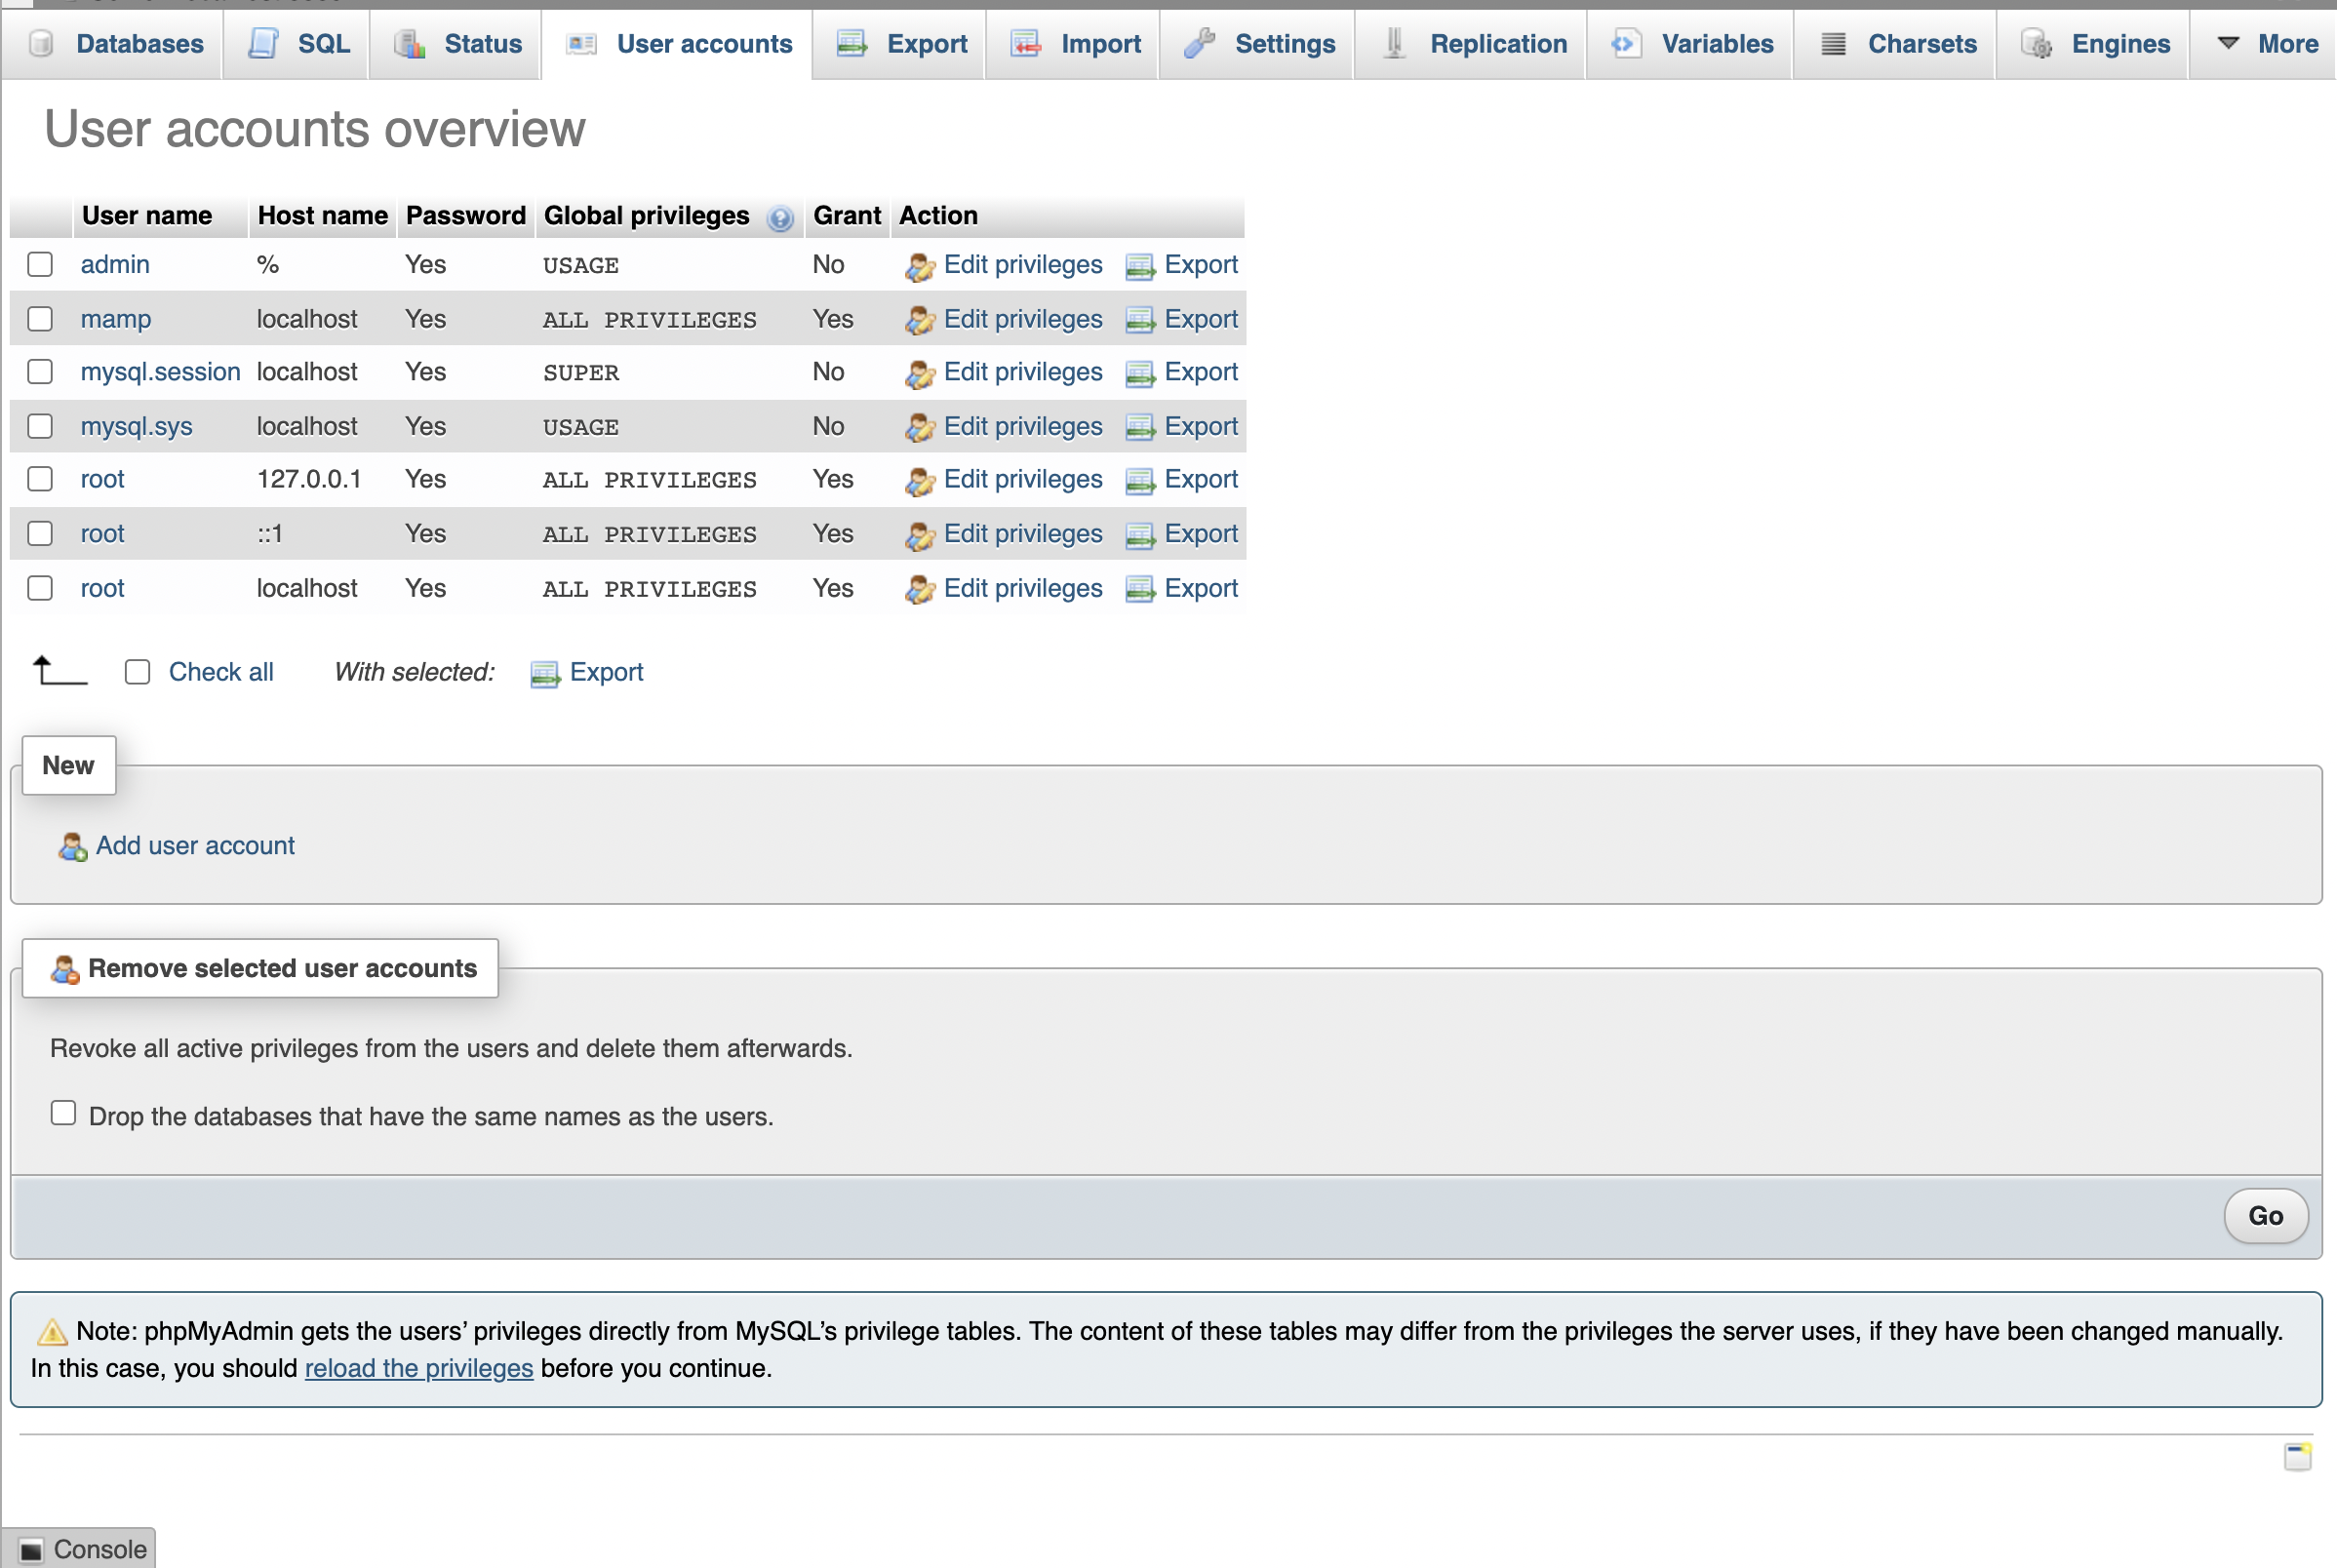
    Add

    d. Click Go.

    user
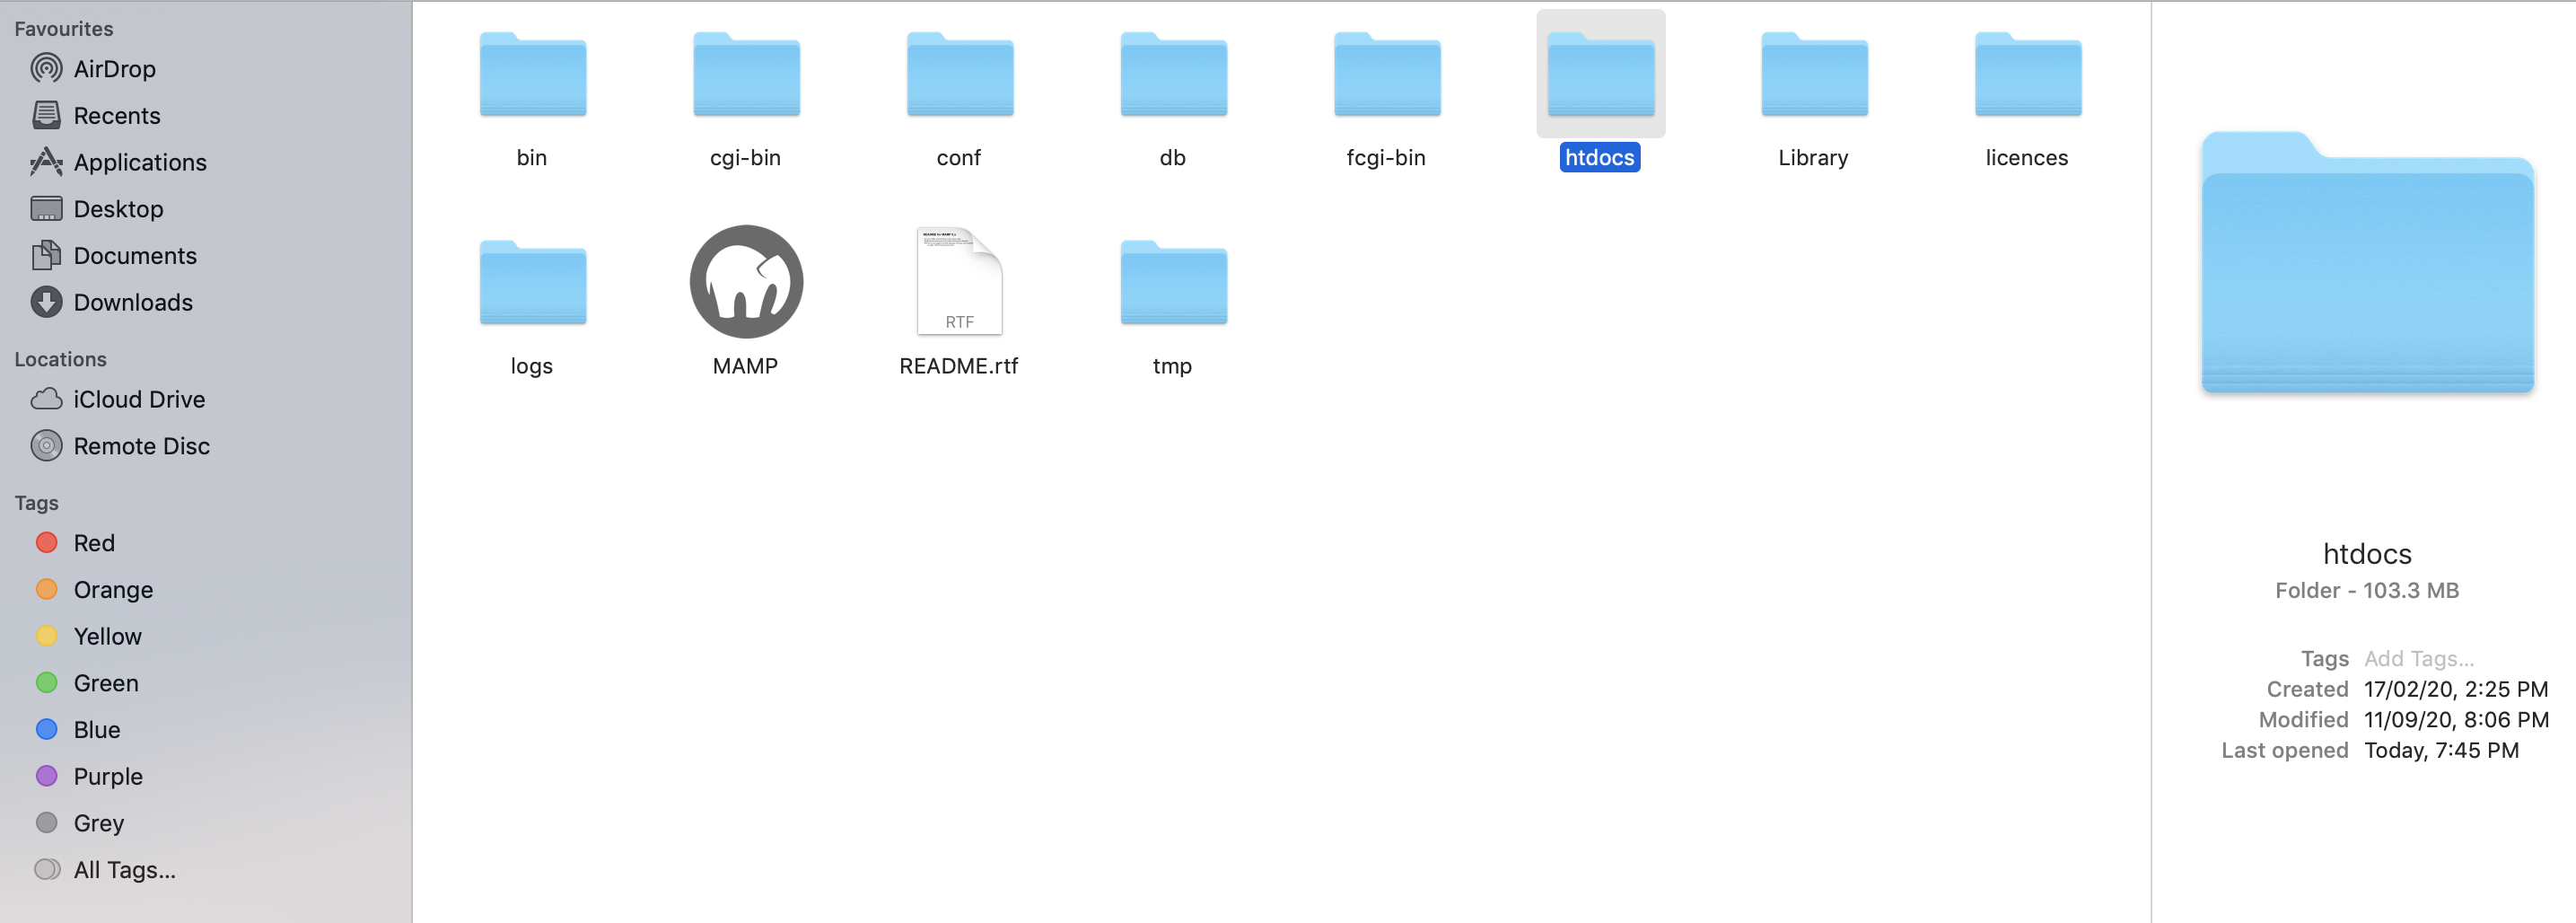
  7. Navigate to the WordPress application you had downloaded.

  8. Rename the WordPress folder. Provide a name relevant to the site you will be building/testing locally. For example, teafactory. Add the teafactory folder in htdocs of your MAMP directory.

    Rename
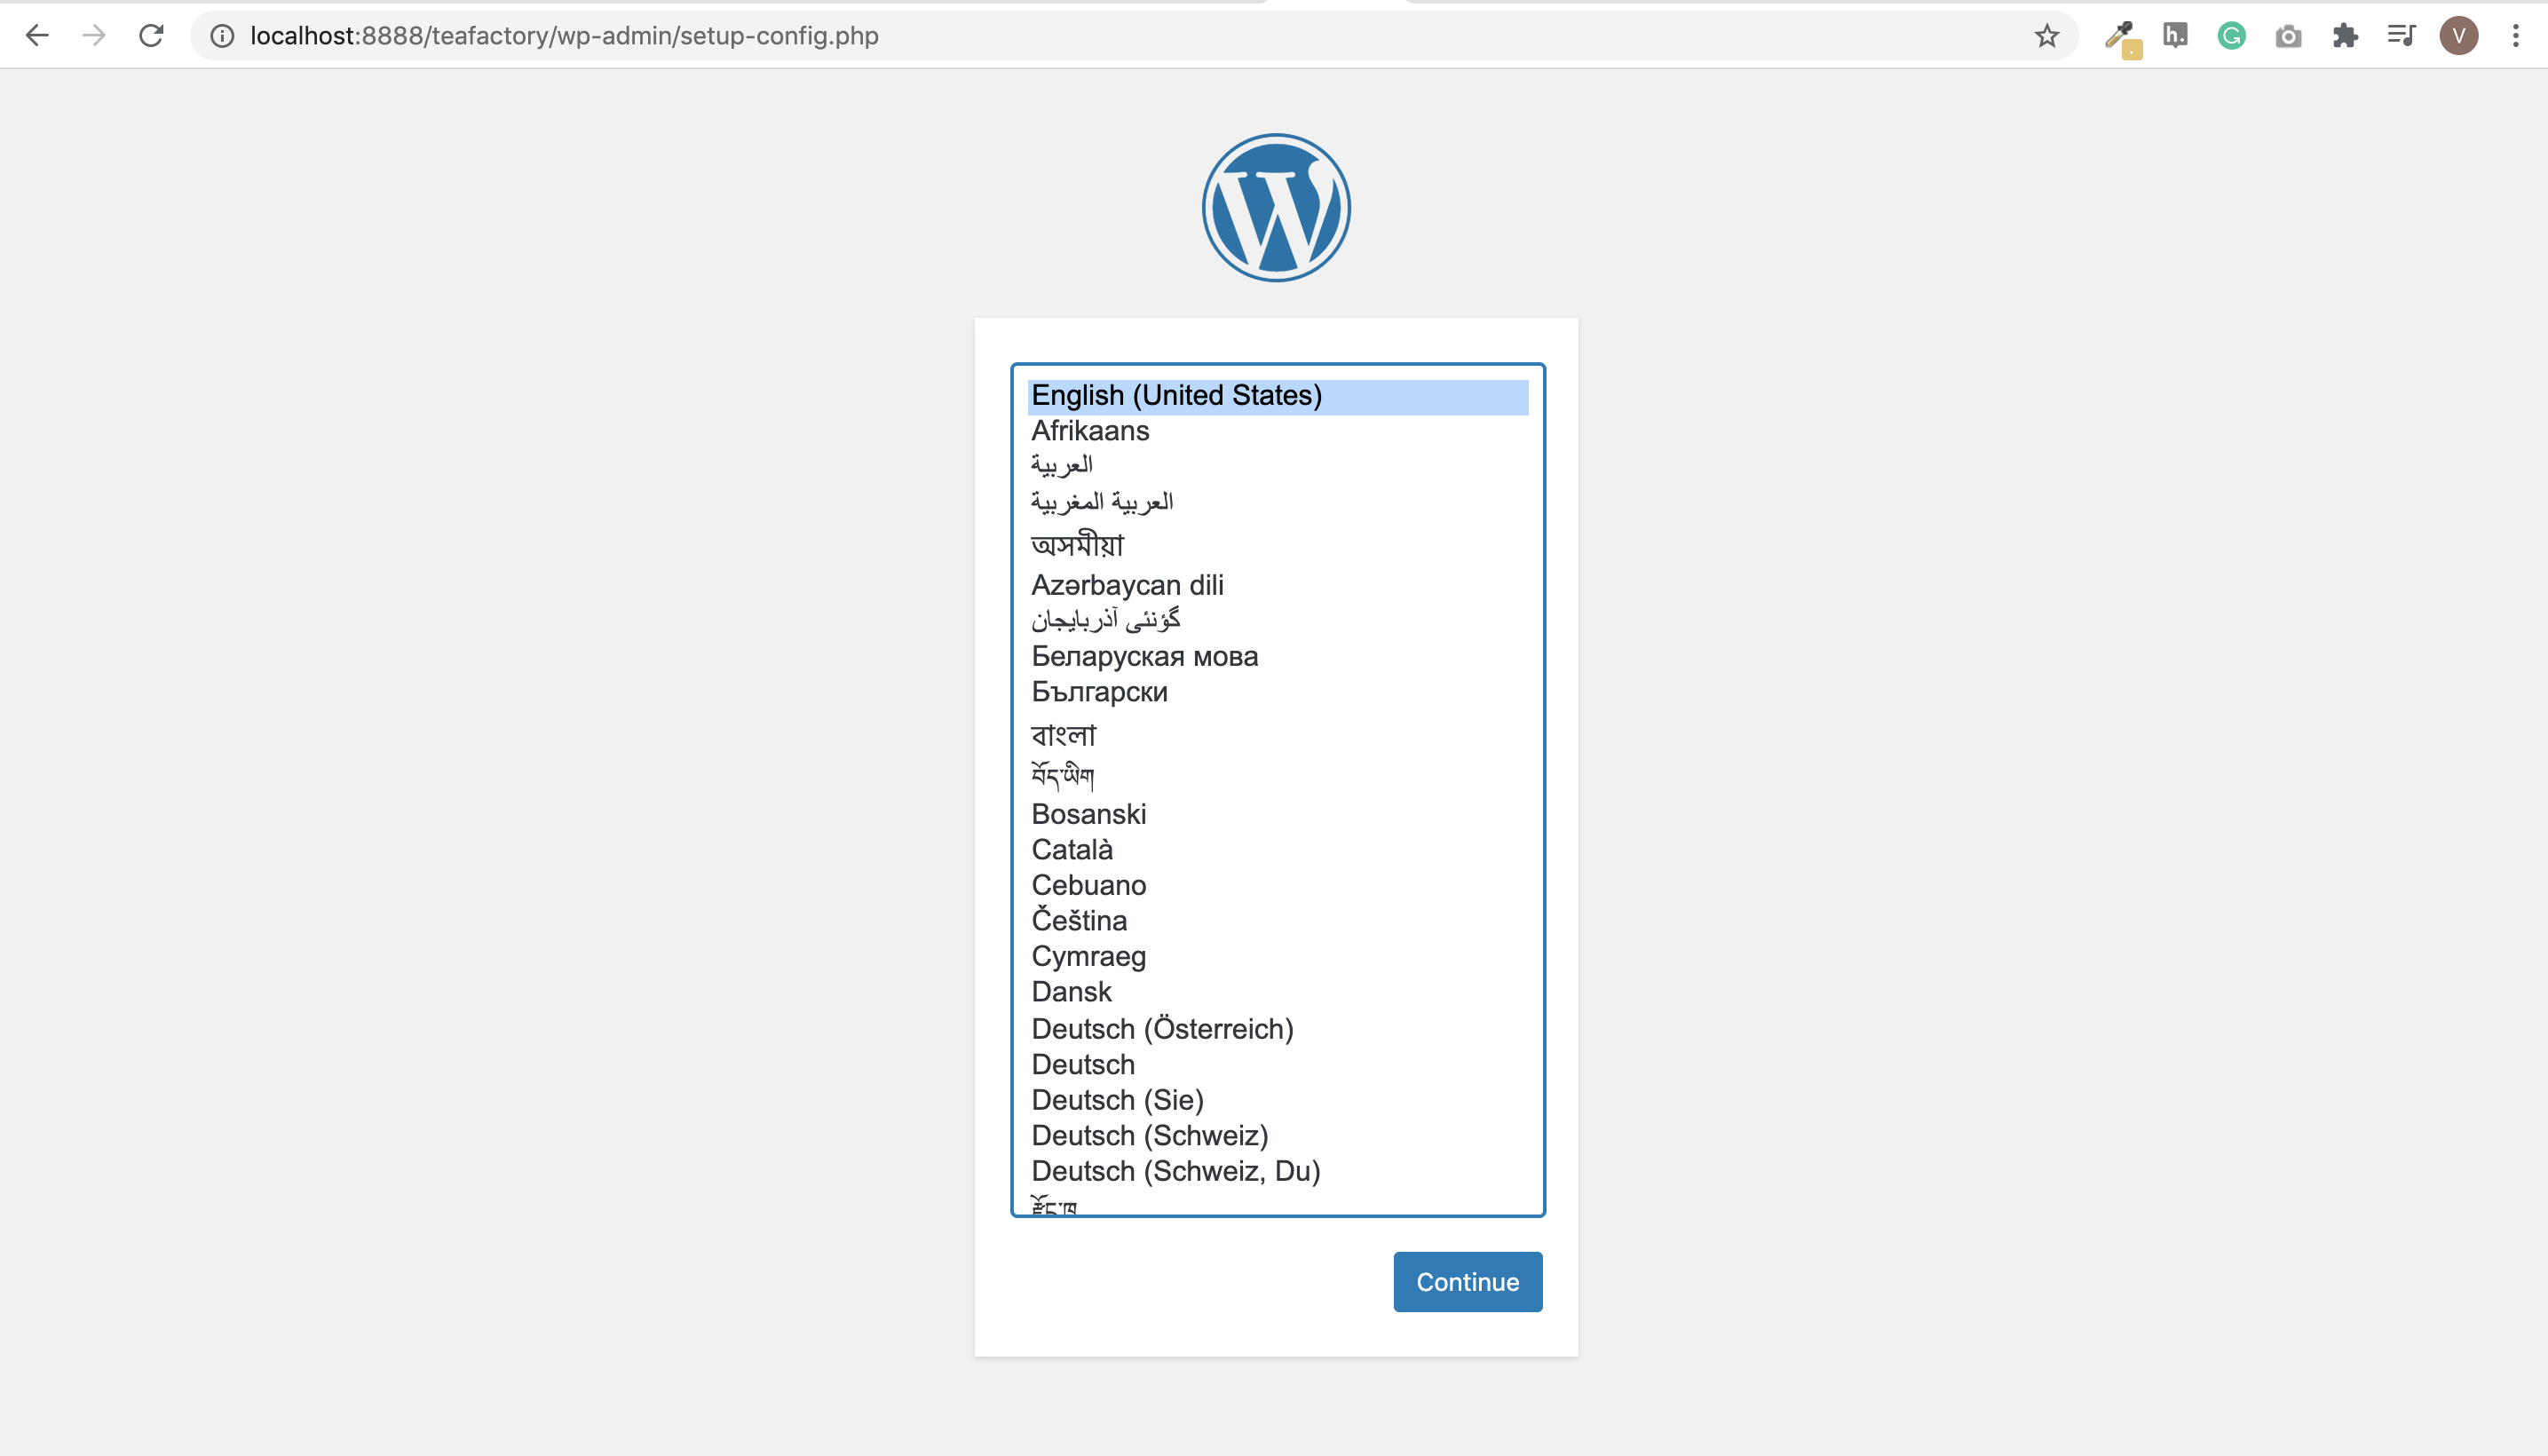
  9. Open the browser and type in the URL pointing to your site folder. For example, localhost:8888/teafactory. Select the language of your choice and click Continue → Let's Go.

    Select
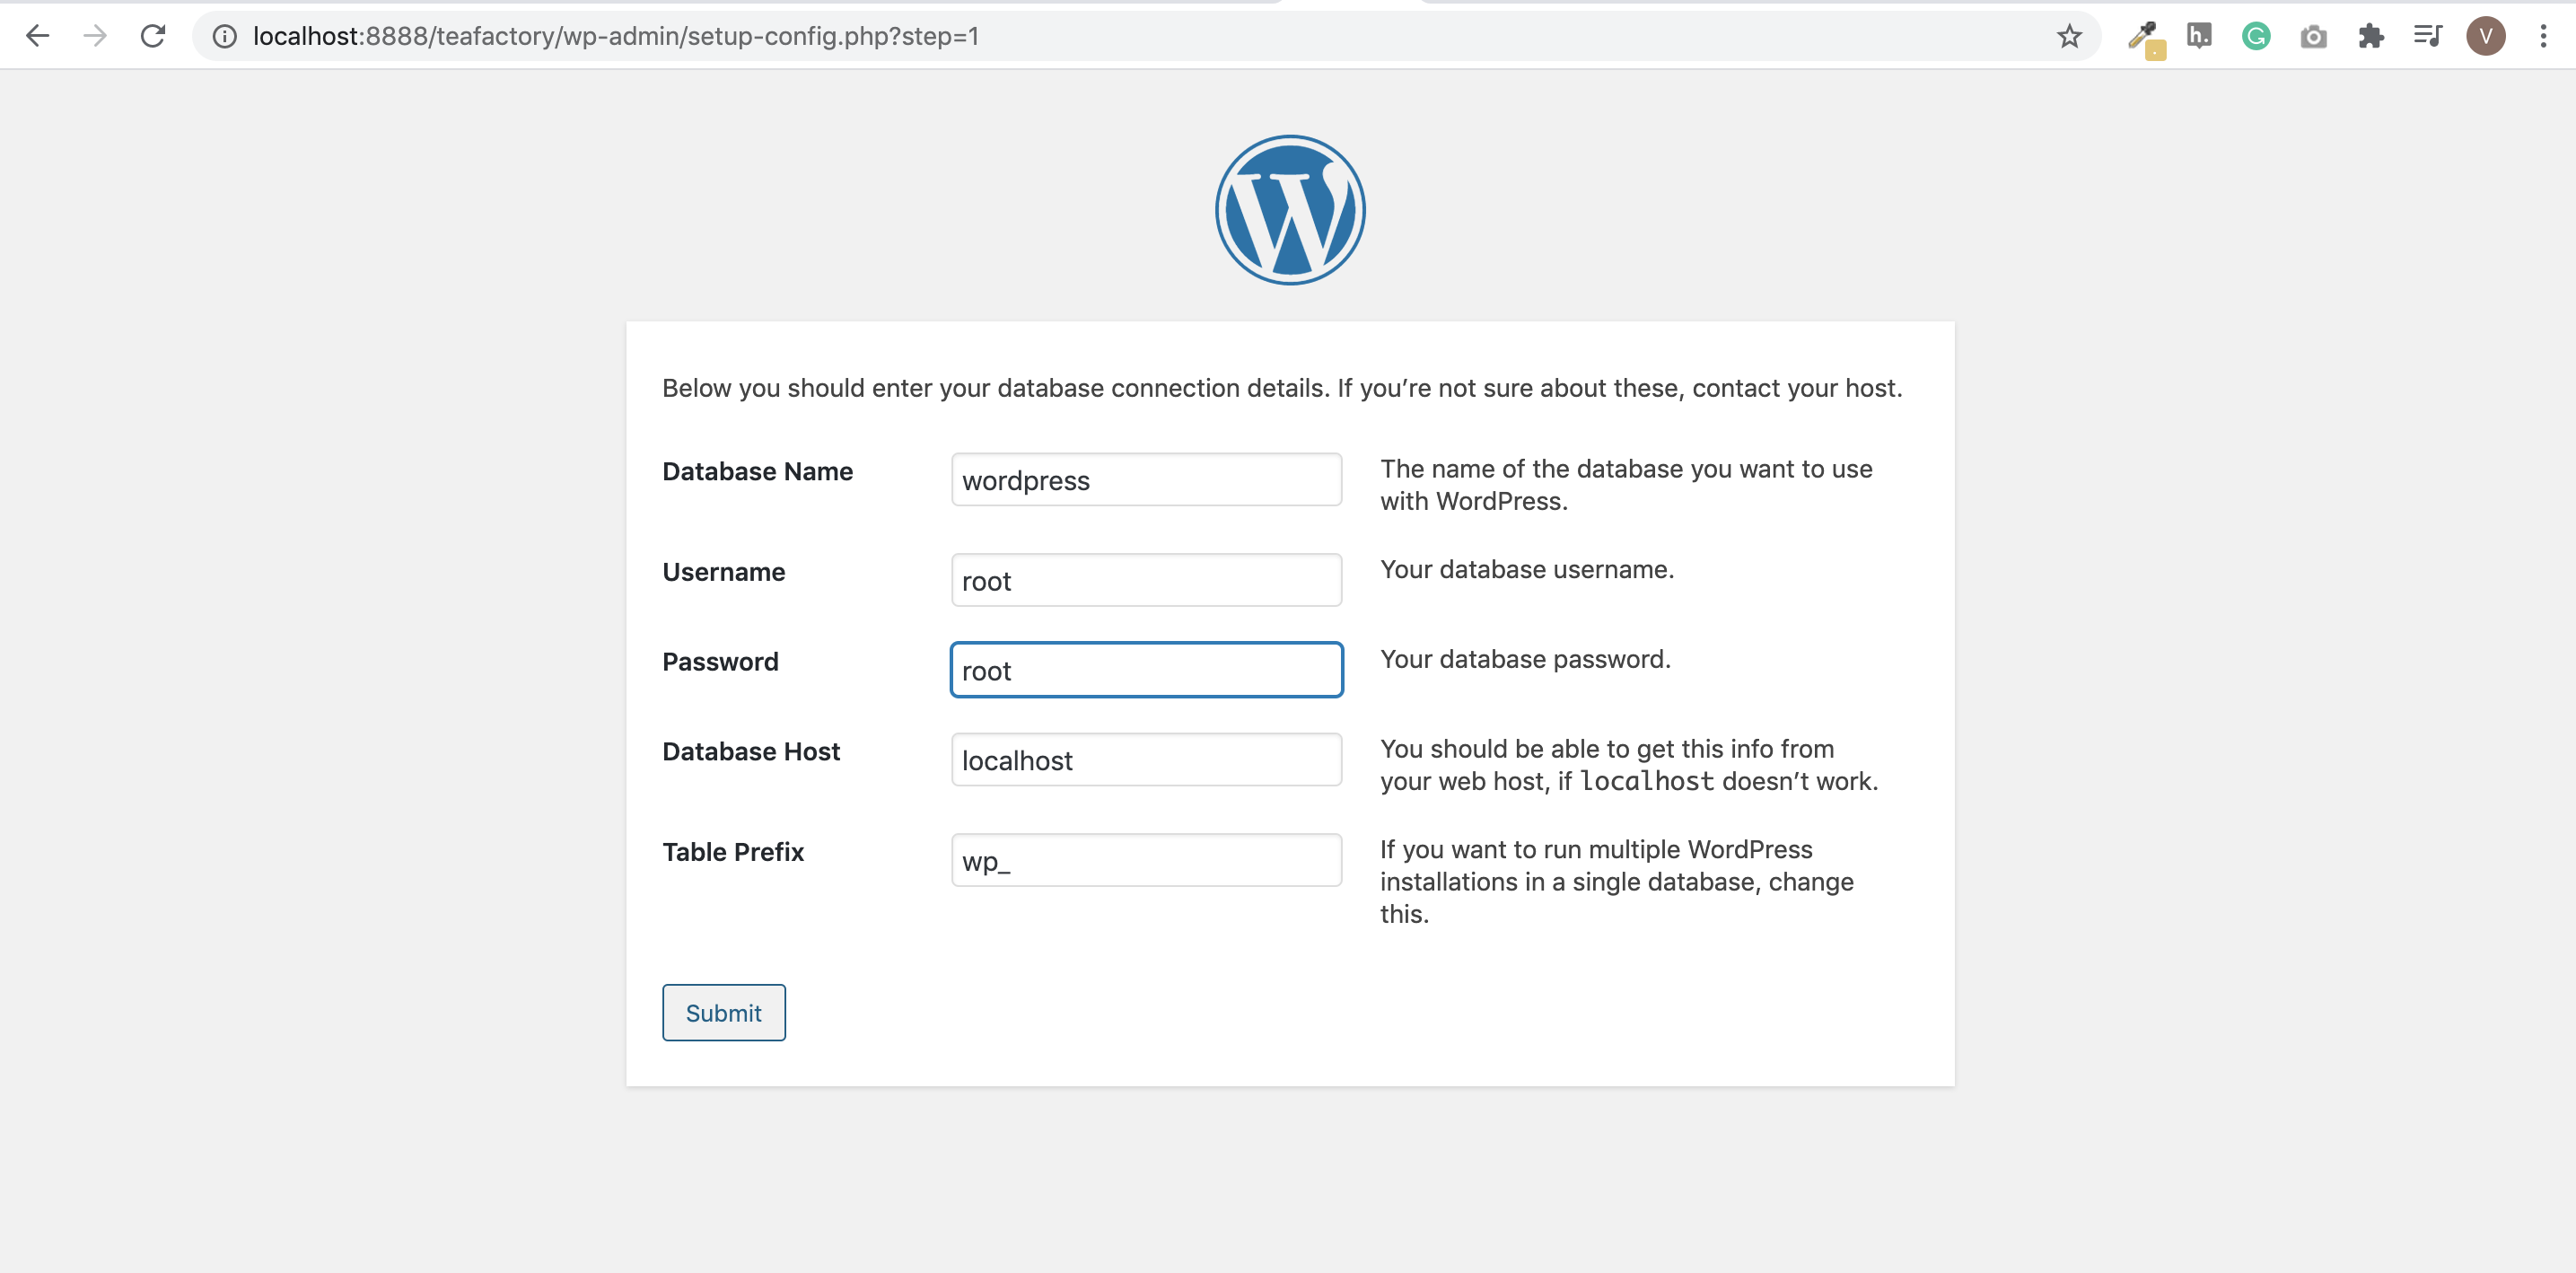
  10. Enter your database details. Provide a name for the database, and enter root for both the database username and password. Click Submit.

    Log
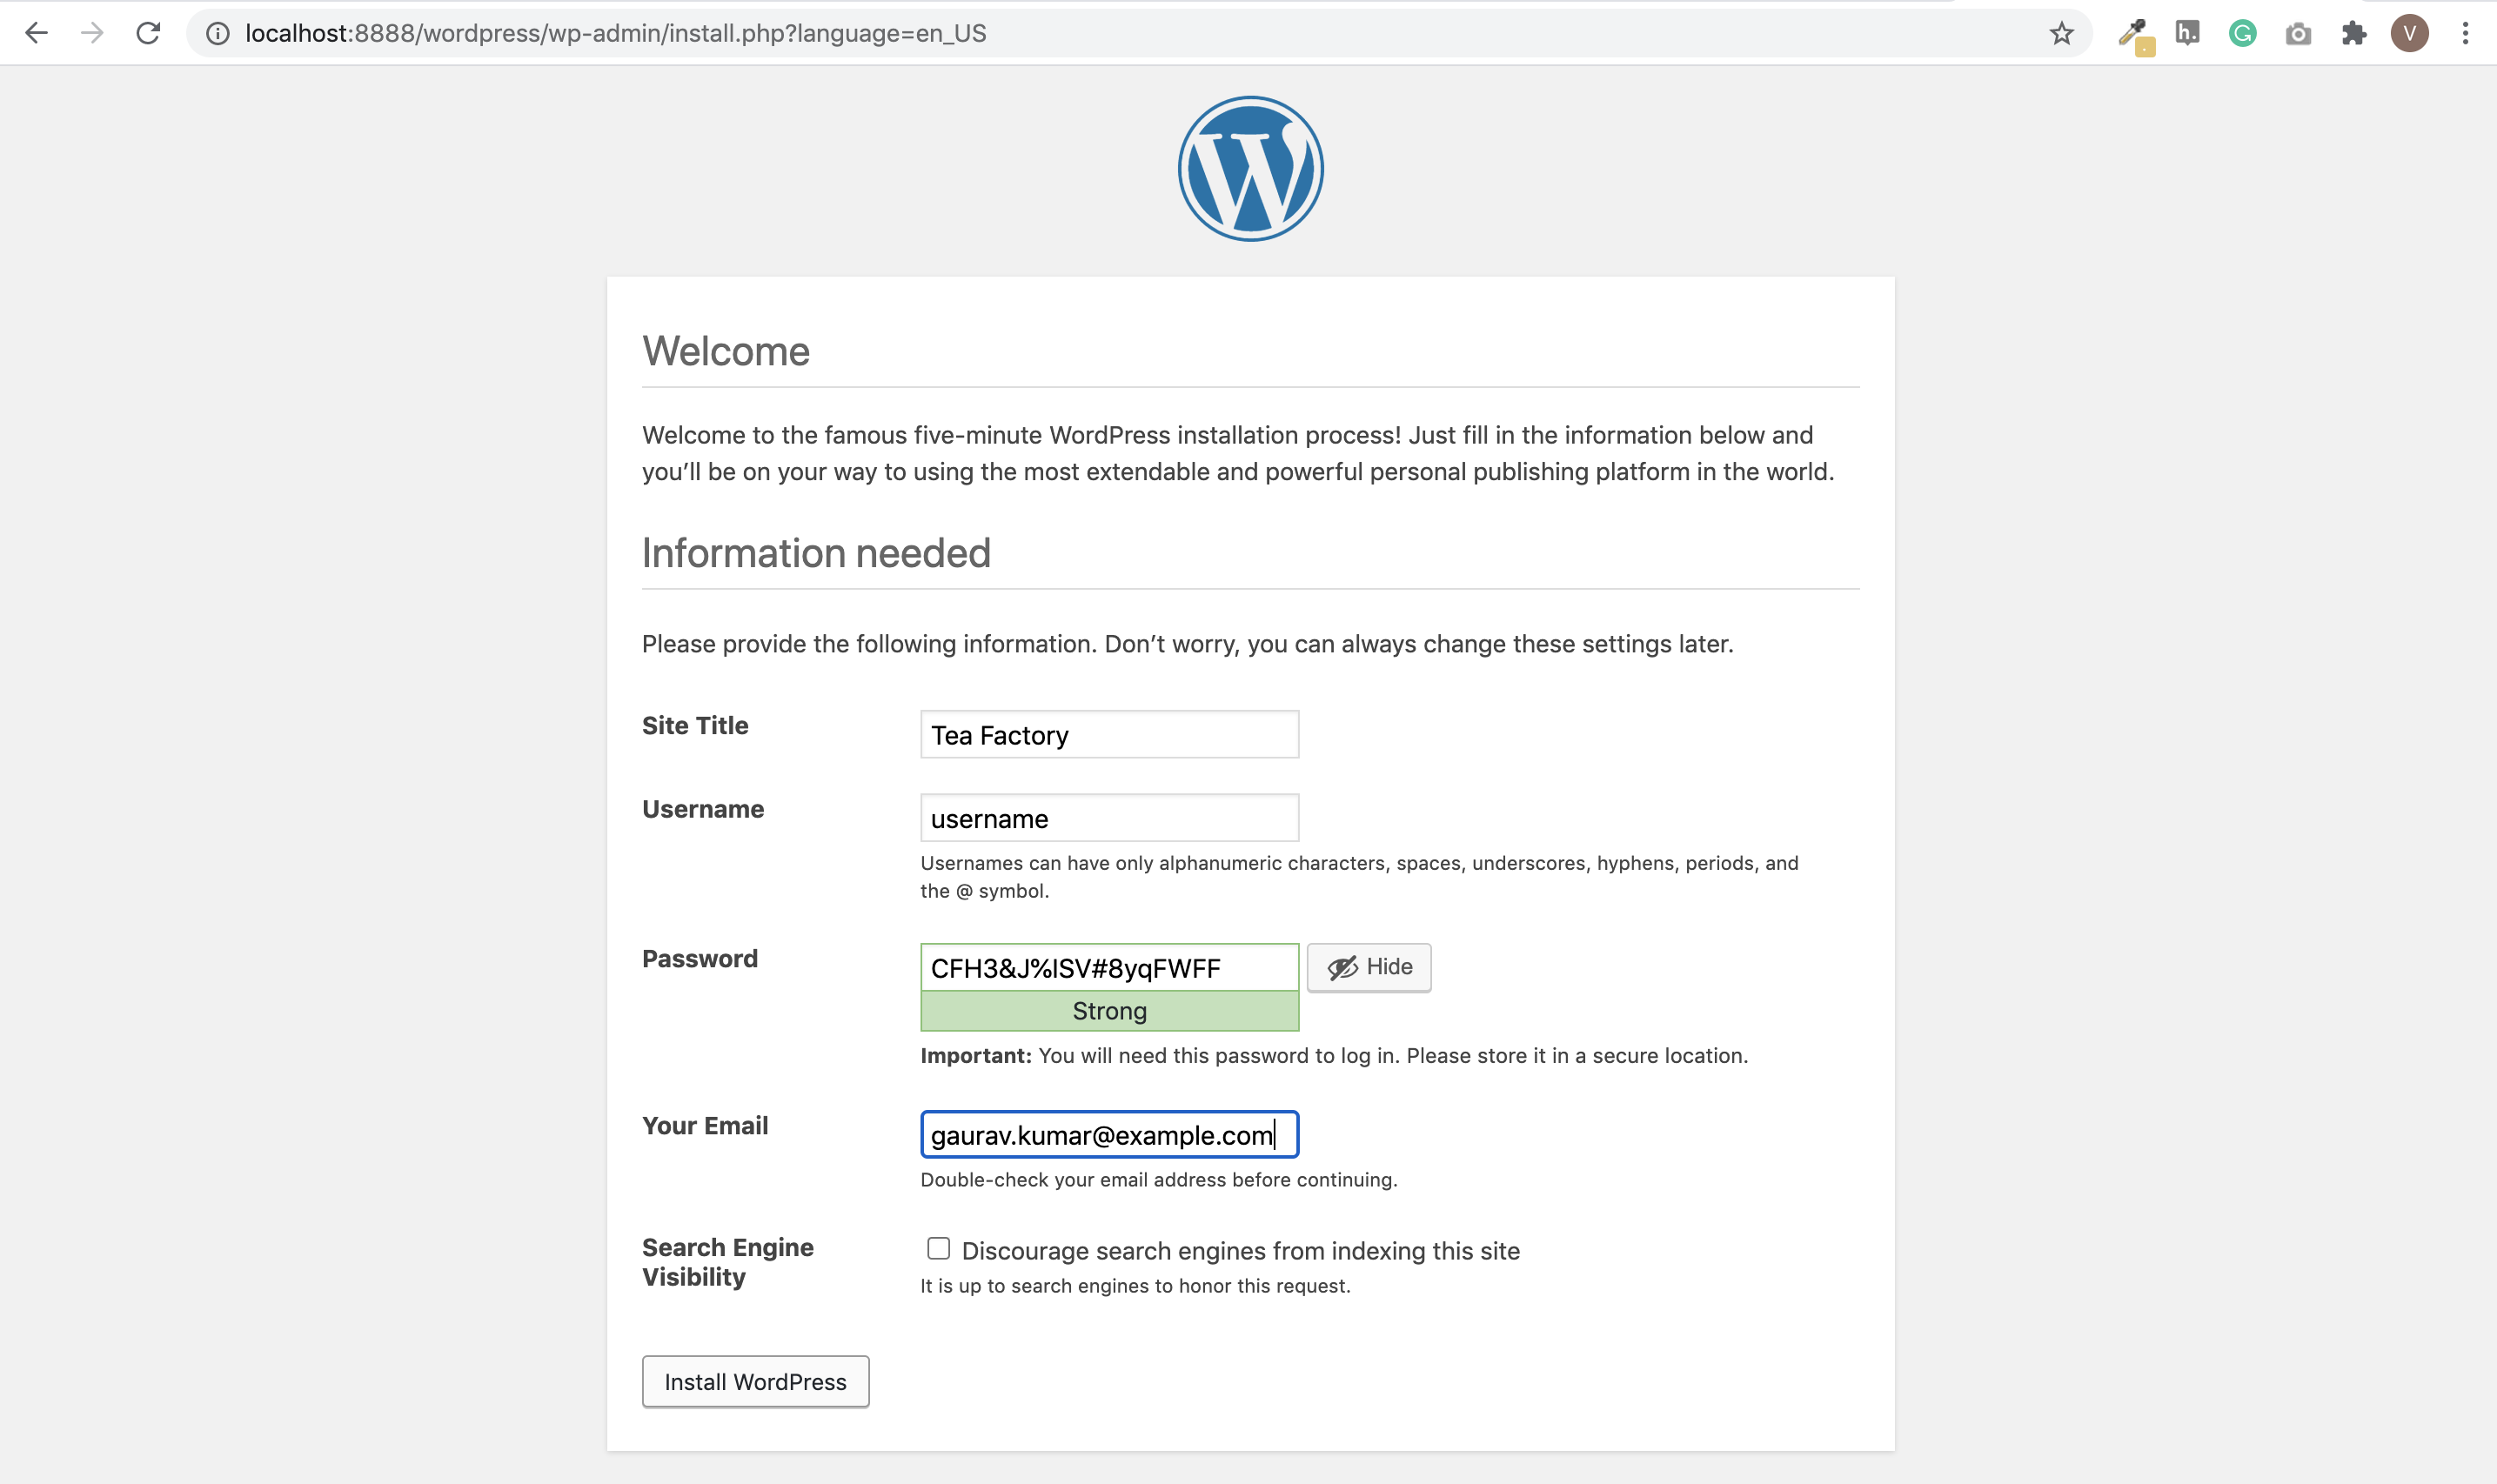
  11. Provide the required general site information (which you can change later), as well as your login information in WordPress.

    Setup
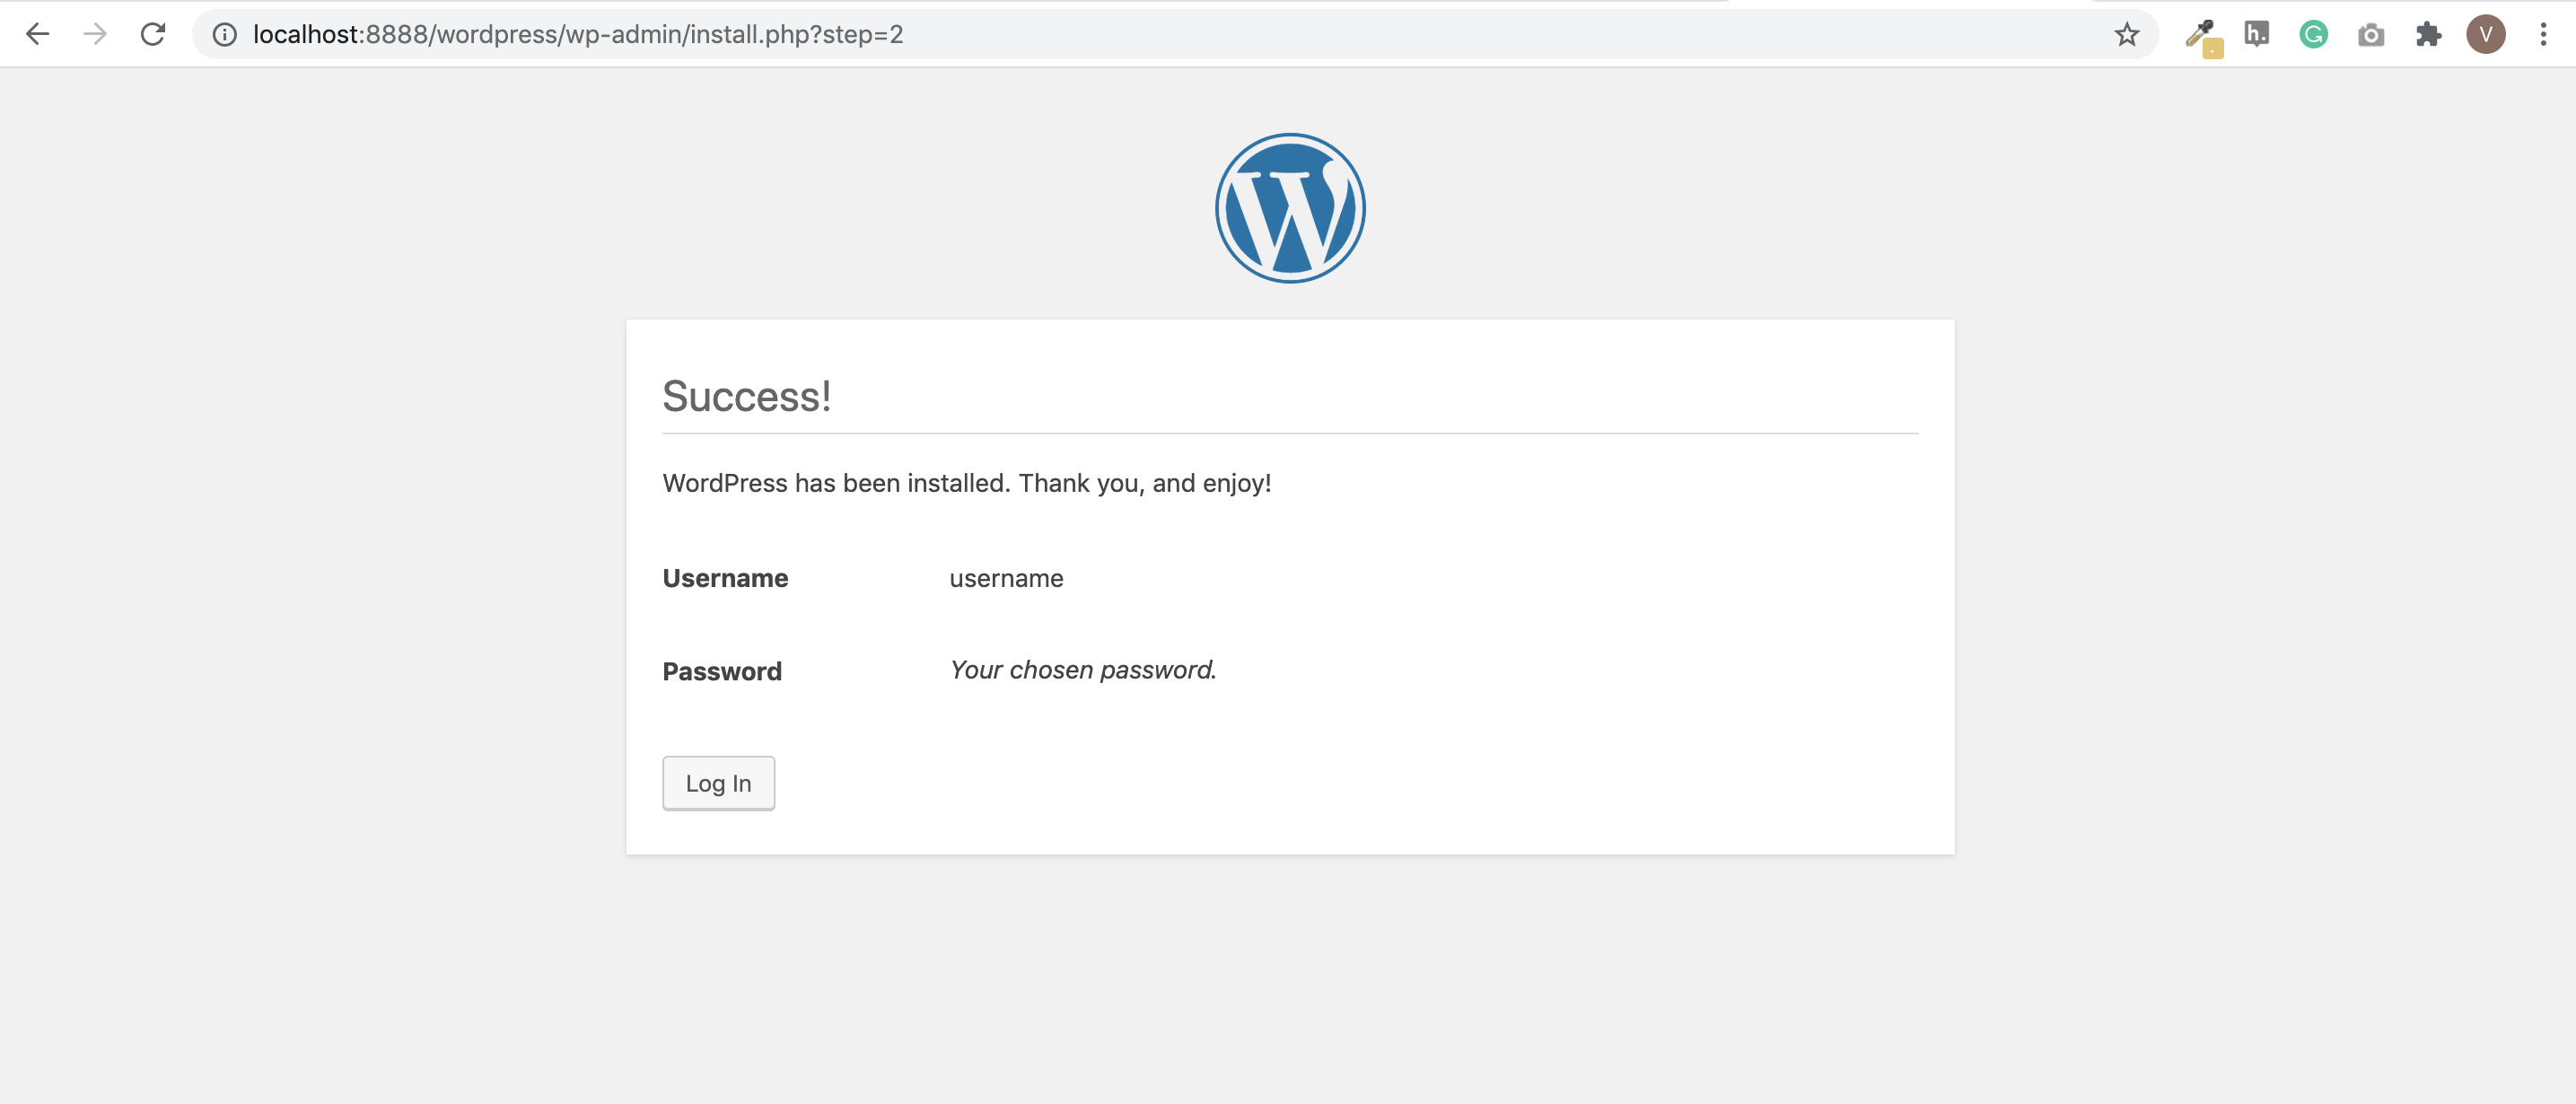
  12. Click the Install WordPress button. With this, your website is ready.

    Install

Step 2: Create a Payment Button on Razorpay Dashboard🔗

To accept payments on your WordPress site, you must create a Razorpay Payment Button. Follow these steps to create a:

Step 3: Embed the Payment Button on WordPress Site🔗

Follow these steps to embed the Payment Button:

  1. Download and install the Razorpay Payment Button Plugin. You can do this using either of these methods:

  2. In your WordPress site, activate the plugin in the WordPress Plugin Manager.

    Activate
  3. Navigate to Razorpay Buttons → Settings to add your Razorpay API key details and connect your Razorpay account to the plugin.

    Add
  4. Navigate to Razorpay Buttons. A list of buttons you created on Razorpay are available here. Select the required button.

    List
  5. Click Pages and navigate to the page where you want to embed the Payment button.

    Select
  6. Select Add Block → Widgets → Razorpay: Payment Button to embed the Payment button onto the page.

    Embed
  7. Choose the Payment Button using the drop down and publish or update the page.

    Choose

The Payment Button appears on the page.

Payment Button Appears

You can now start accepting payments on your WordPress website using the Payment Button.

×